Namaste Friends!!
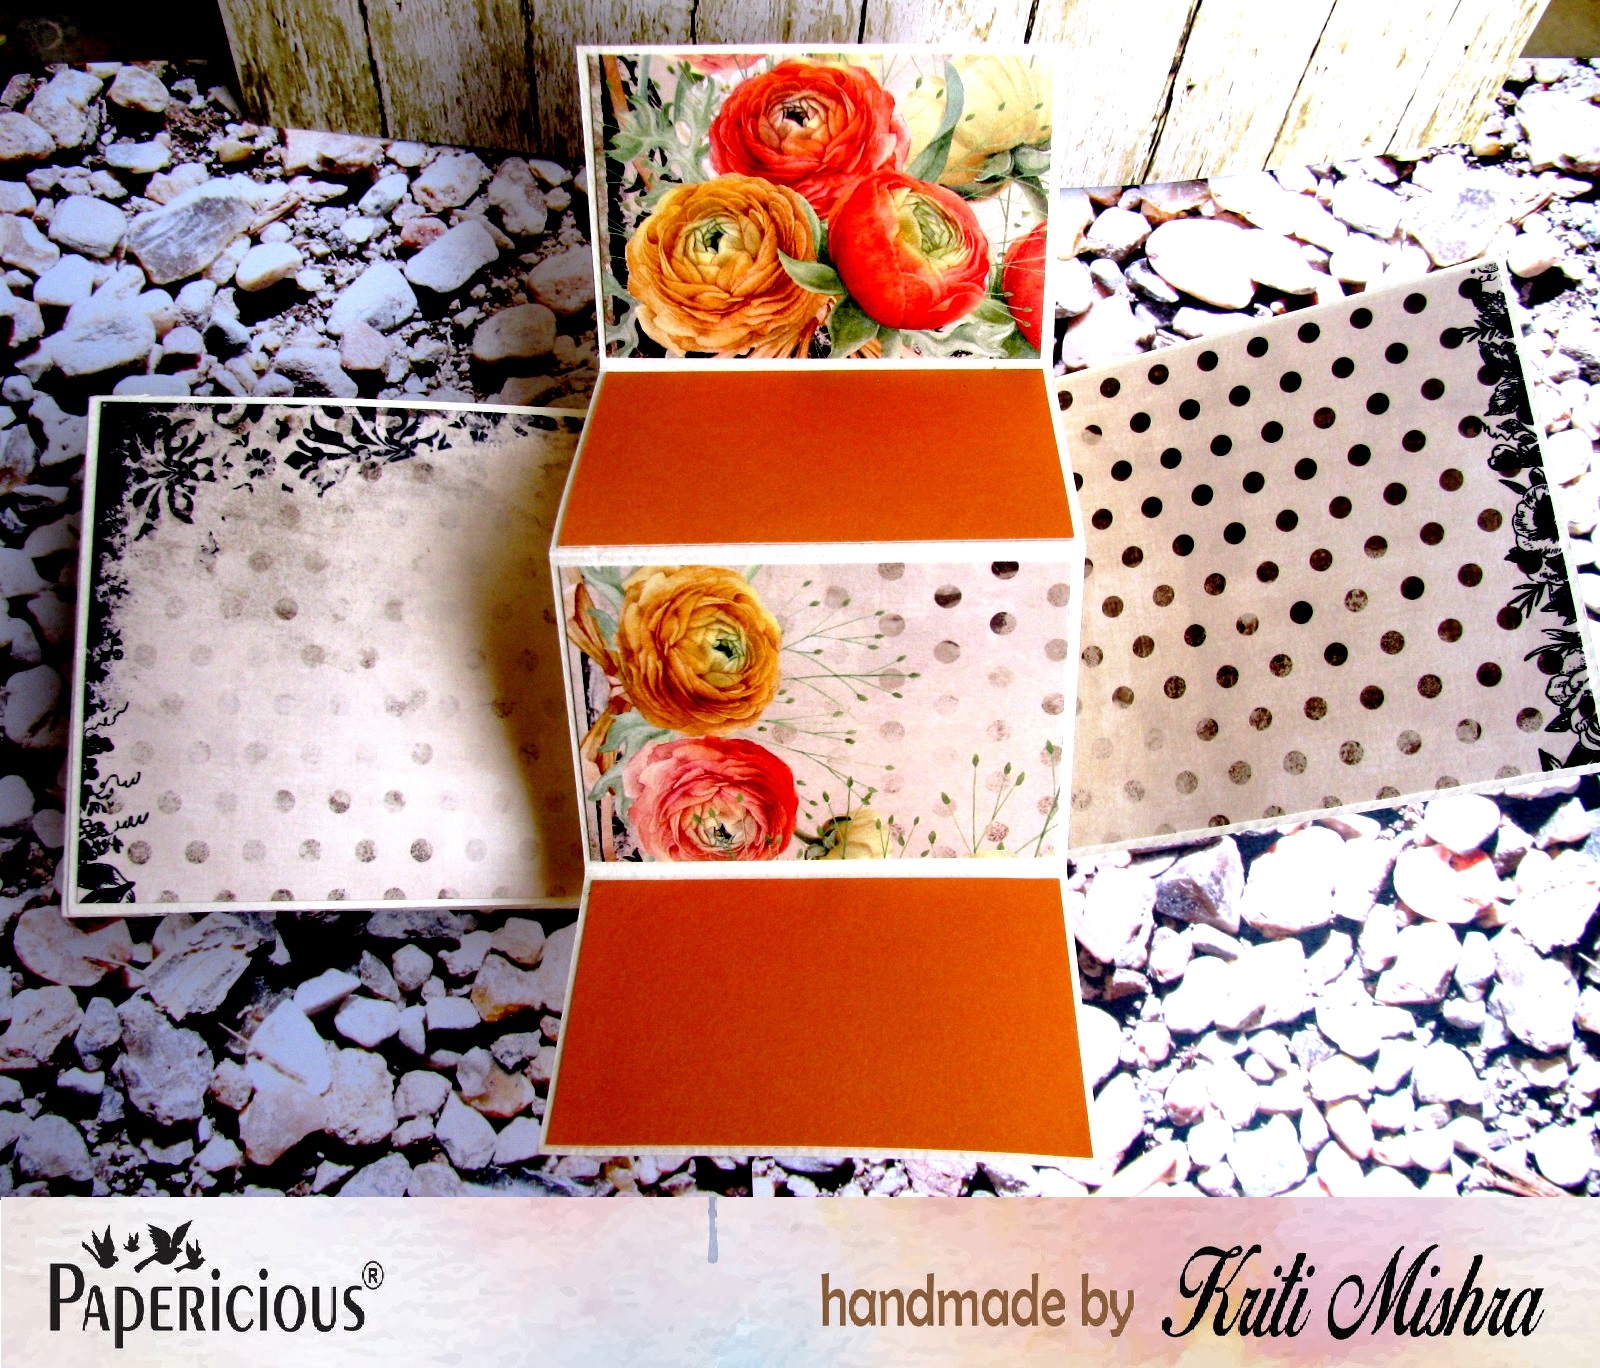
This is Kriti today...today I'll share a tutorial for a mini album with pop-up pages. I have used Papericious recently launched Ethereal Paper pack . This is a Premium Edition paper pack, comes in 12" x 12"size with lots of die-cut elements, Journal sheet, quote sheet and matching card stock.
Have a look...


Tutorial:
Step 1: Take few pieces of card stock of size as mentioned under and score them.
a) Piece 1--Take 2 pieces measuring 4" x 12". On the 12" side, score them at 6".

b) Piece 2--Take 3 pieces measuring 3.5" x 10" (These are actual pop-up panels). On the 10" side,
score at 2.5", 5" and 7.5". It should look like a 'W' when folded

c) Piece 3--Take 3 pieces measuring 3.5" x 8" ( These are actual mechanism to allow the pop-up
panel to pop- up) . On the 3.5" side, score at 1.75". On the 8" side, with a pencil, make a tick
mark at 2.25" from each side of the card stock, flip it over and repeat. Score a cross joining these
points, then fold to form this mountain like shape.


d) Piece 4--Take 1 piece measuring 1.5" x 4". On 1.5" side, score at 0.75".

Step 2: Apply glue to the one side of the pointed ends of piece 3, find the center of the outer
card(i.e., piece 1)and line the point up just under the crease and stick down, now apply
glue to the other side of the pointed end and close the card to adhere it to the outer end.


Step 3: Now, take the 'W' shaped card, i.e., piece 2, find the center of the mechanism, and place it.
Now put glue only at two places as shown in the pic. and adhere the 'W' shaped card. And
the first part is ready.


Step 4: Repeat step 2 and step 3 for the second part of piece 1.
Step 5: Now for the last pop-up panel, put the two portions as shown in the pic., join the two with
piece 4. And here, on this hinge, repeat step 2 and step 3.


(Sorry for not clicking for last pop-up panel...my camera died after this...)
And voila!!...Your pop-up mini album is ready.
Here are some final pics....