Wednesday, 7 April 2021

Mixed Media Butterfly

 Namaste Friends!!

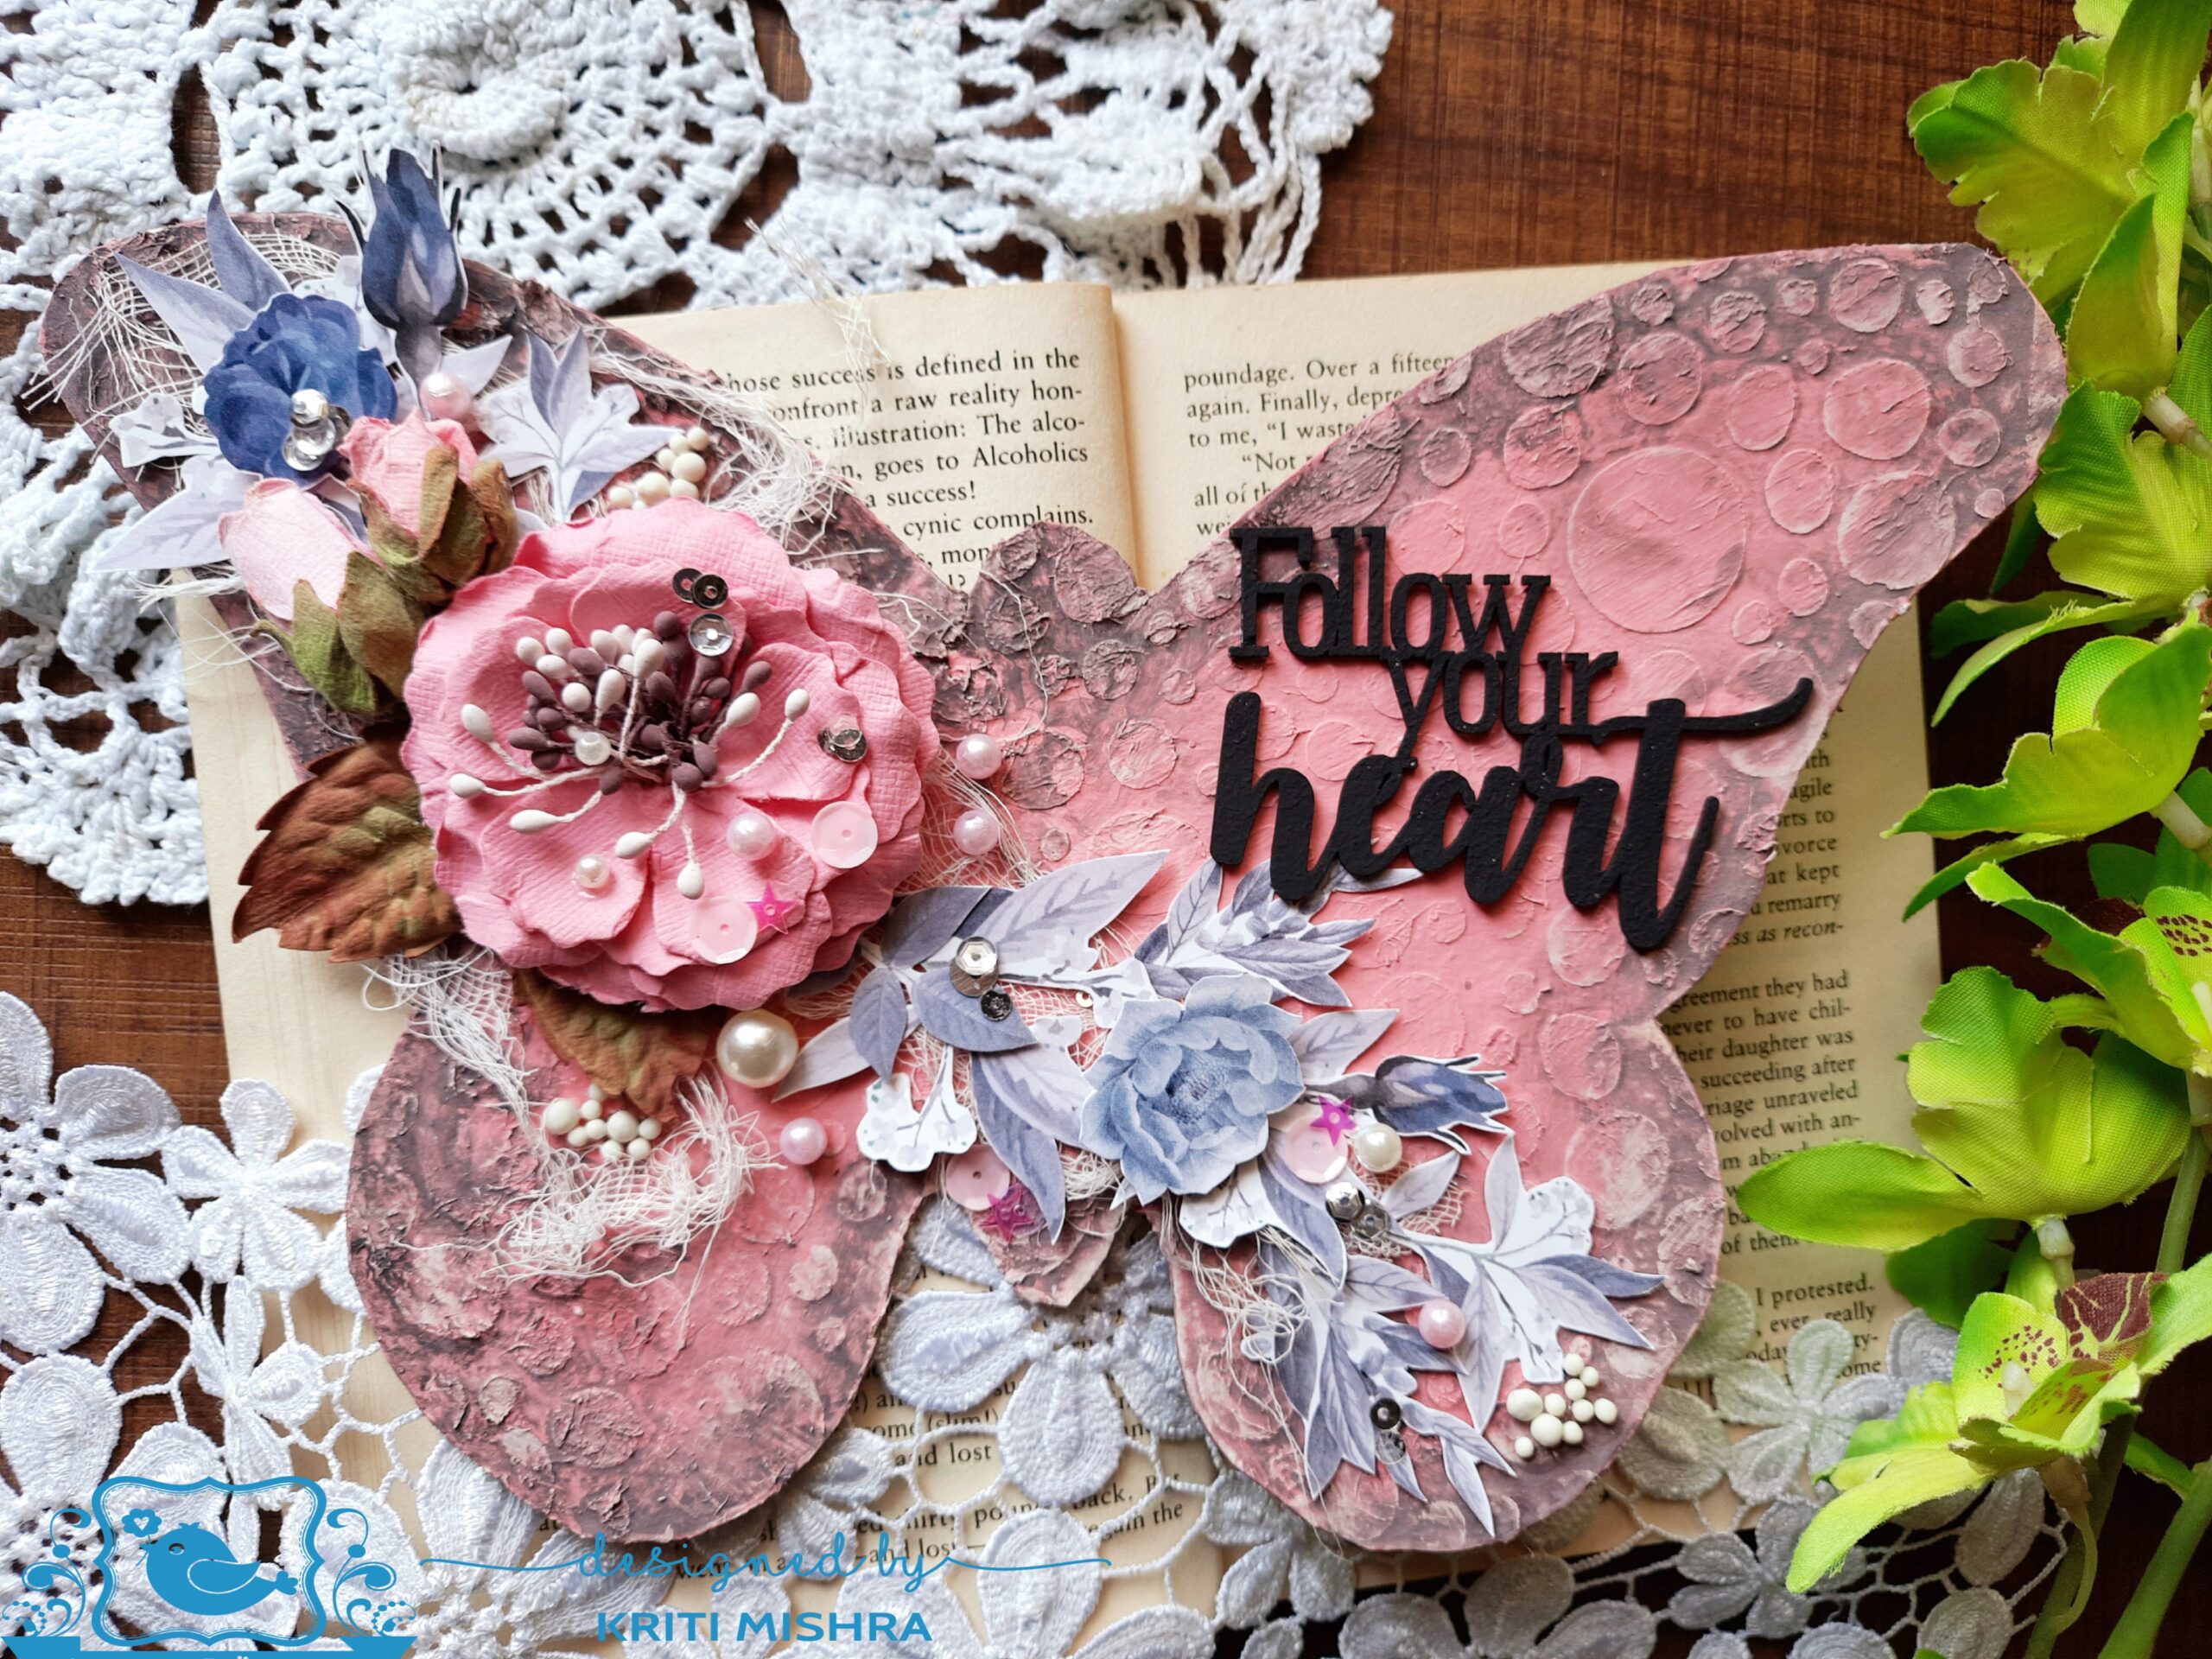
I am Kriti Mishra. Today I will share a pictorial of a mixed media butterfly with you.


Here is my  project….


Tutorial


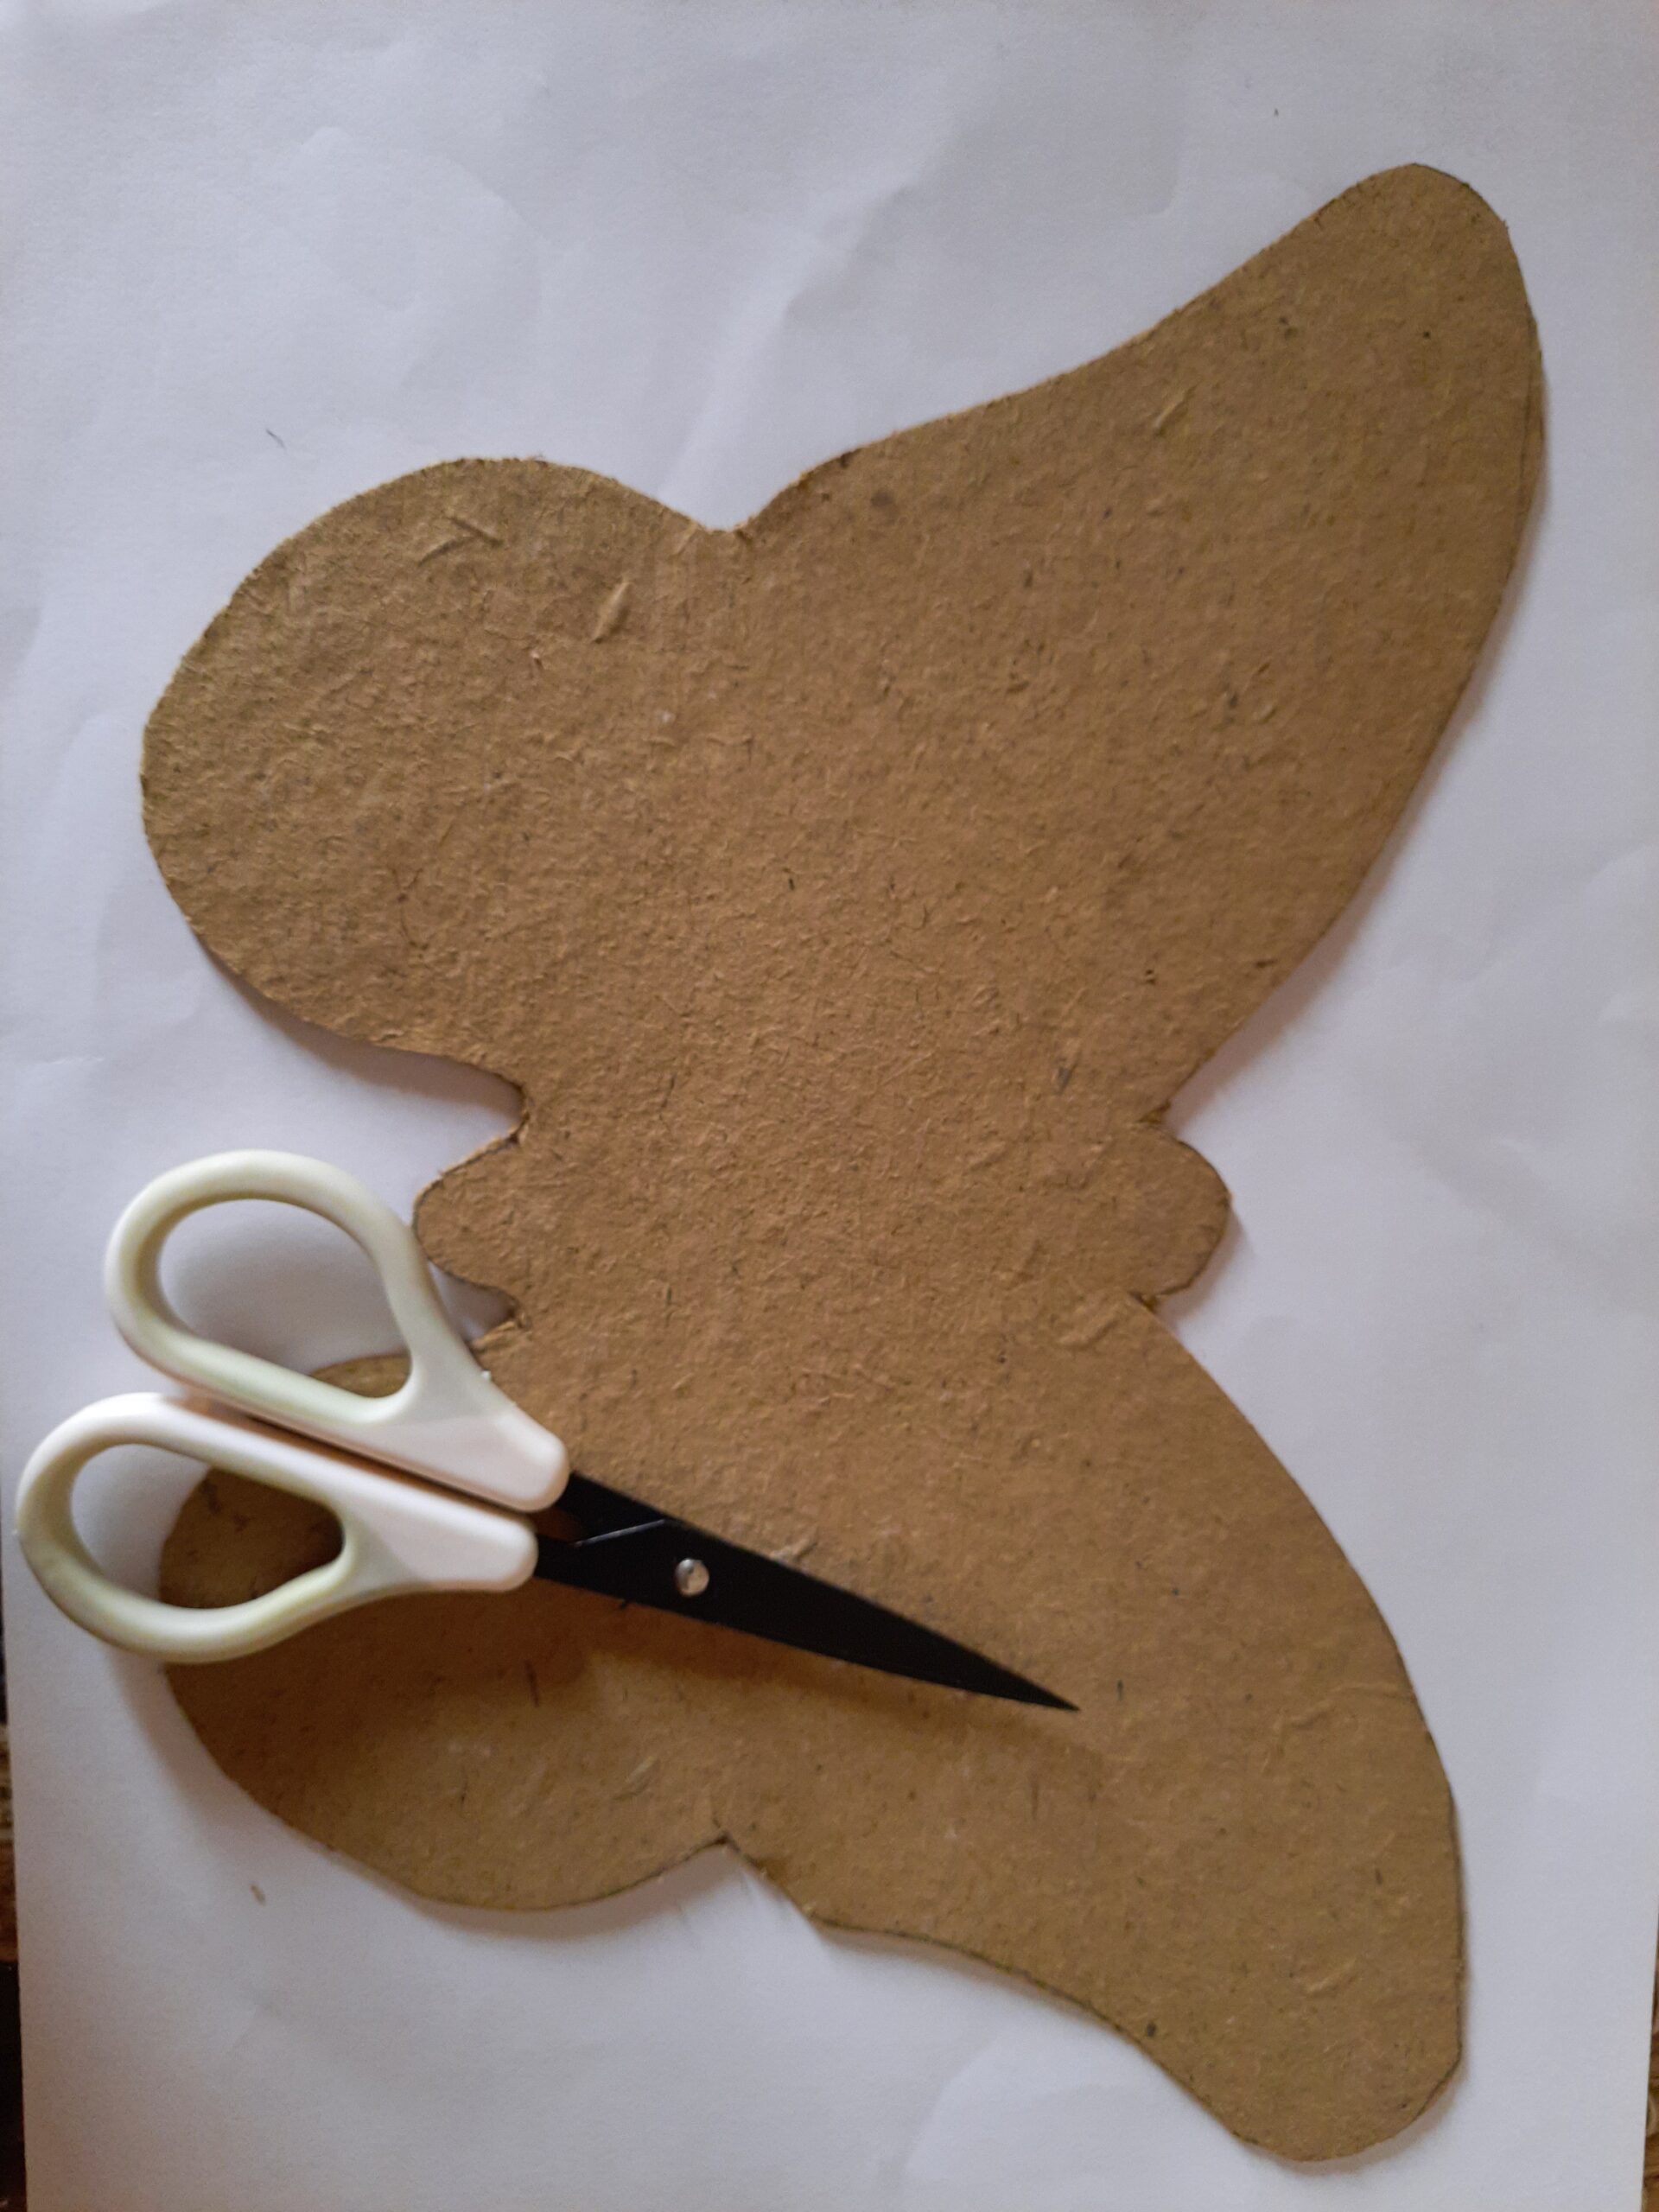
Step 1: First I took a piece of a thin cardboard and drew a big butterfly. I have use a printed template from the internet to cut this butterfly. Then, I cut that using sharp scissors.


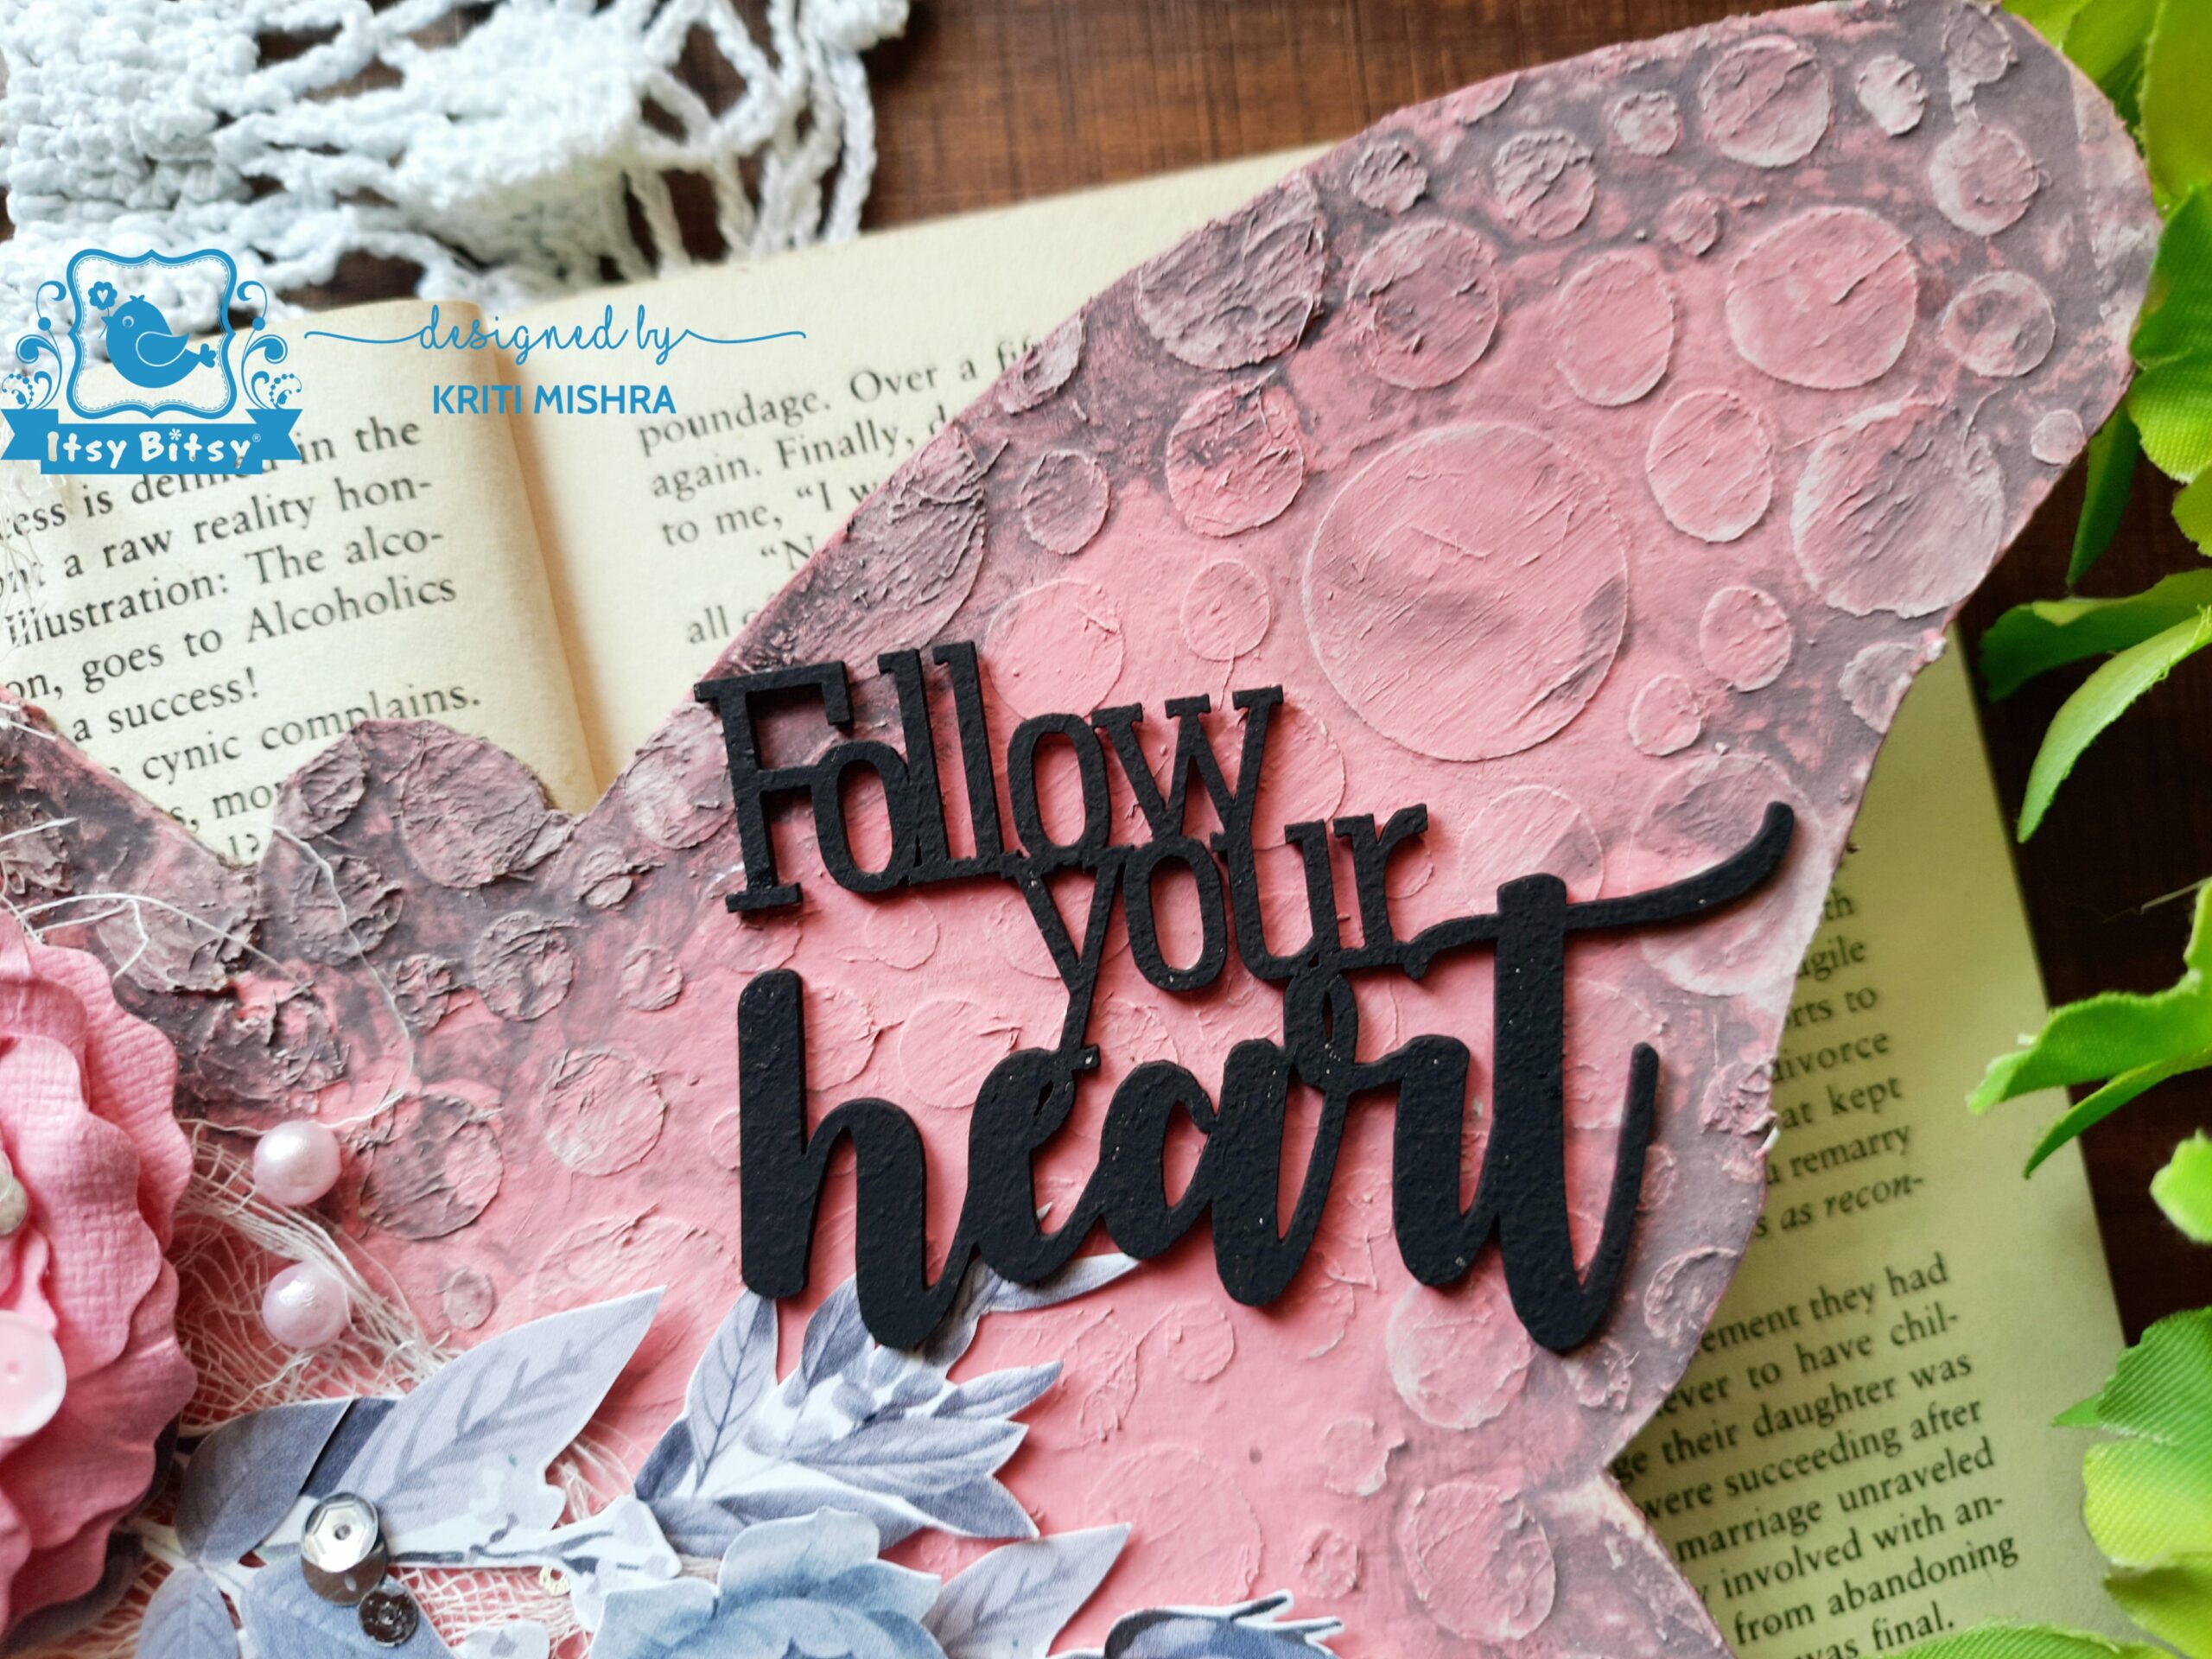
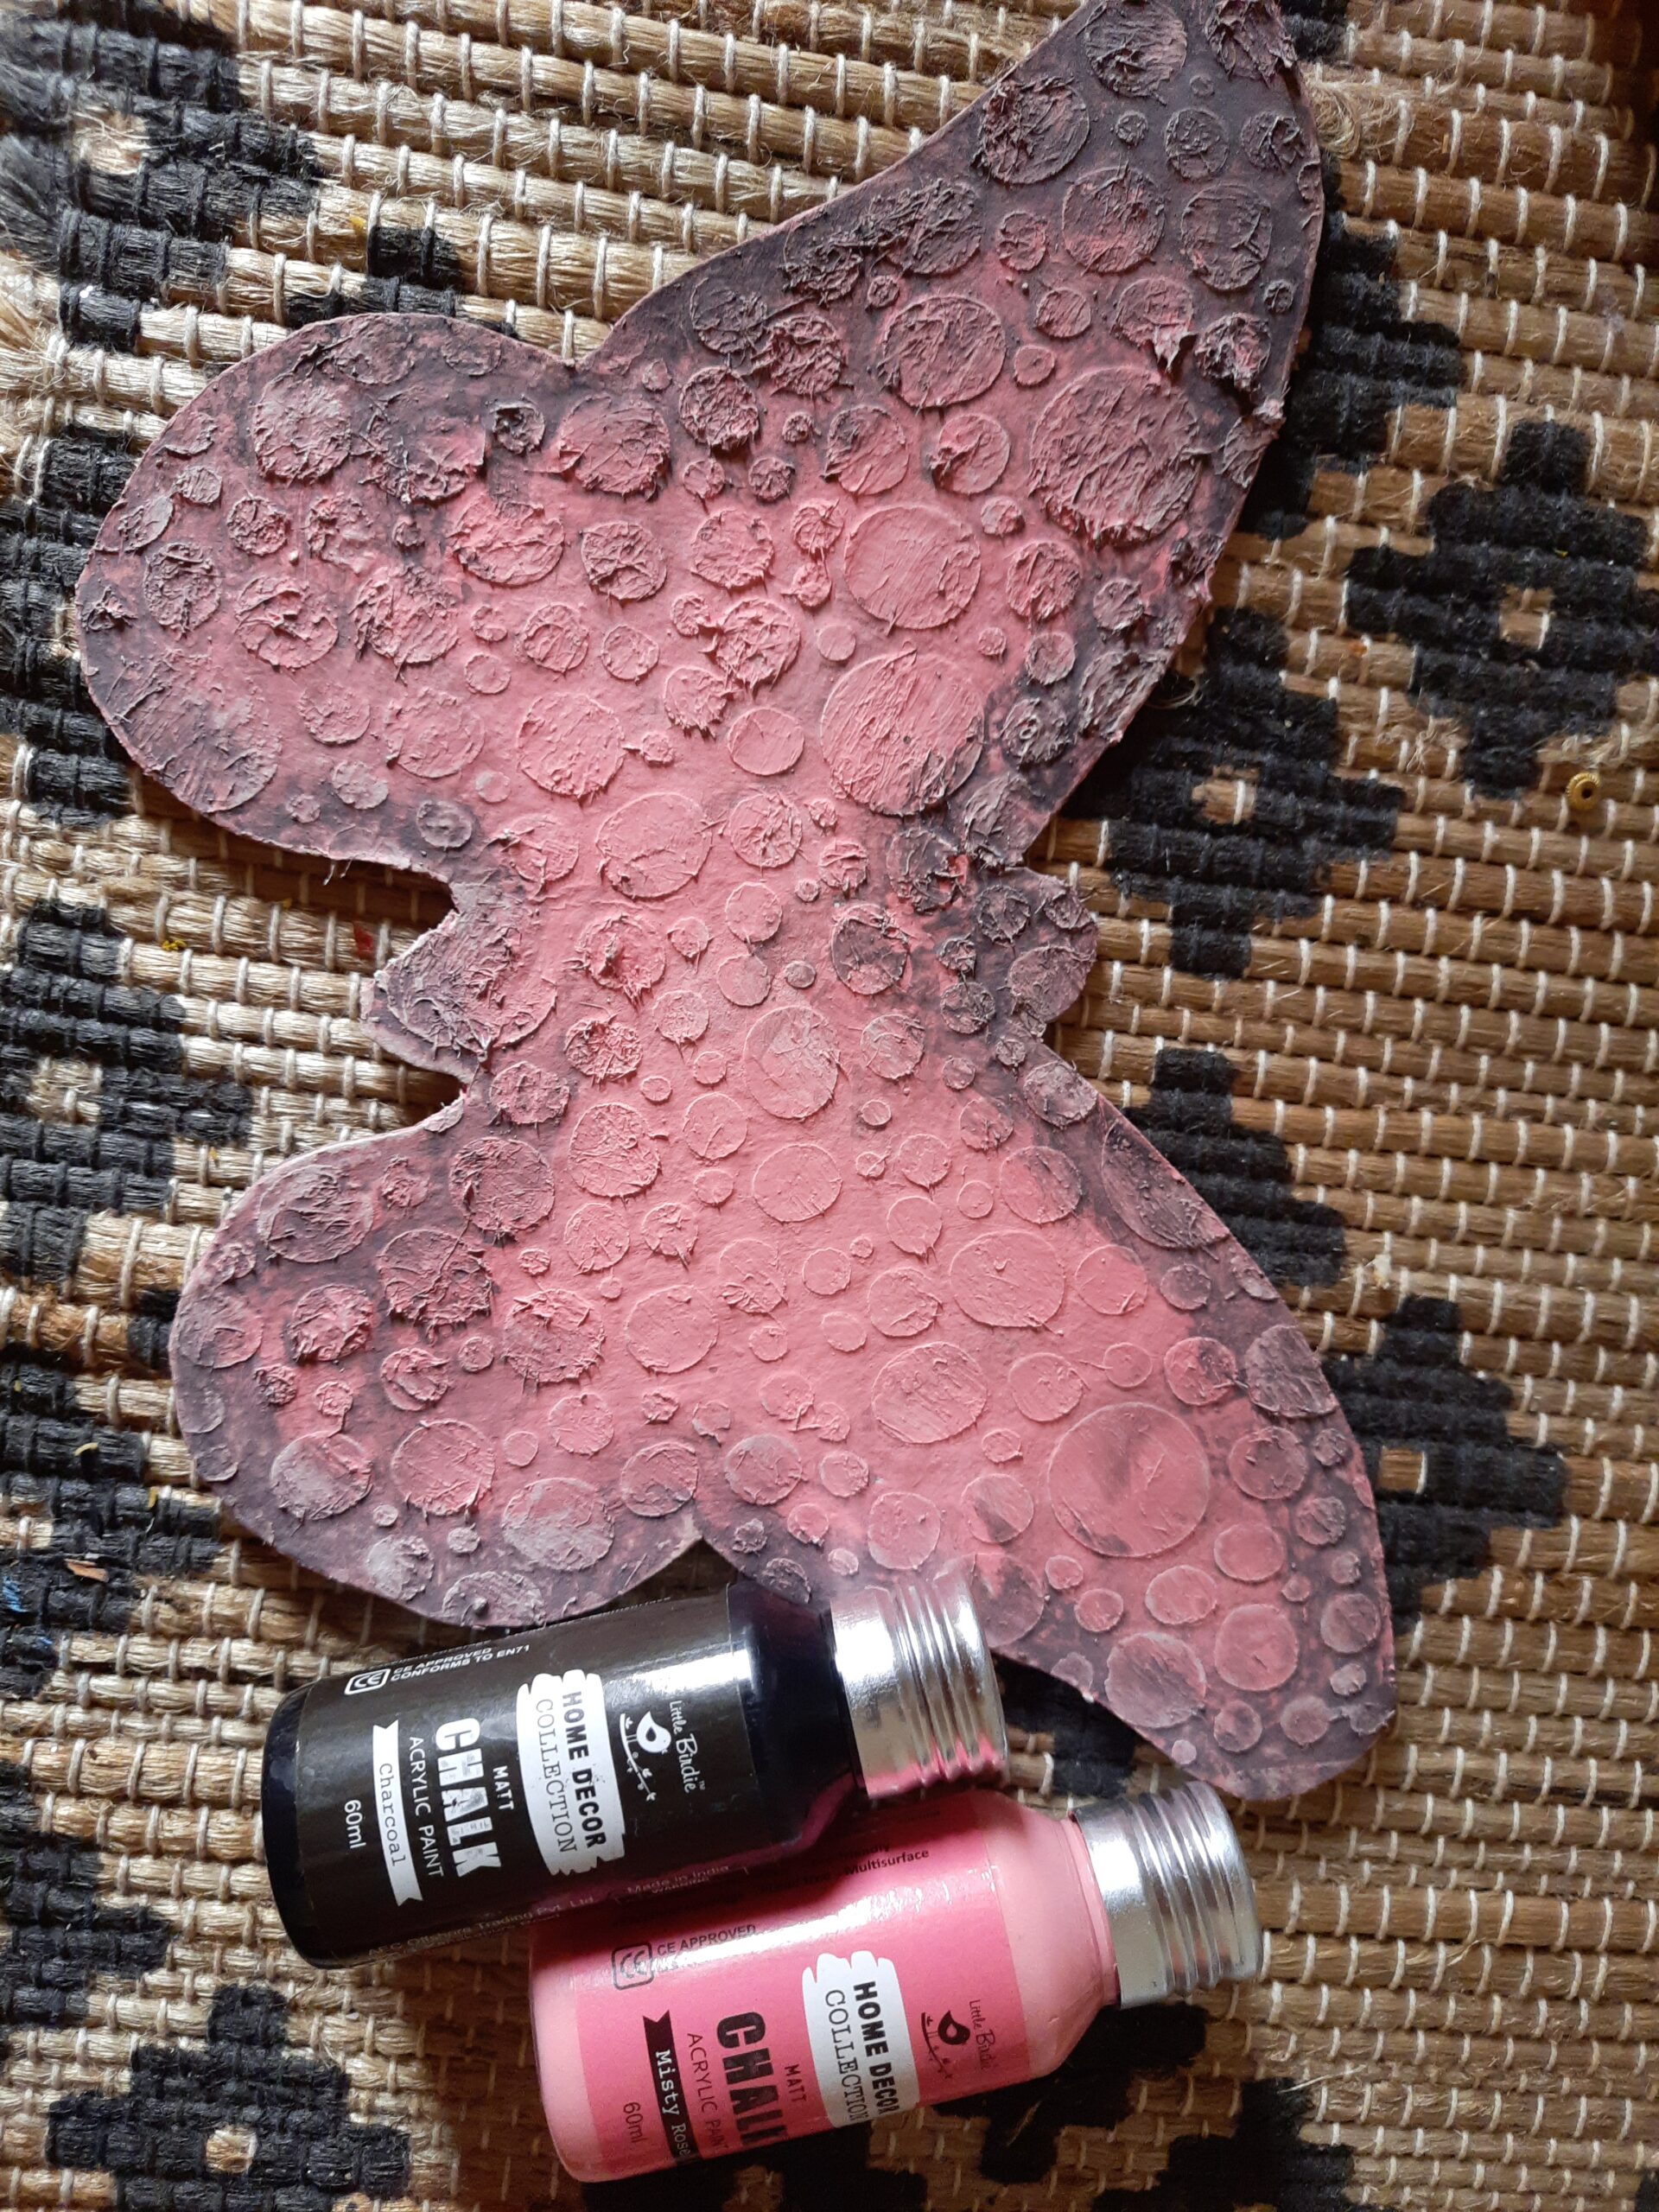
Step 2: Next, It was time to prepare the base. For that, firstly, I applied Little Birdie’s Clear Gesso to the  base (It makes the base non-porous, plus the colour of the base remains intact . When it dried, I applied Little Birdie Fiber Paste through the ‘Irregular Dots’ stencil.


Step 3: Now, the fun part begins! It’s the time to play with the colours. I have selected chalk paints this time to get my desired shades.

I have used mostly Little Birdie Misty Rose Chalk Paint and to highlight the edges, I have used Little Birdie Charcoal Chalk Paint.


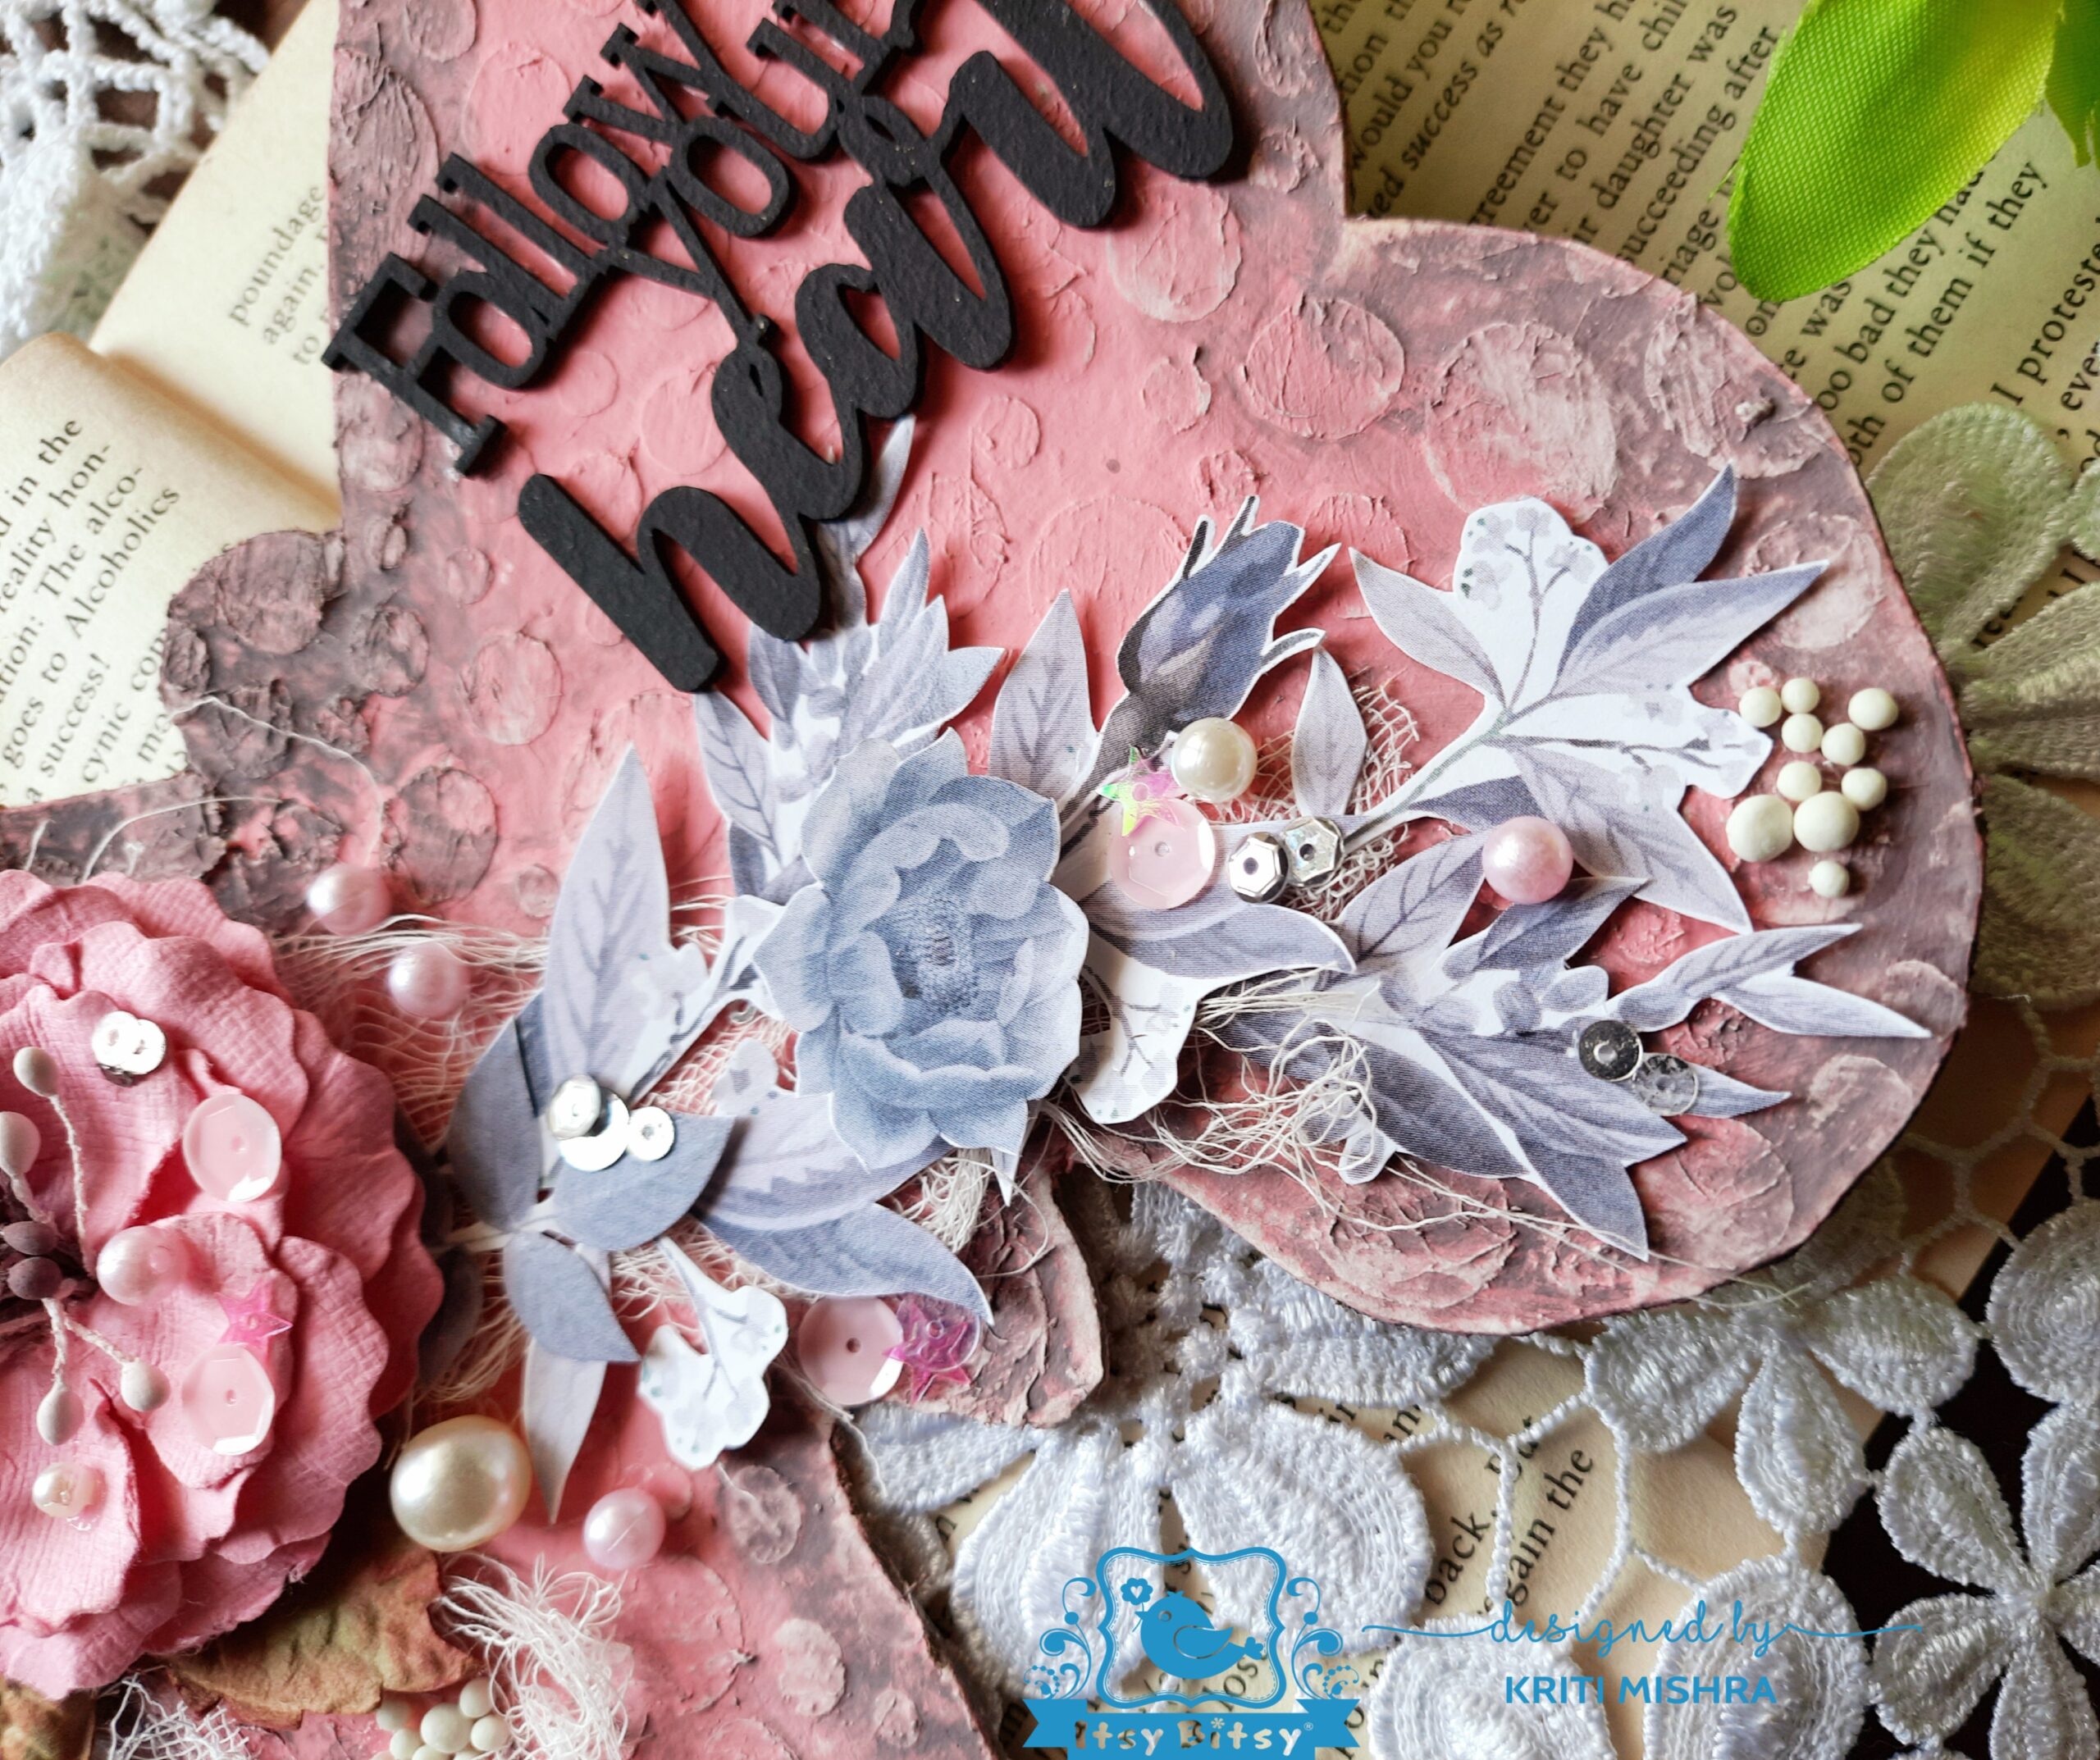
Step 4: When the base was ready, I decided to do the final part which is to assemble the other components to finalize the composition. I have selected one focal point and decided to let the elements flow.


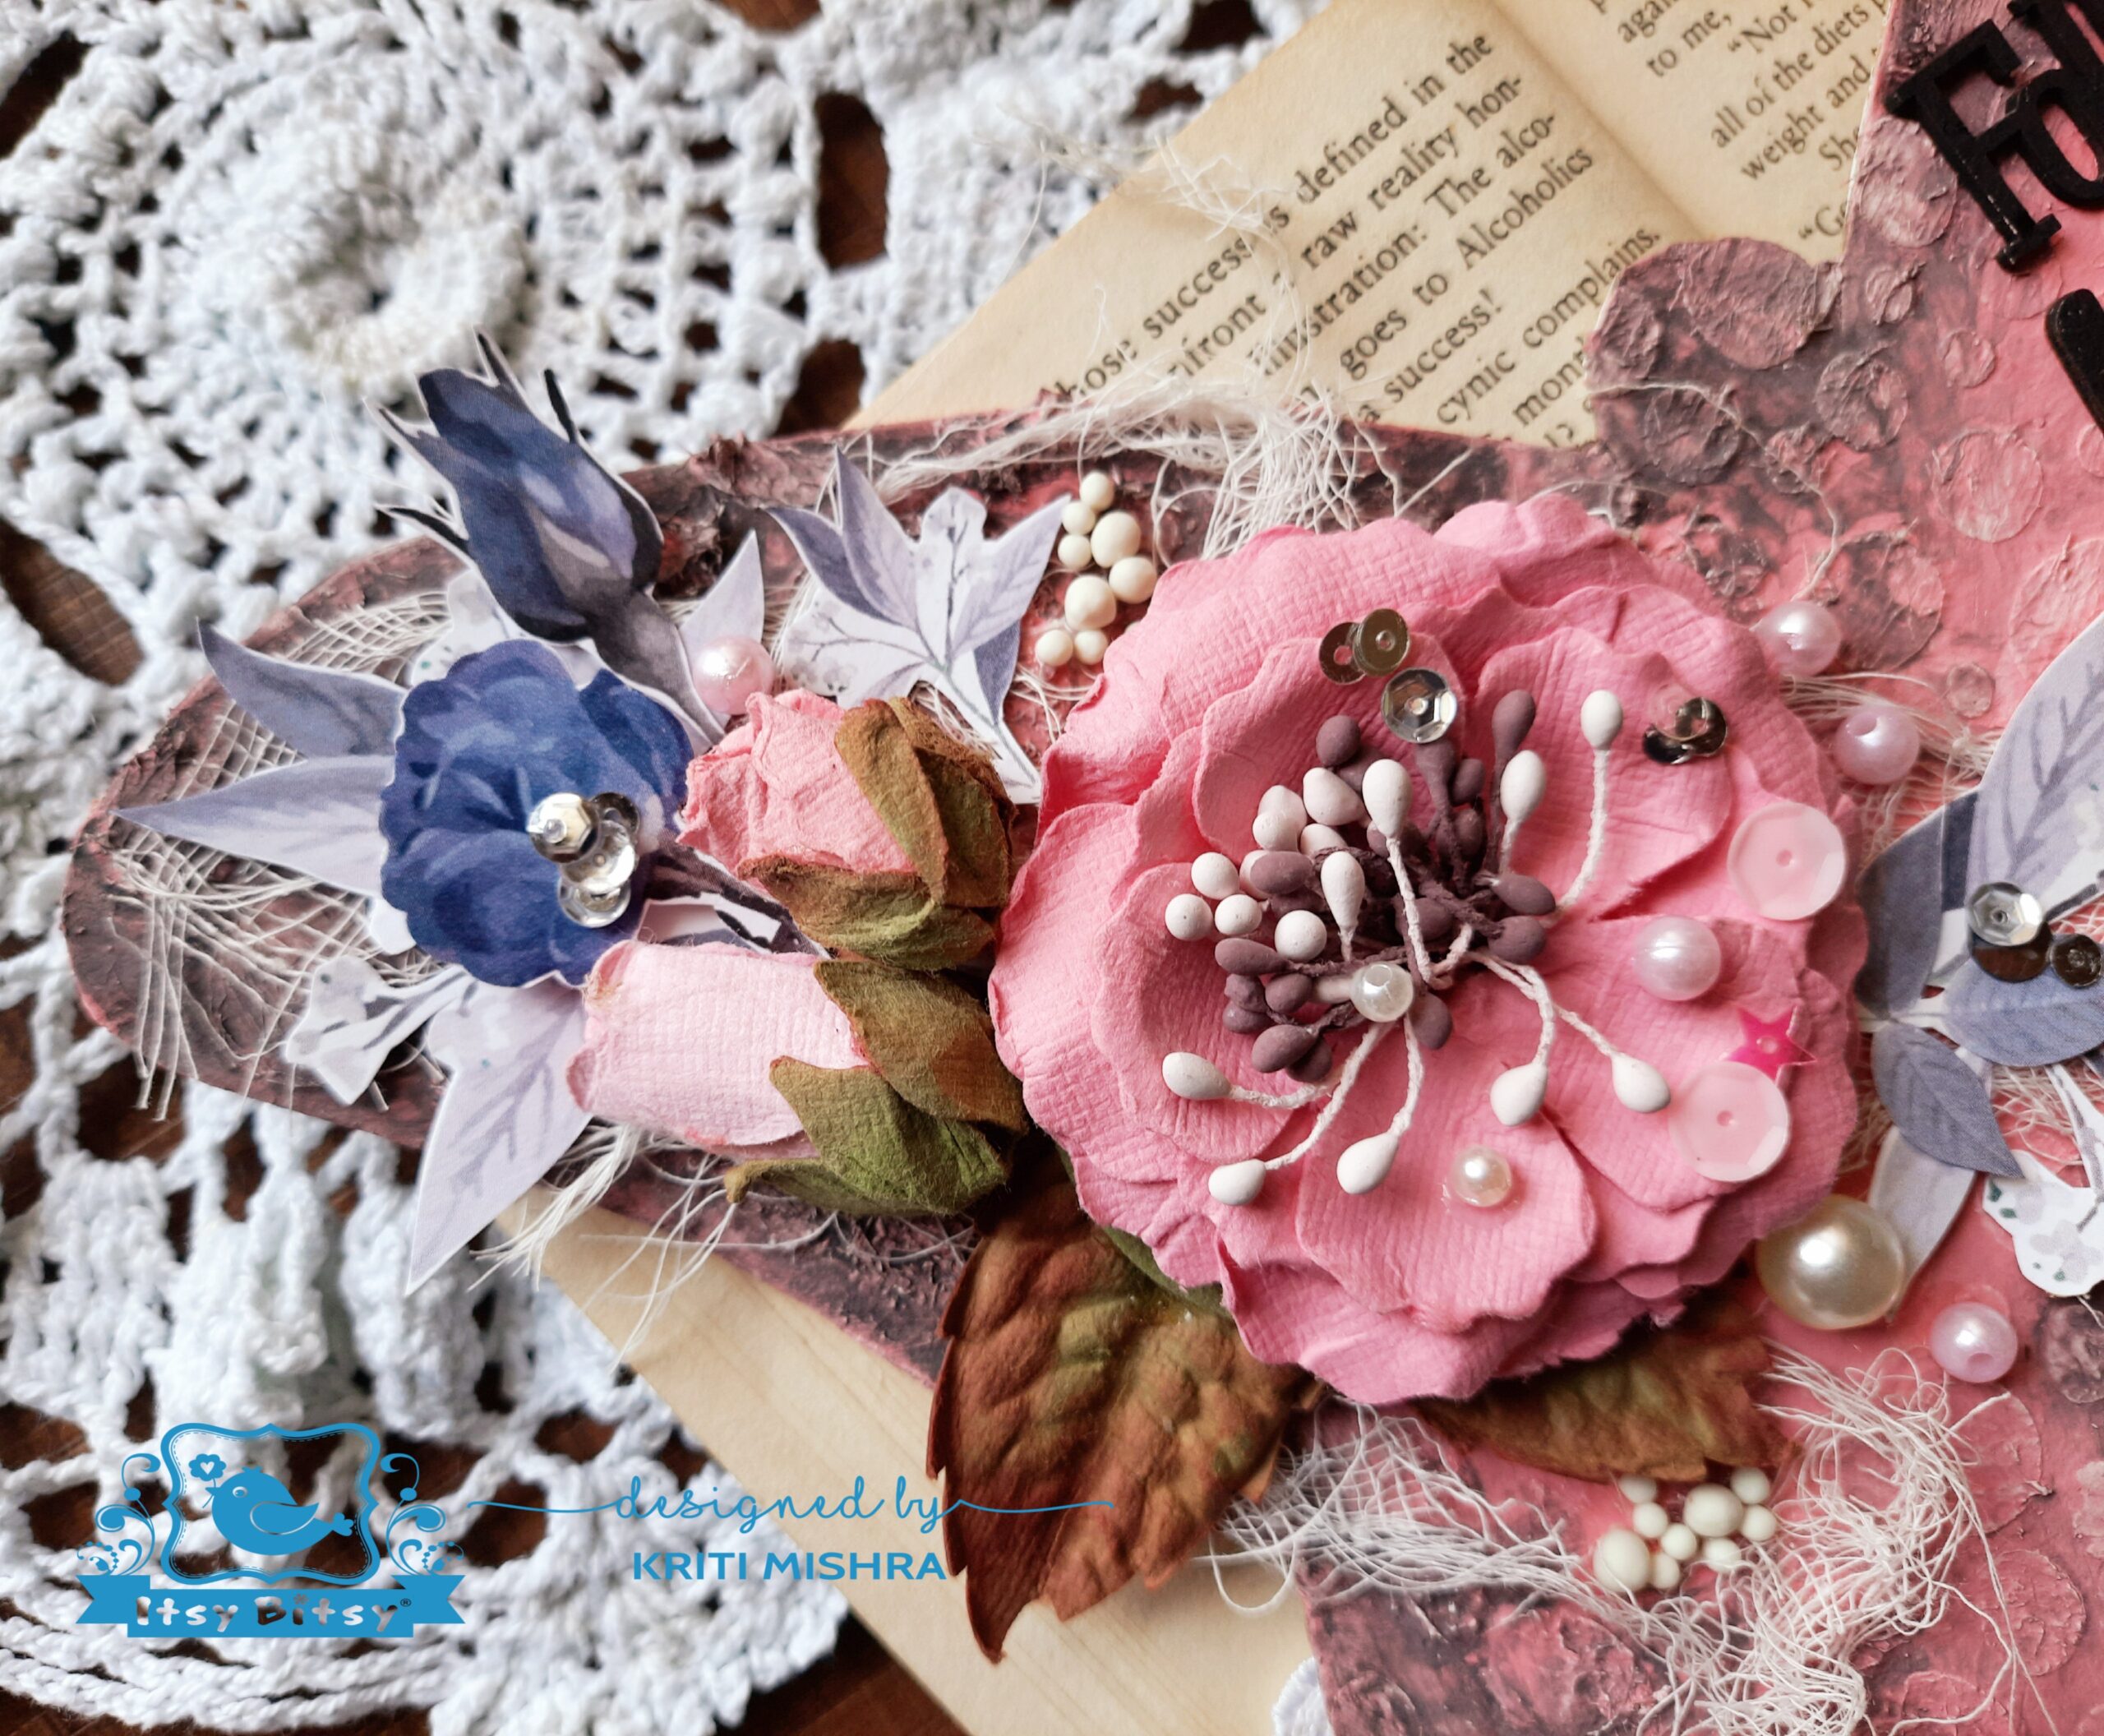
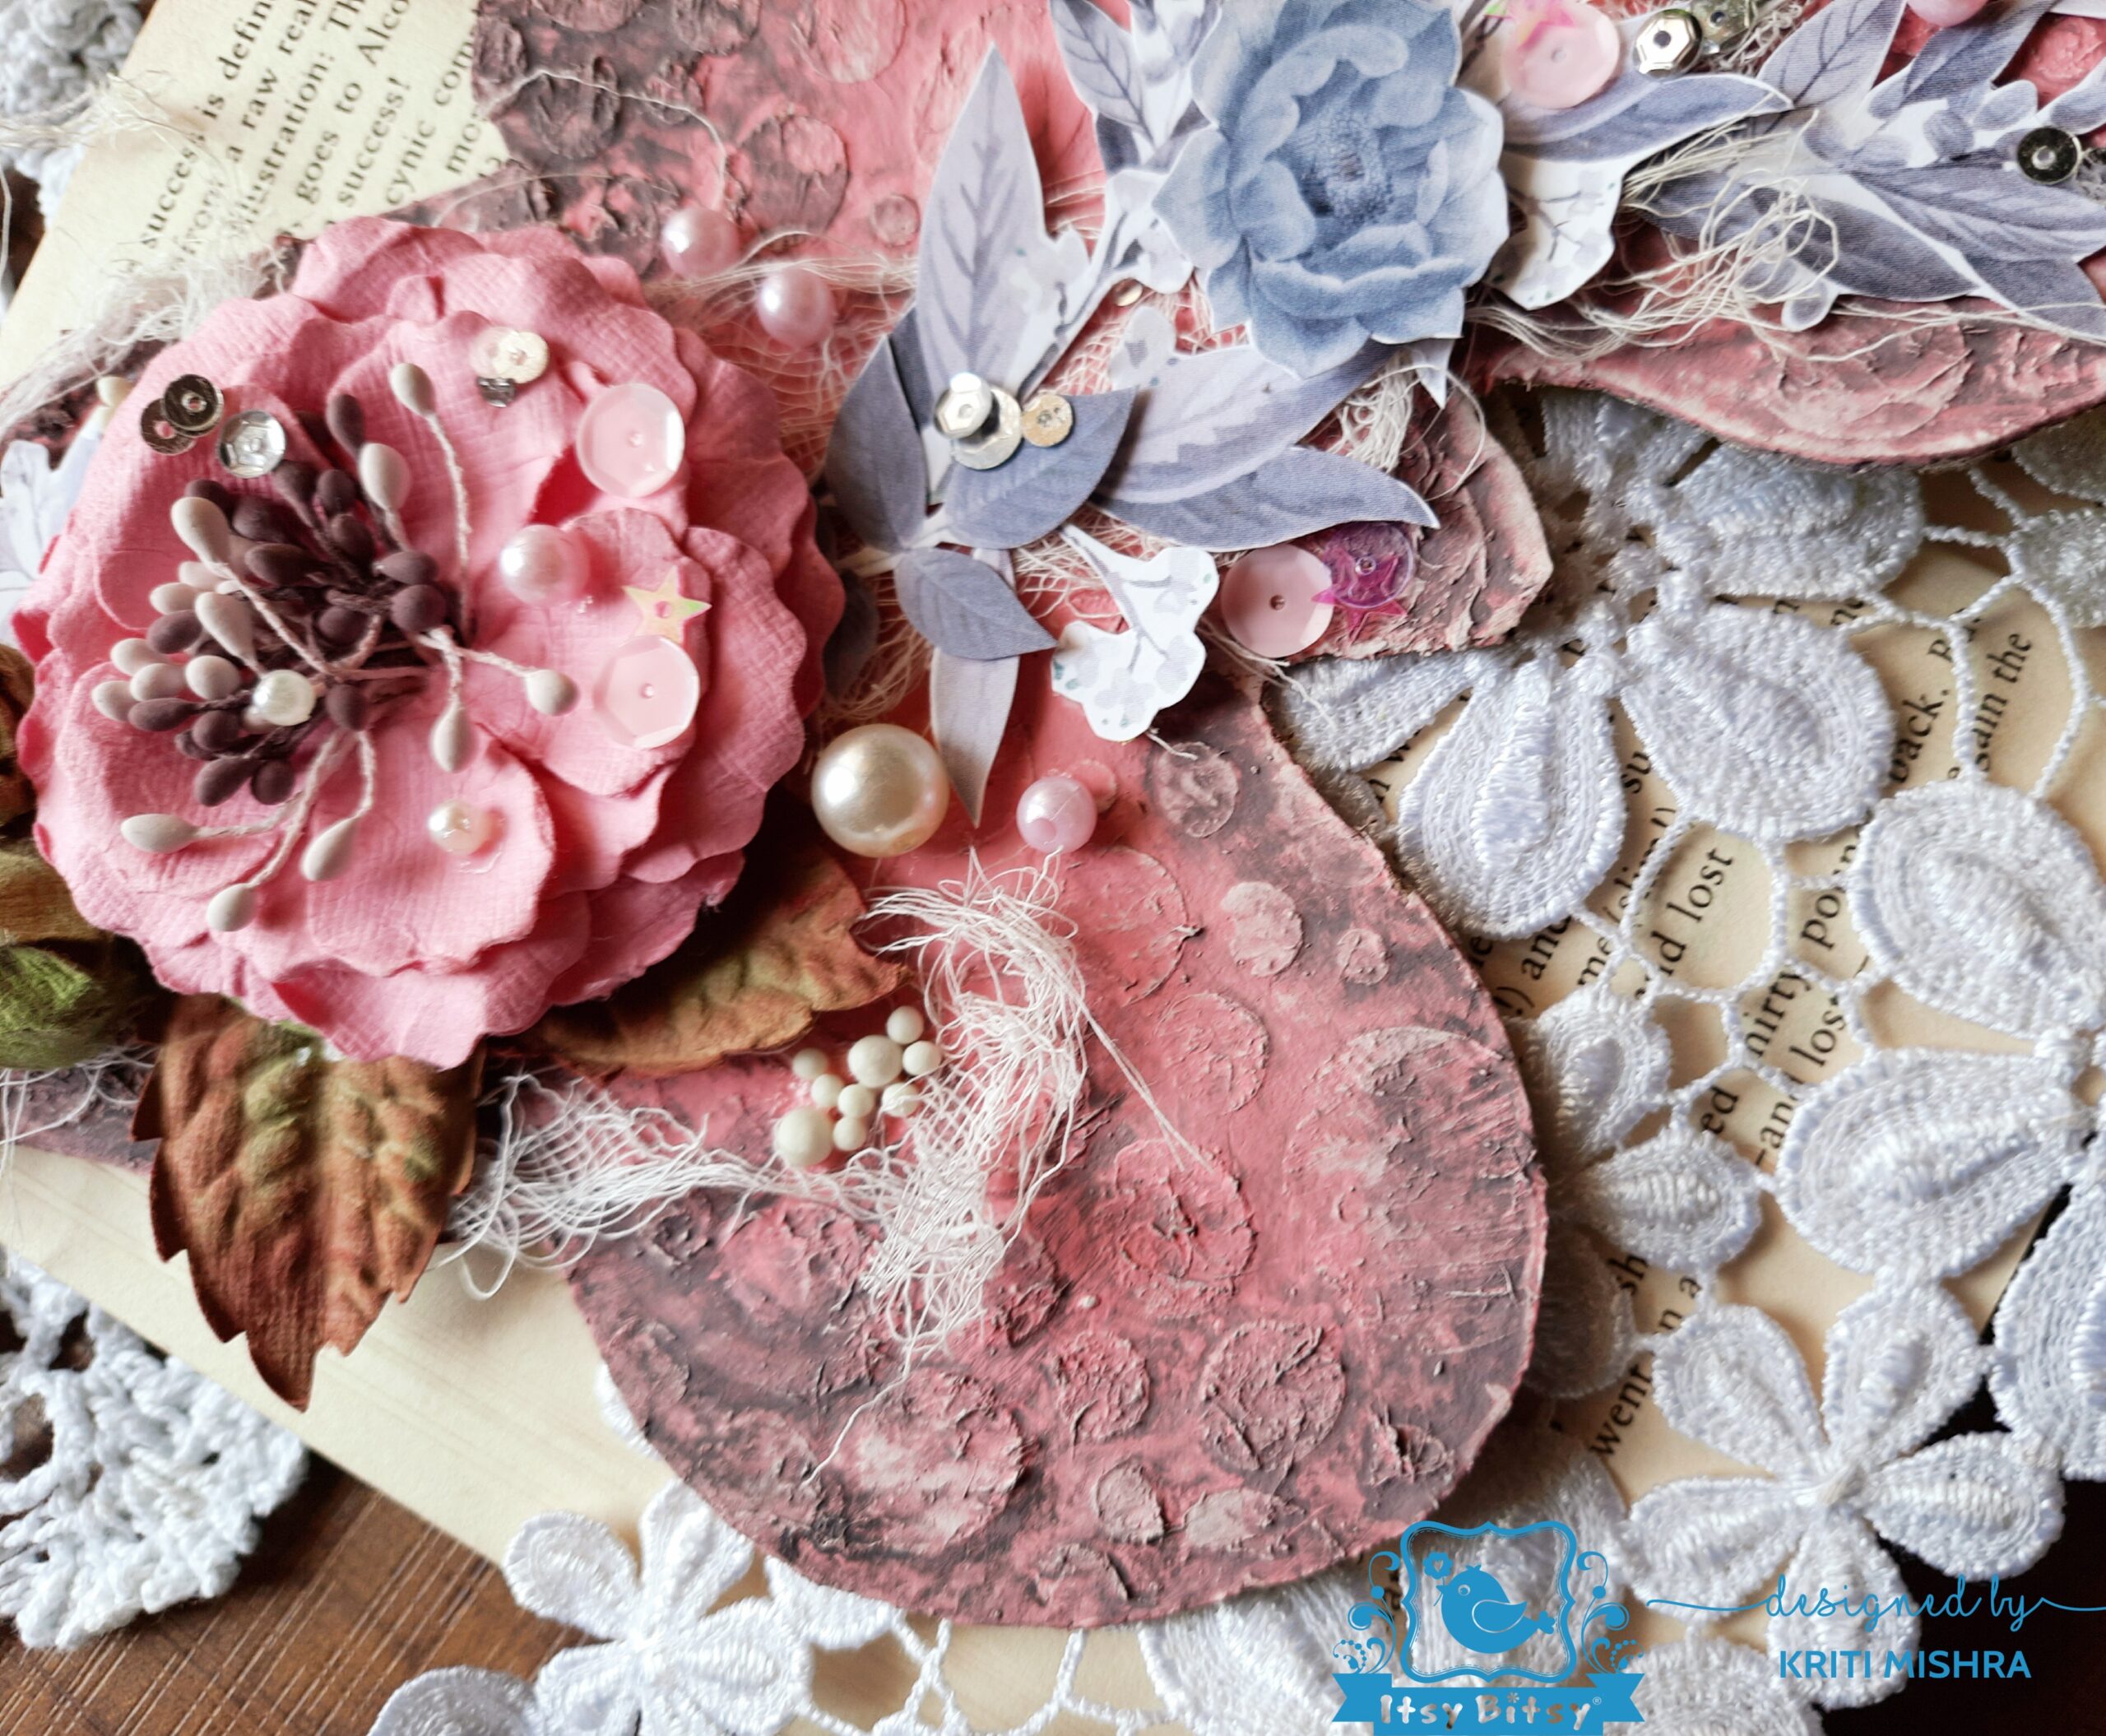
For this, I have used some die-cut leaves and flowers, Little Birdie handmade flower, “Follow Your Heart” chipboard ( which was coloured using Little Birdie Charcoal Chalk Paint), Little Birdie Sequins Medley – Angel Wings, Sequins assorted pink mix, cheesecloth, craft pellets and pearls.


Few close-up pics…


I hope you liked my project…


Kriti Mishra

Wednesday, 24 March 2021

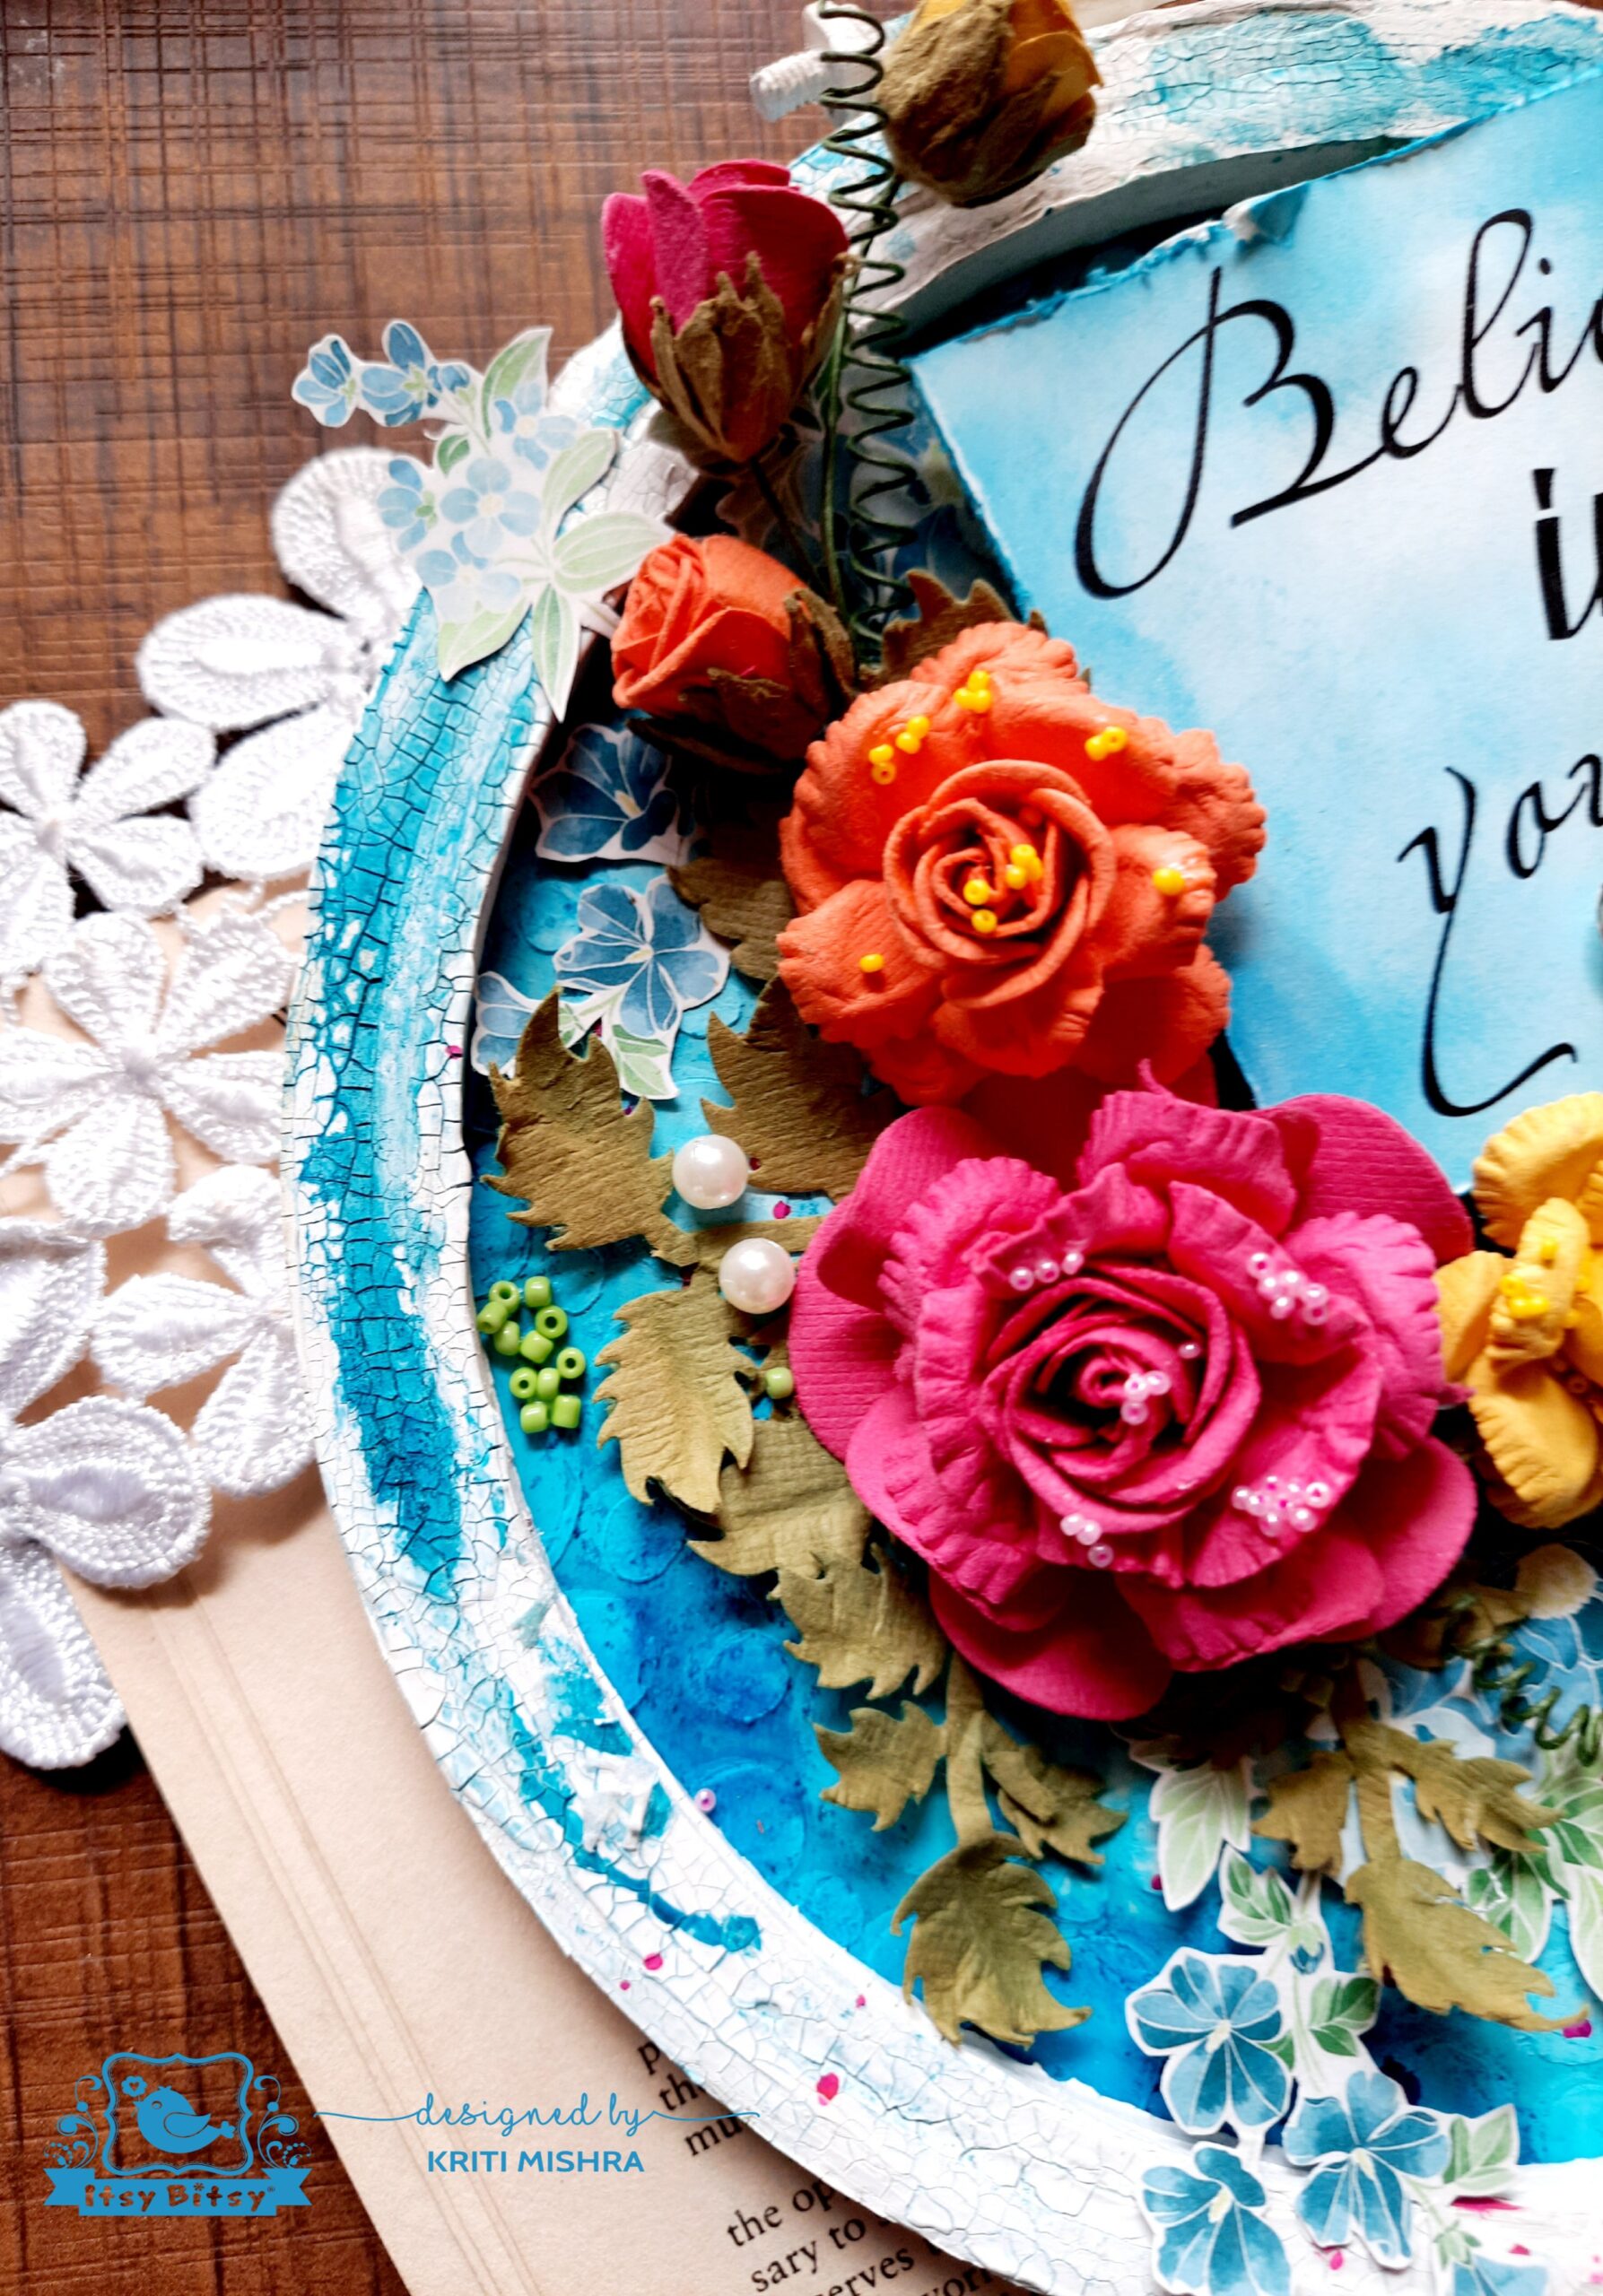
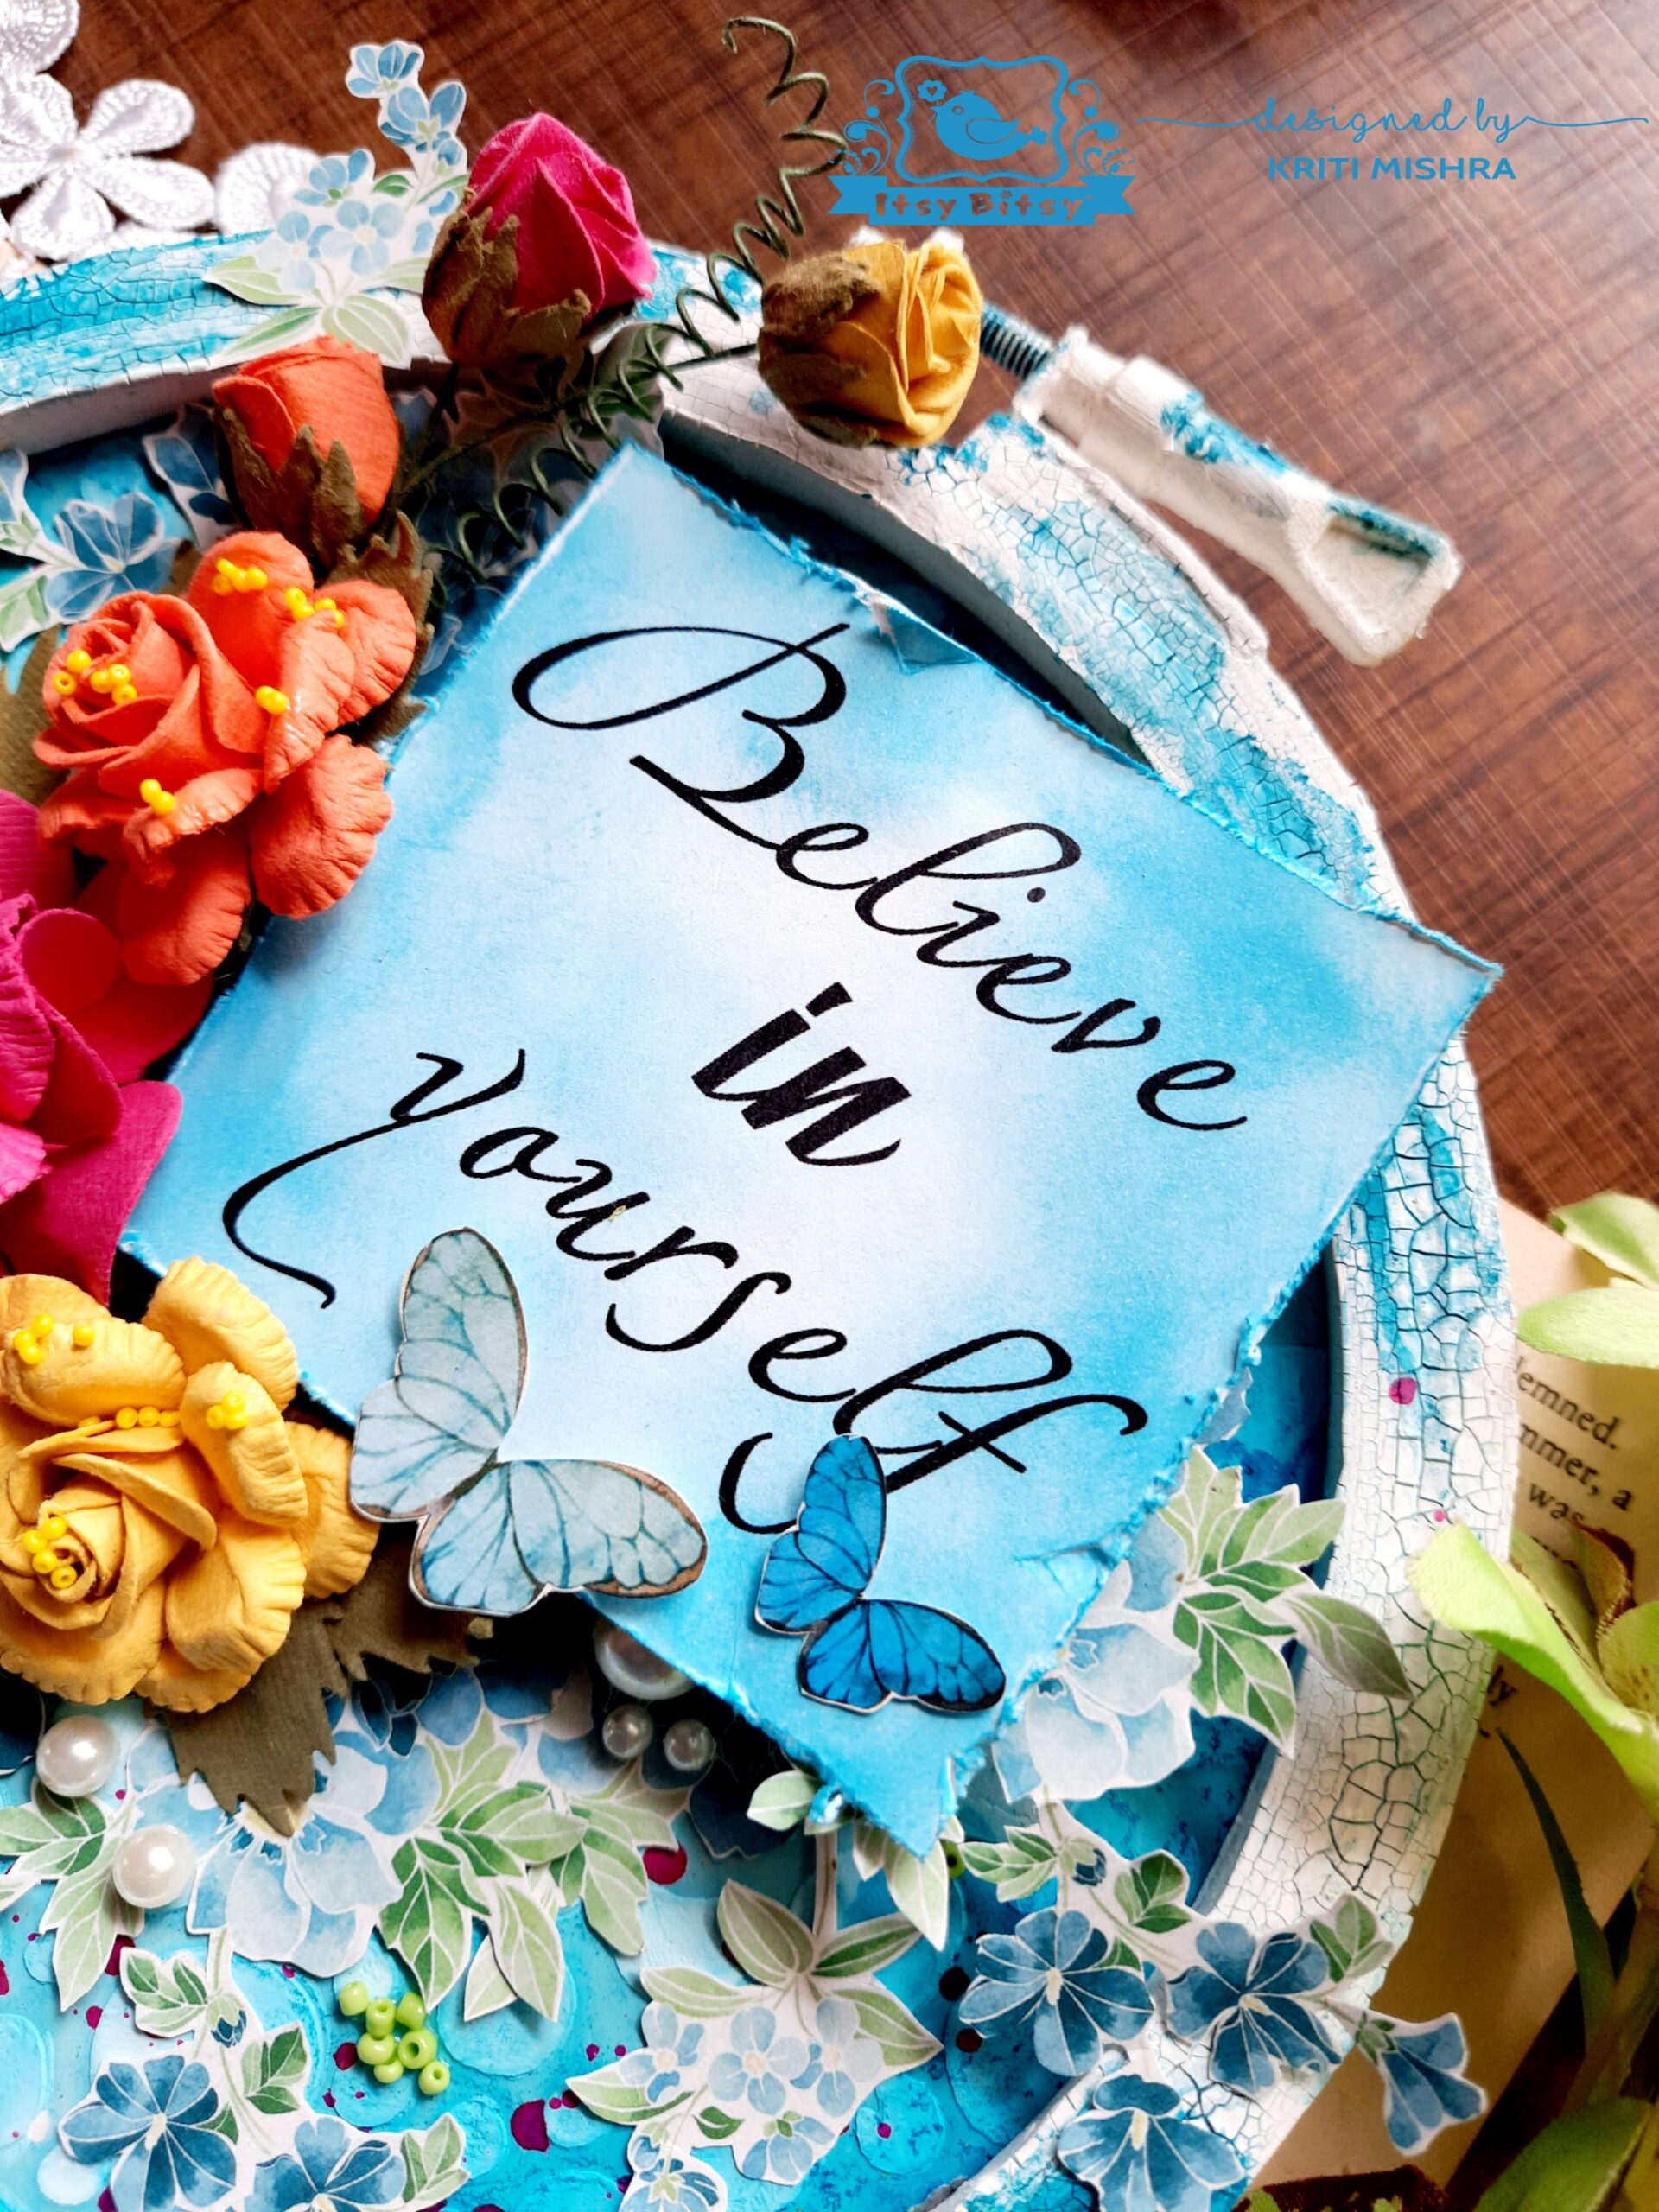
Altered Embroidery Hoop – Believe In Yourself

 Namaste Friends!!

I am Kriti Mishra…..and today I will share a photo tutorial with you, for an altered embroidery hoop.


Here is my altered project….


Tutorial

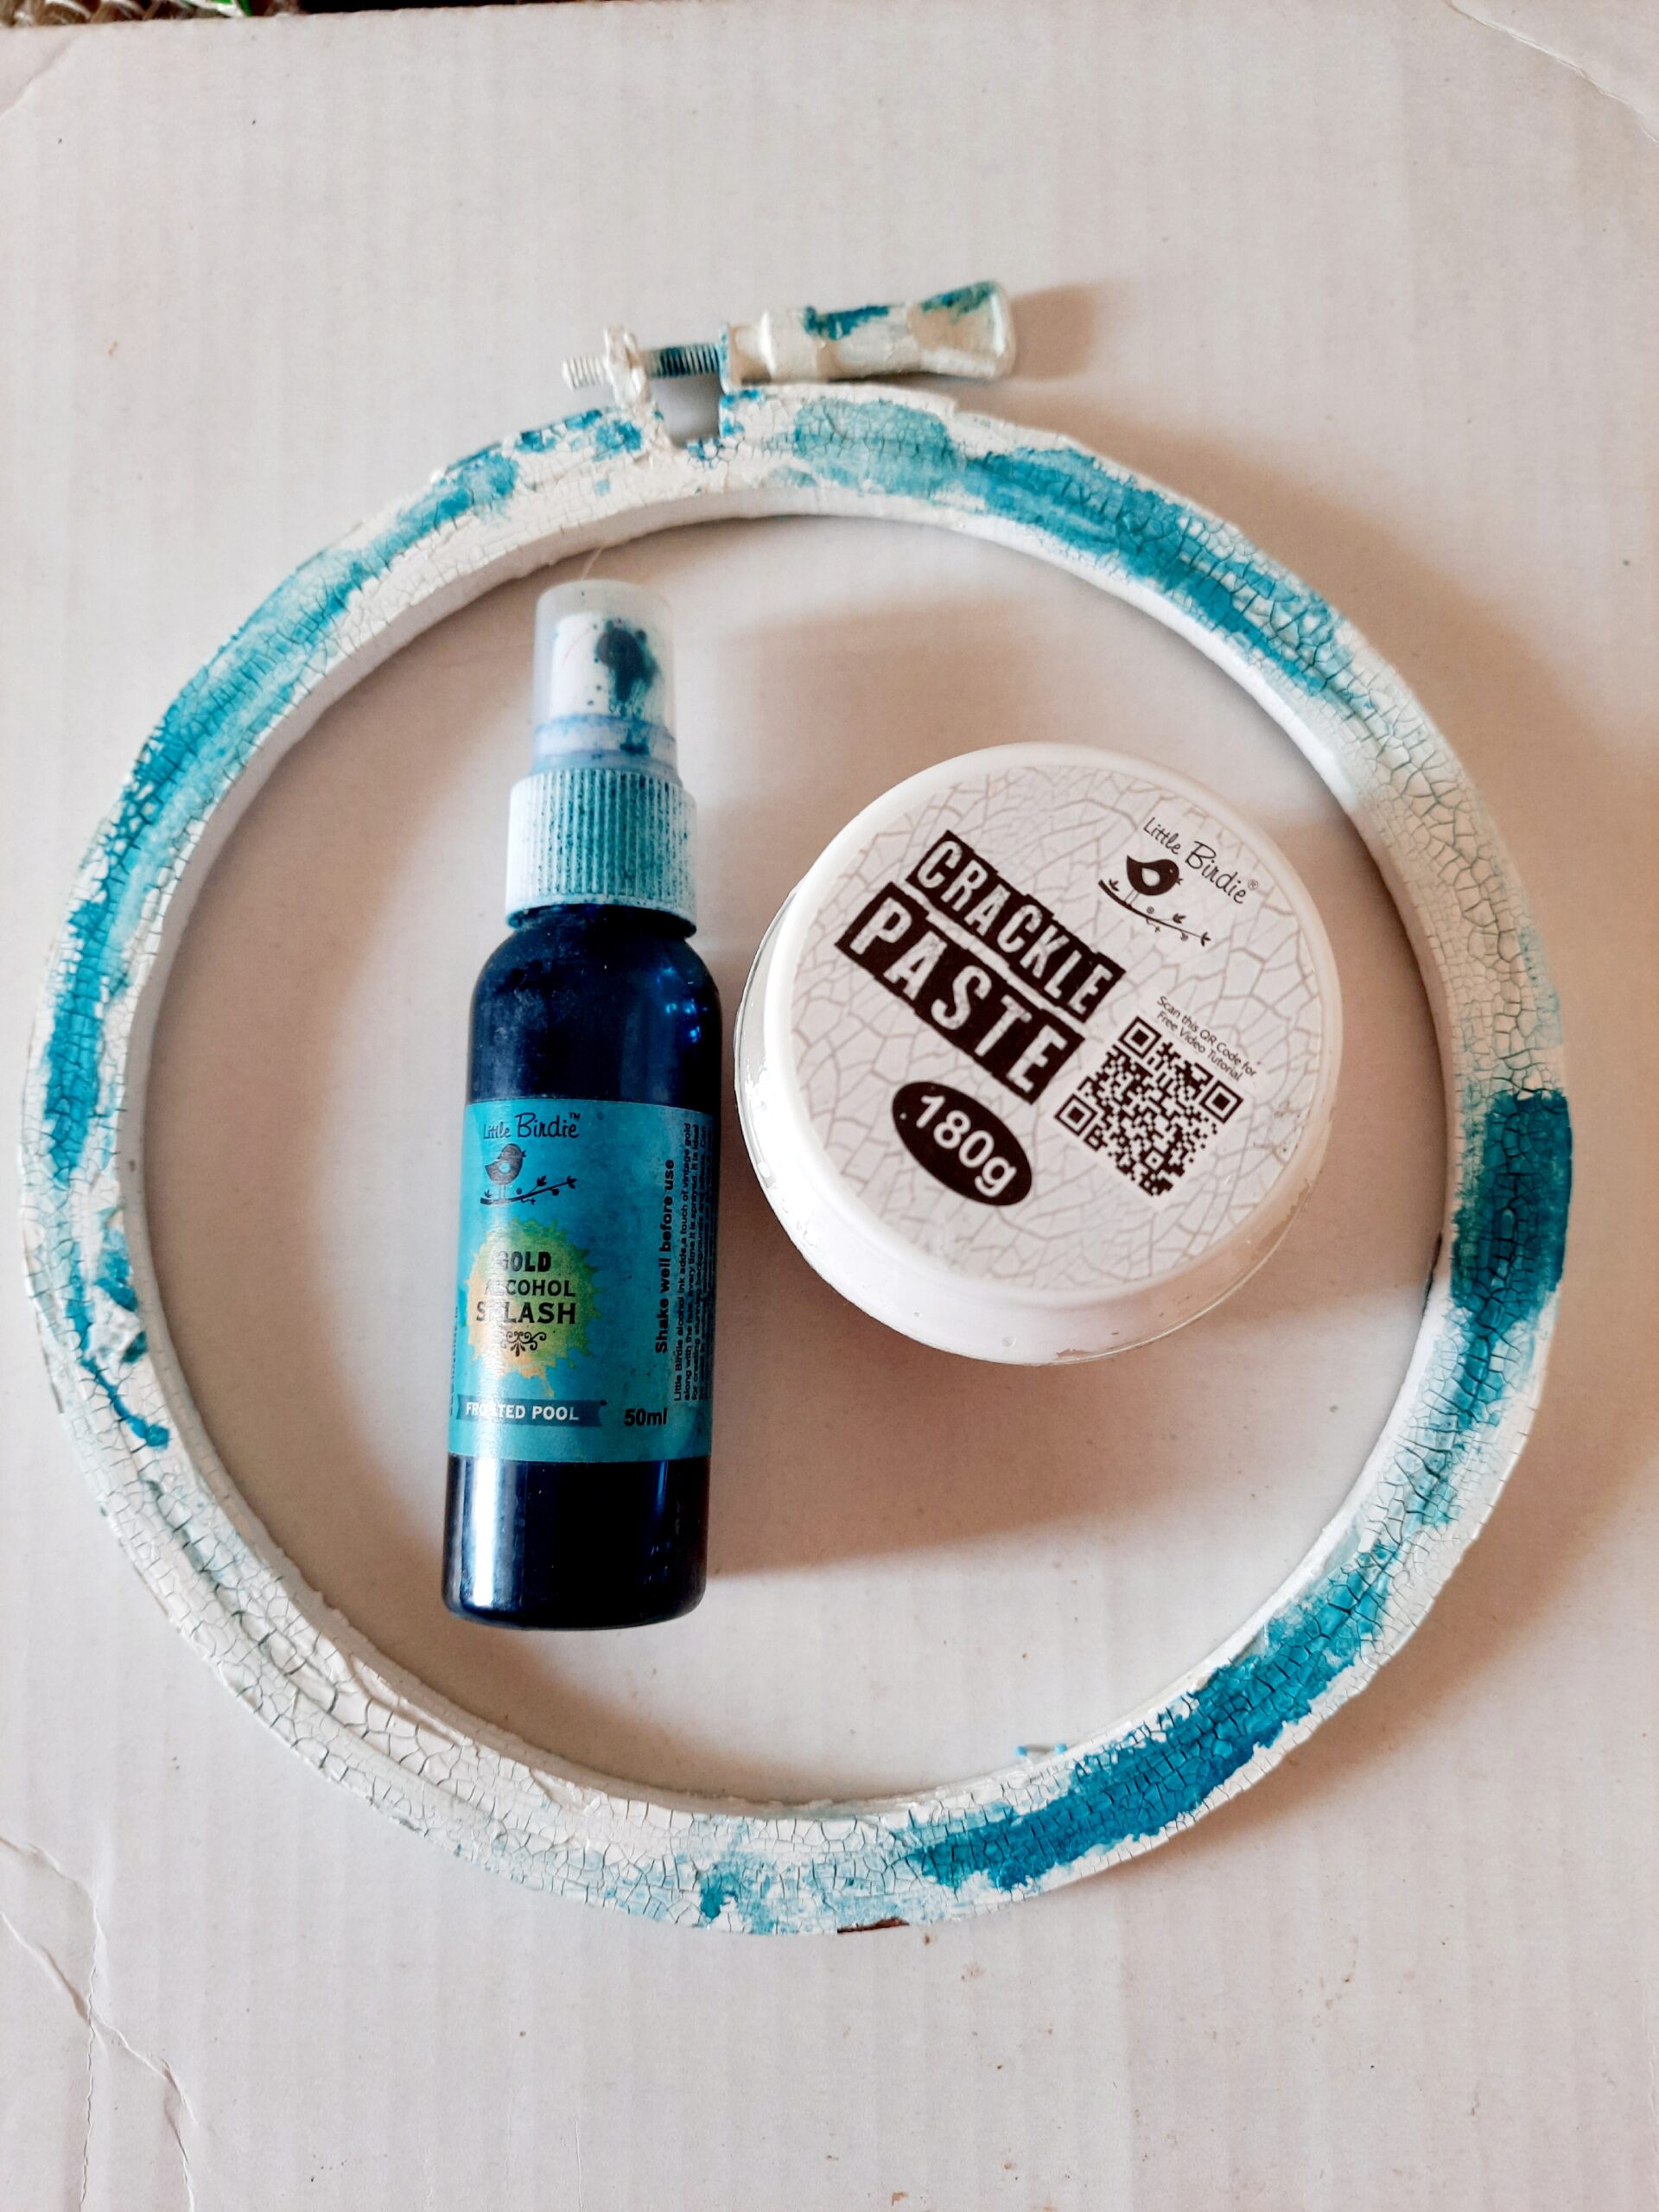
Step 1: First I took an embroidery hoop and covered its upper edges with Little Birdie’s Crackle Paste. I put a generous amount of crackle paste to get thick cracks. After it dried, I sprayed Little Birdie’s Frosted Pool – Alcohol Splash in a  few areas.


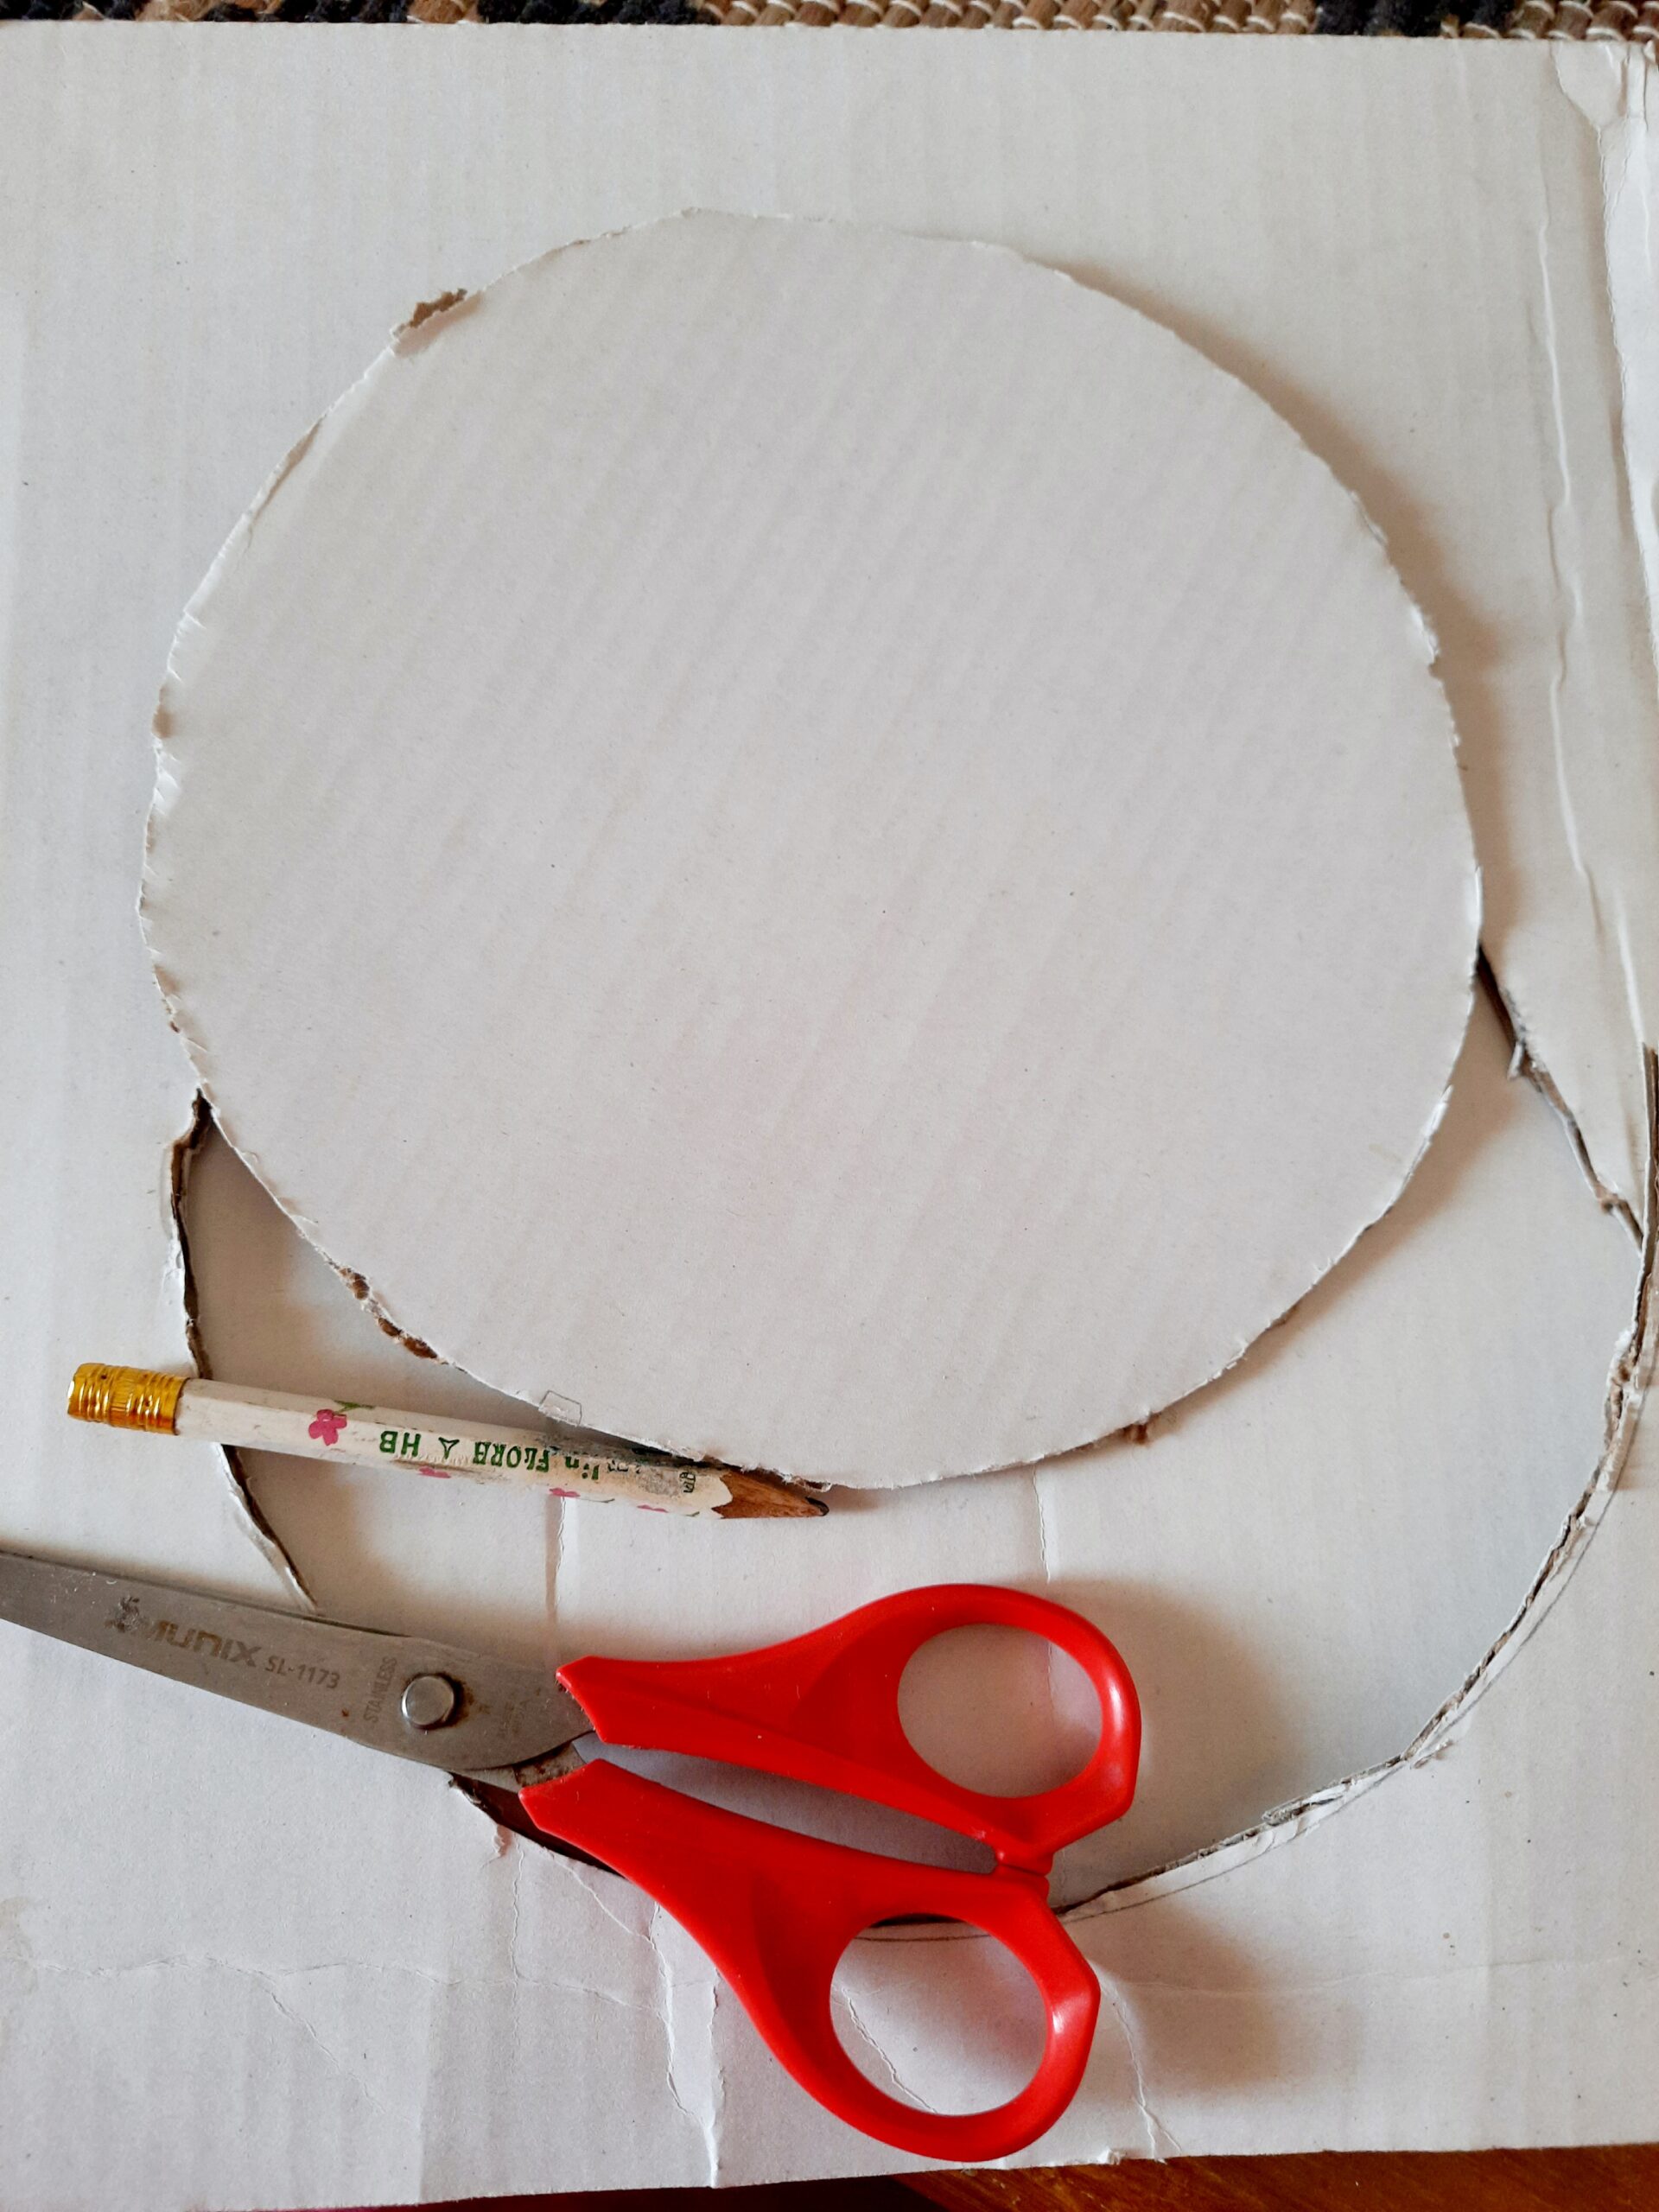
Step 2: I cut a circle from a cardboard using the outer circumference of the hoop as measurement (this is to make its background) Here we can use paper also, but to make it sturdier, I used a cardboard.


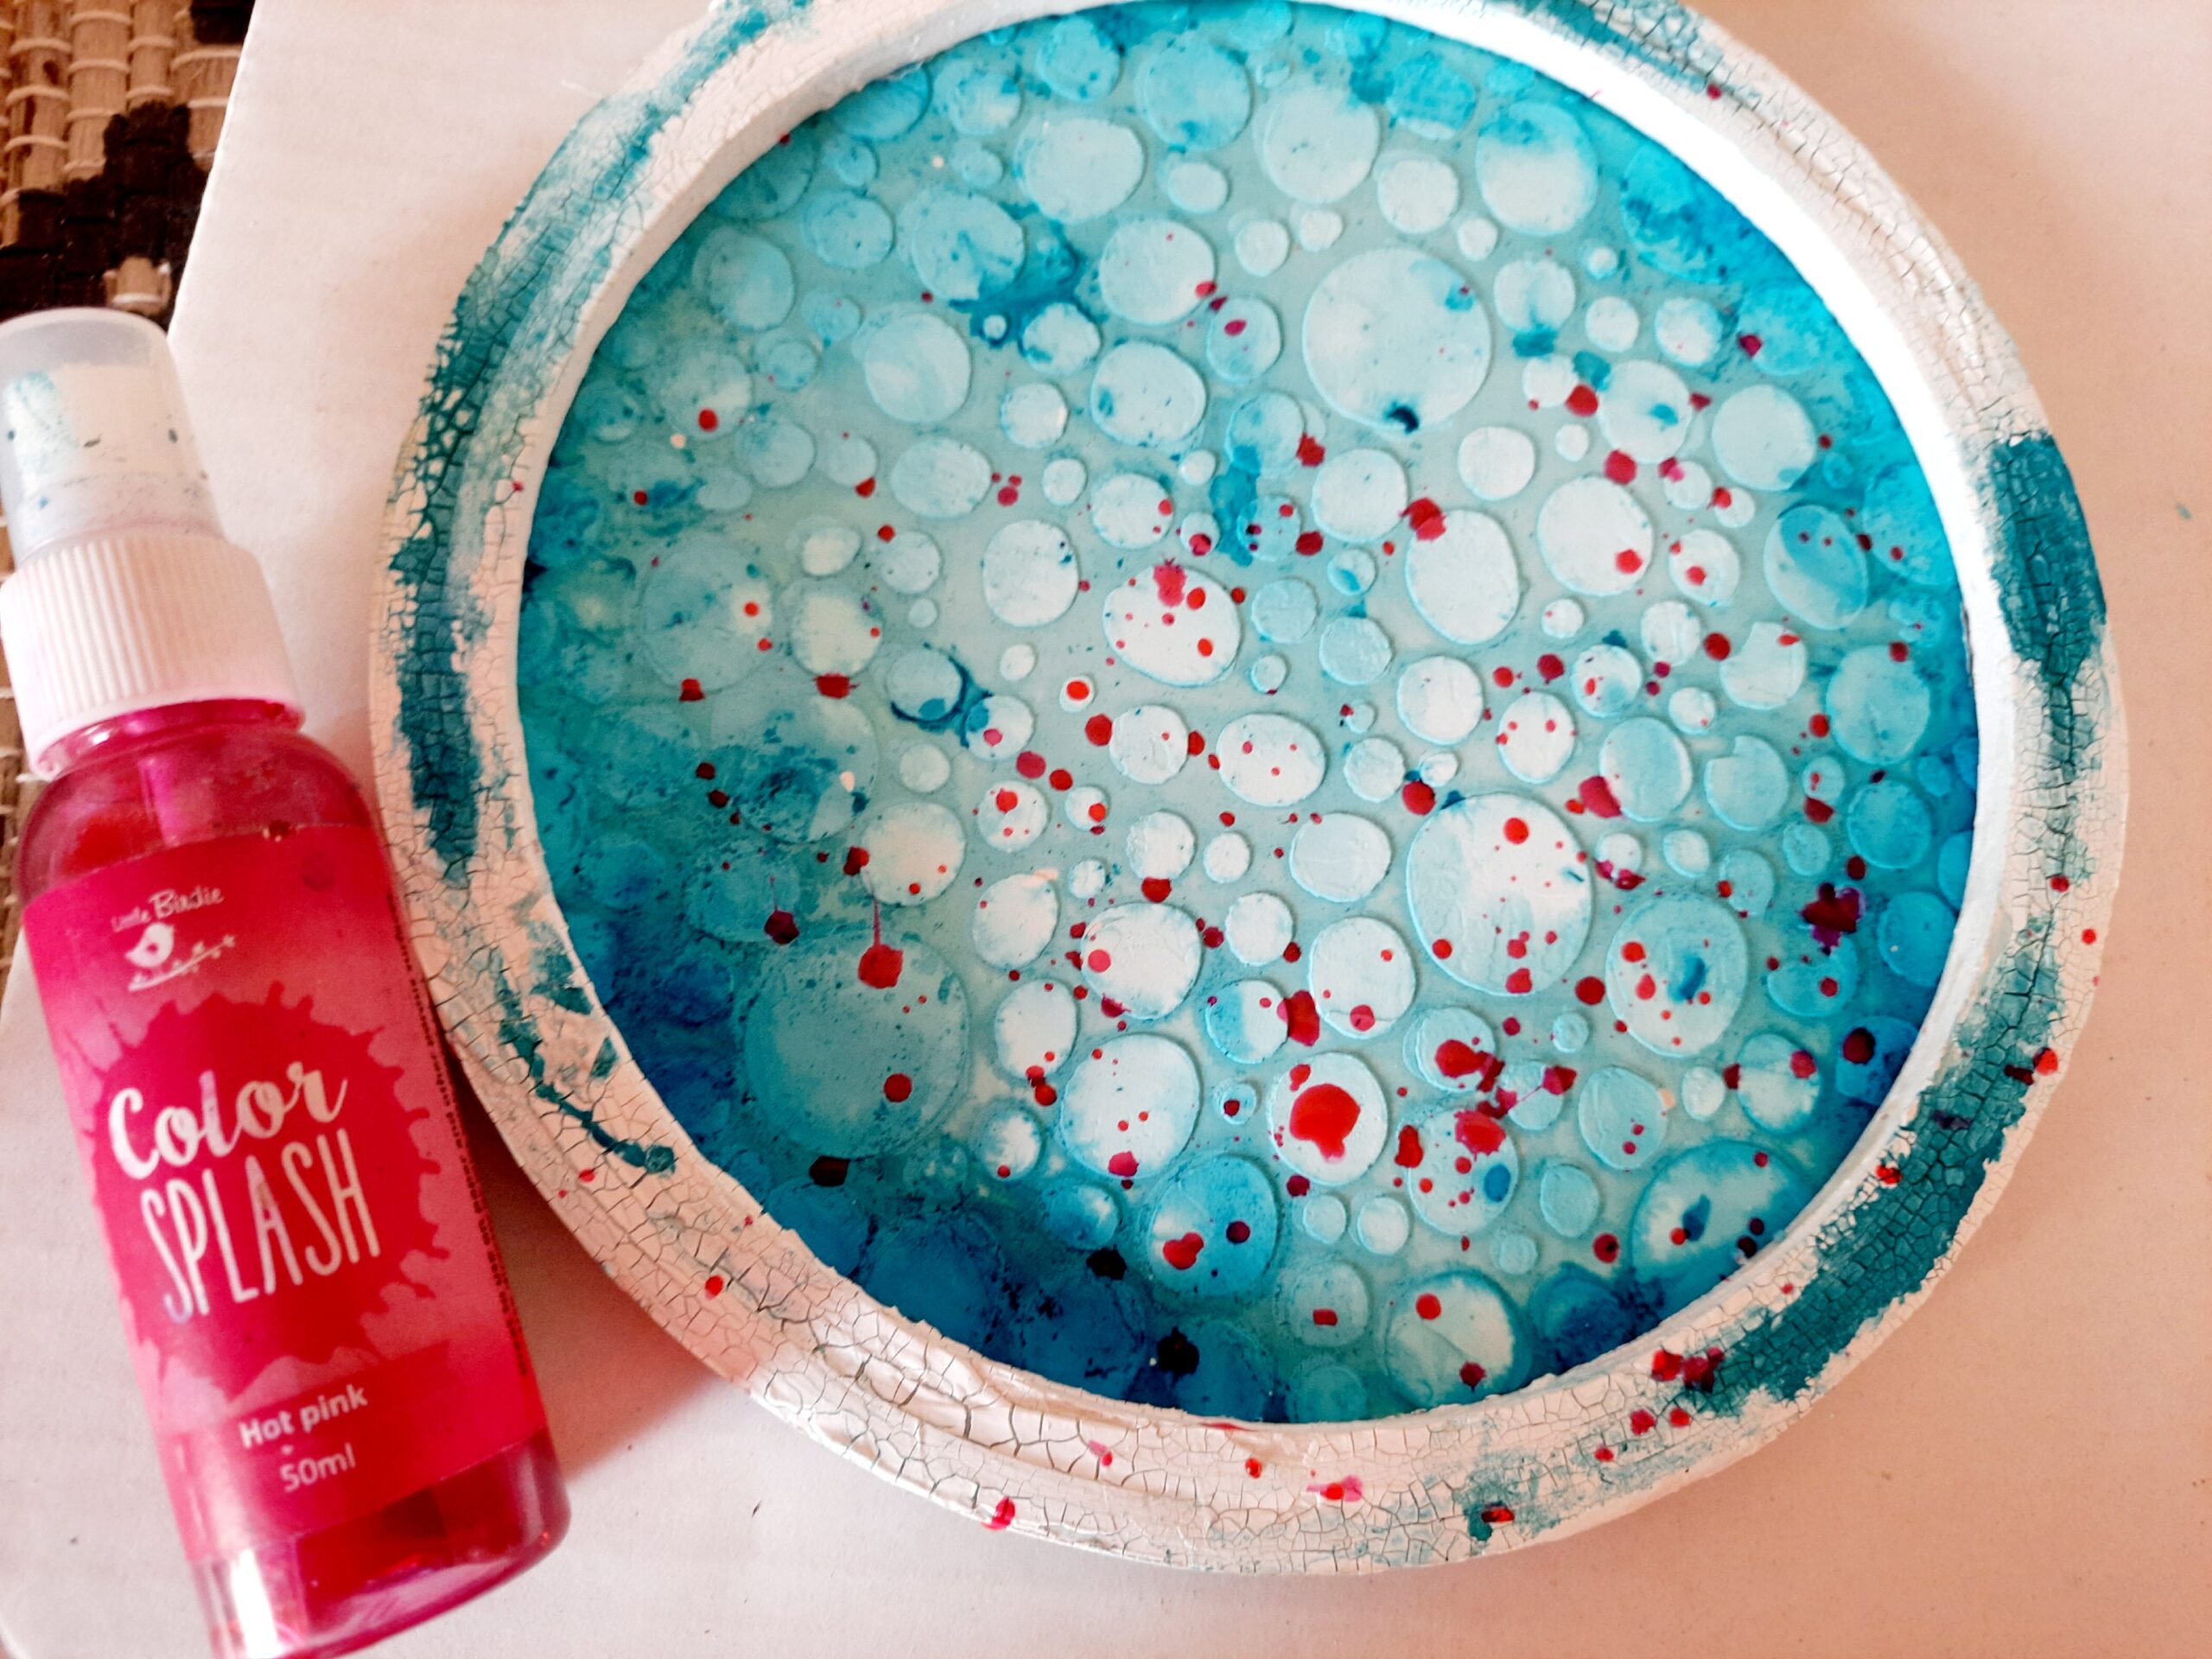
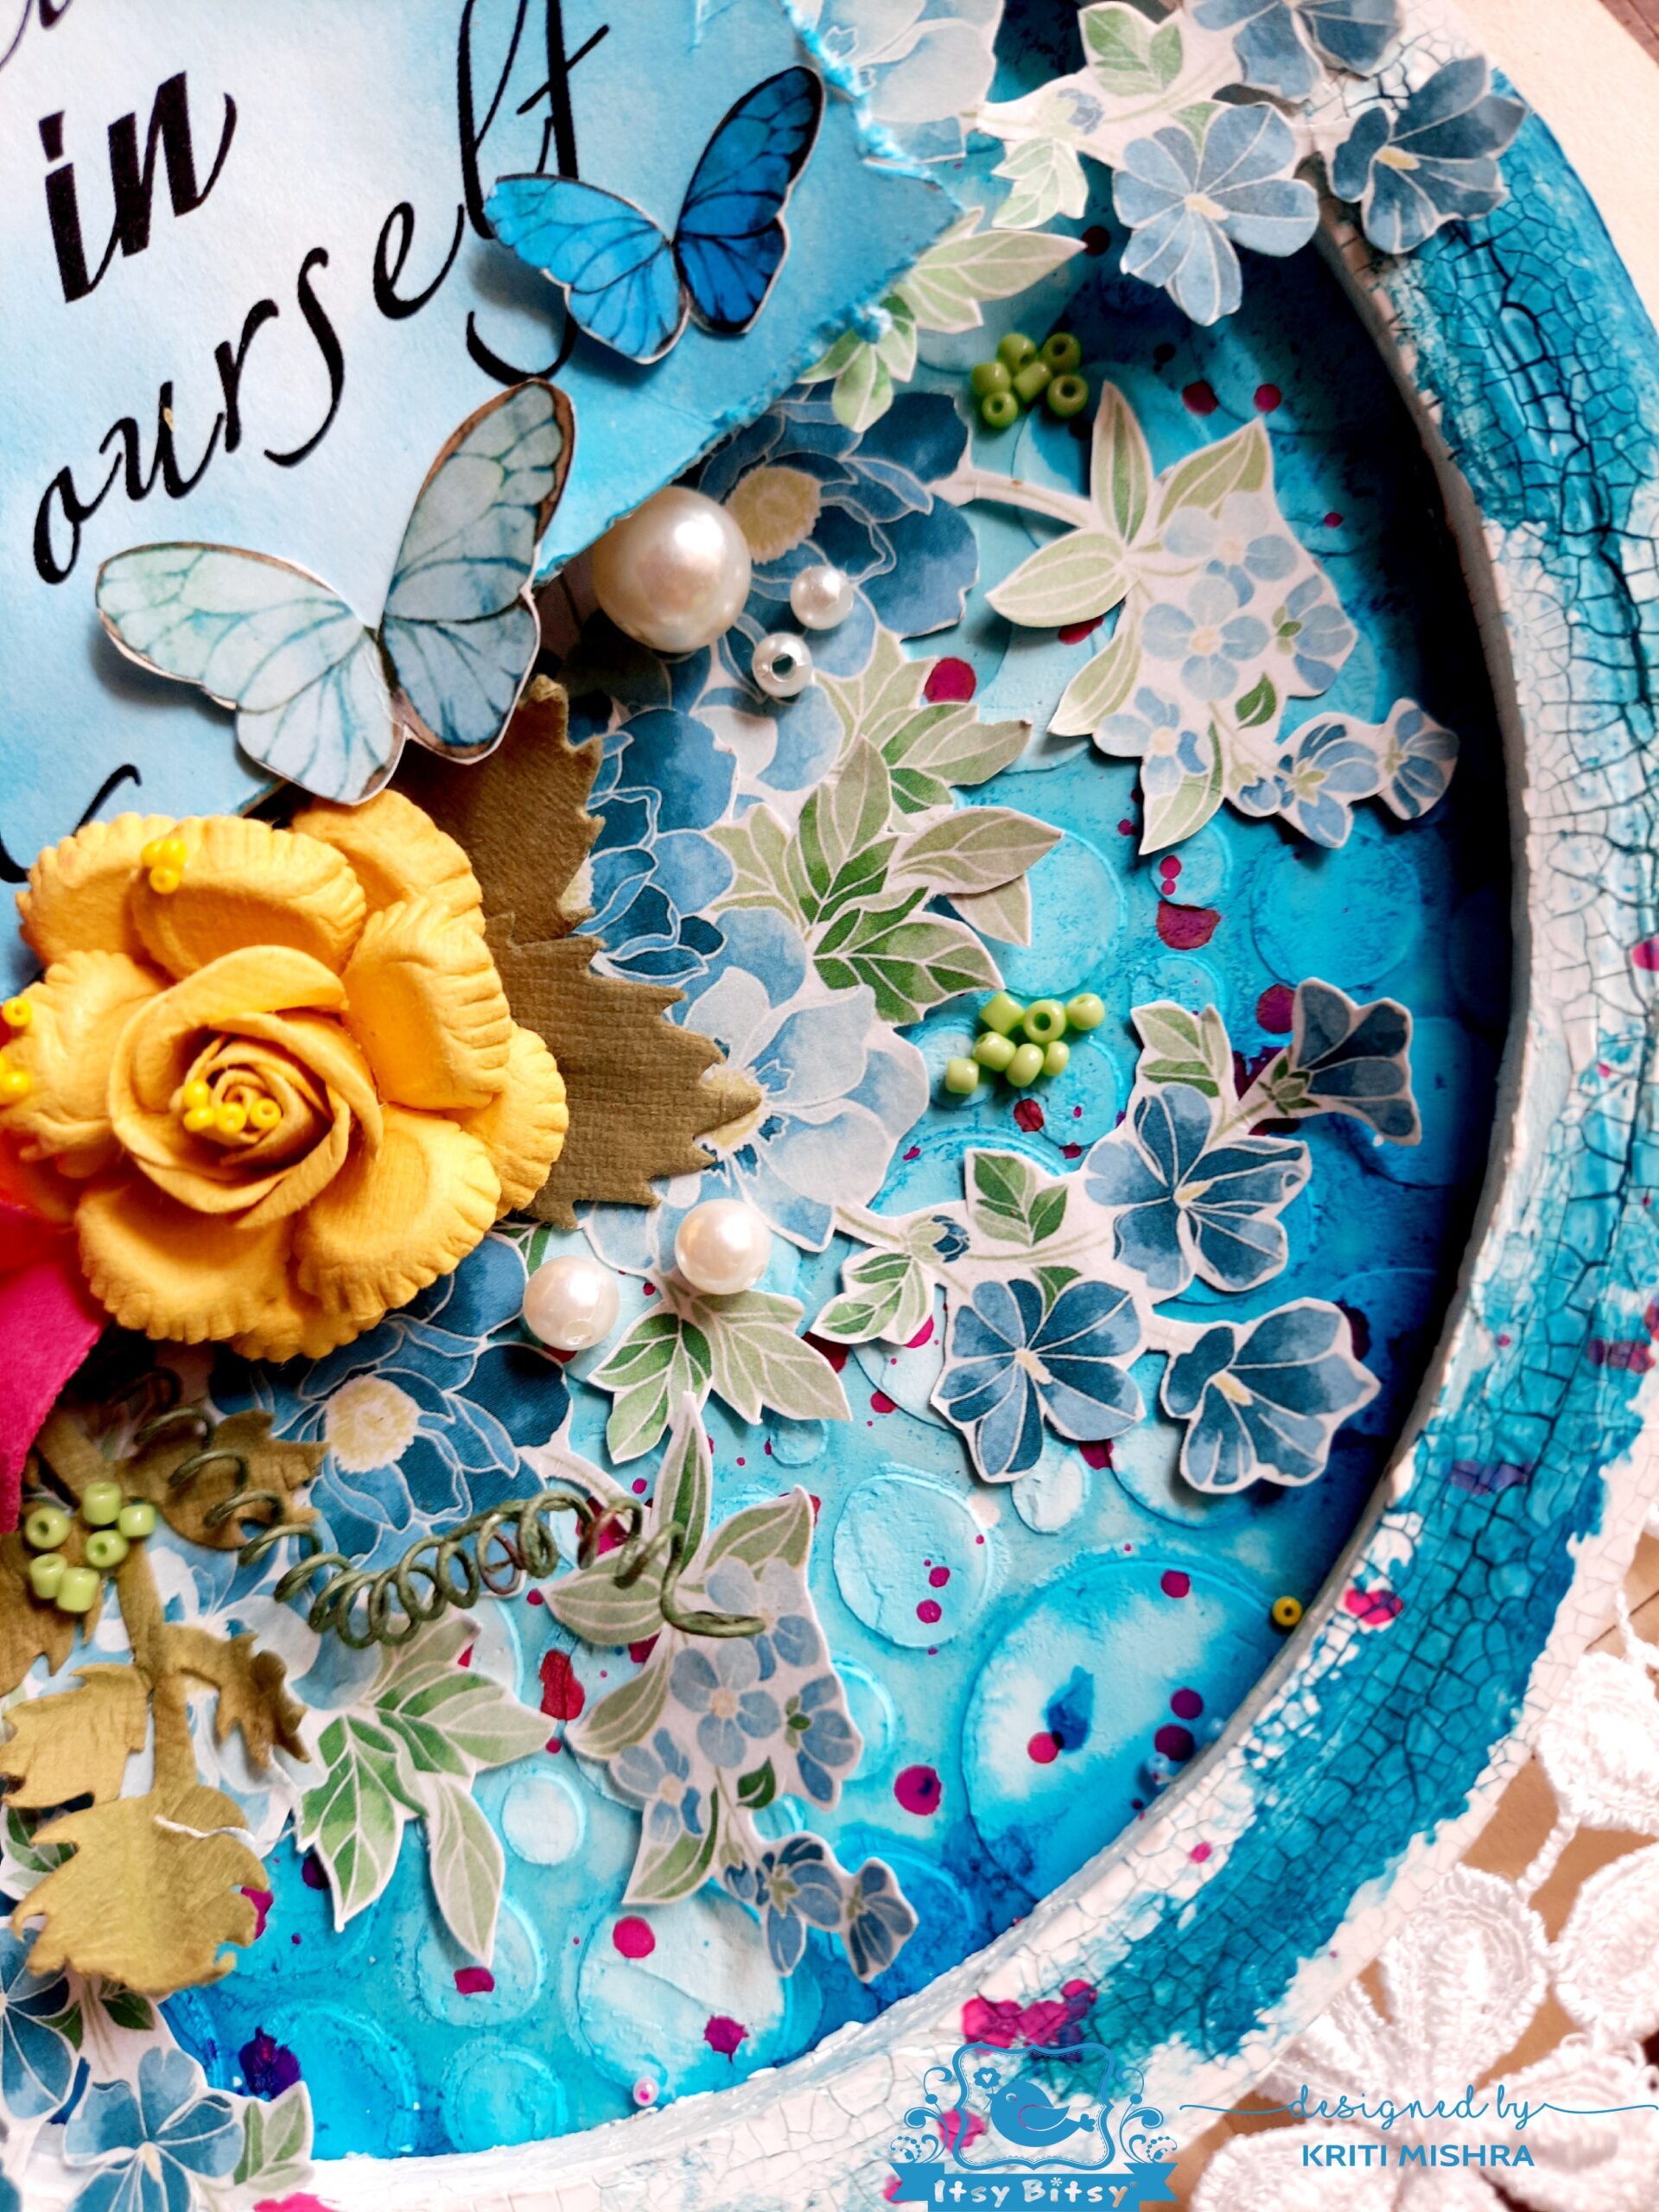
Step 3: Now, it is time to prepare the base. For that, firstly, I applied white gesso to the circular base. When it dried, I applied mixed media paste through the – Irregular Dots stencil..


When it dried completely, I sprayed Frosted pool – Alcohol Splash over it. I coloured it darker at the edges and made it lighter as I went towards the centre of the circle.


Finally, I pasted it to the back of the embroidery hoop.


Step 4: To give a more interesting look to the base……or to pop up the base, I sprayed few drops of Little Birdie’s  Hot Pink Color Splash.


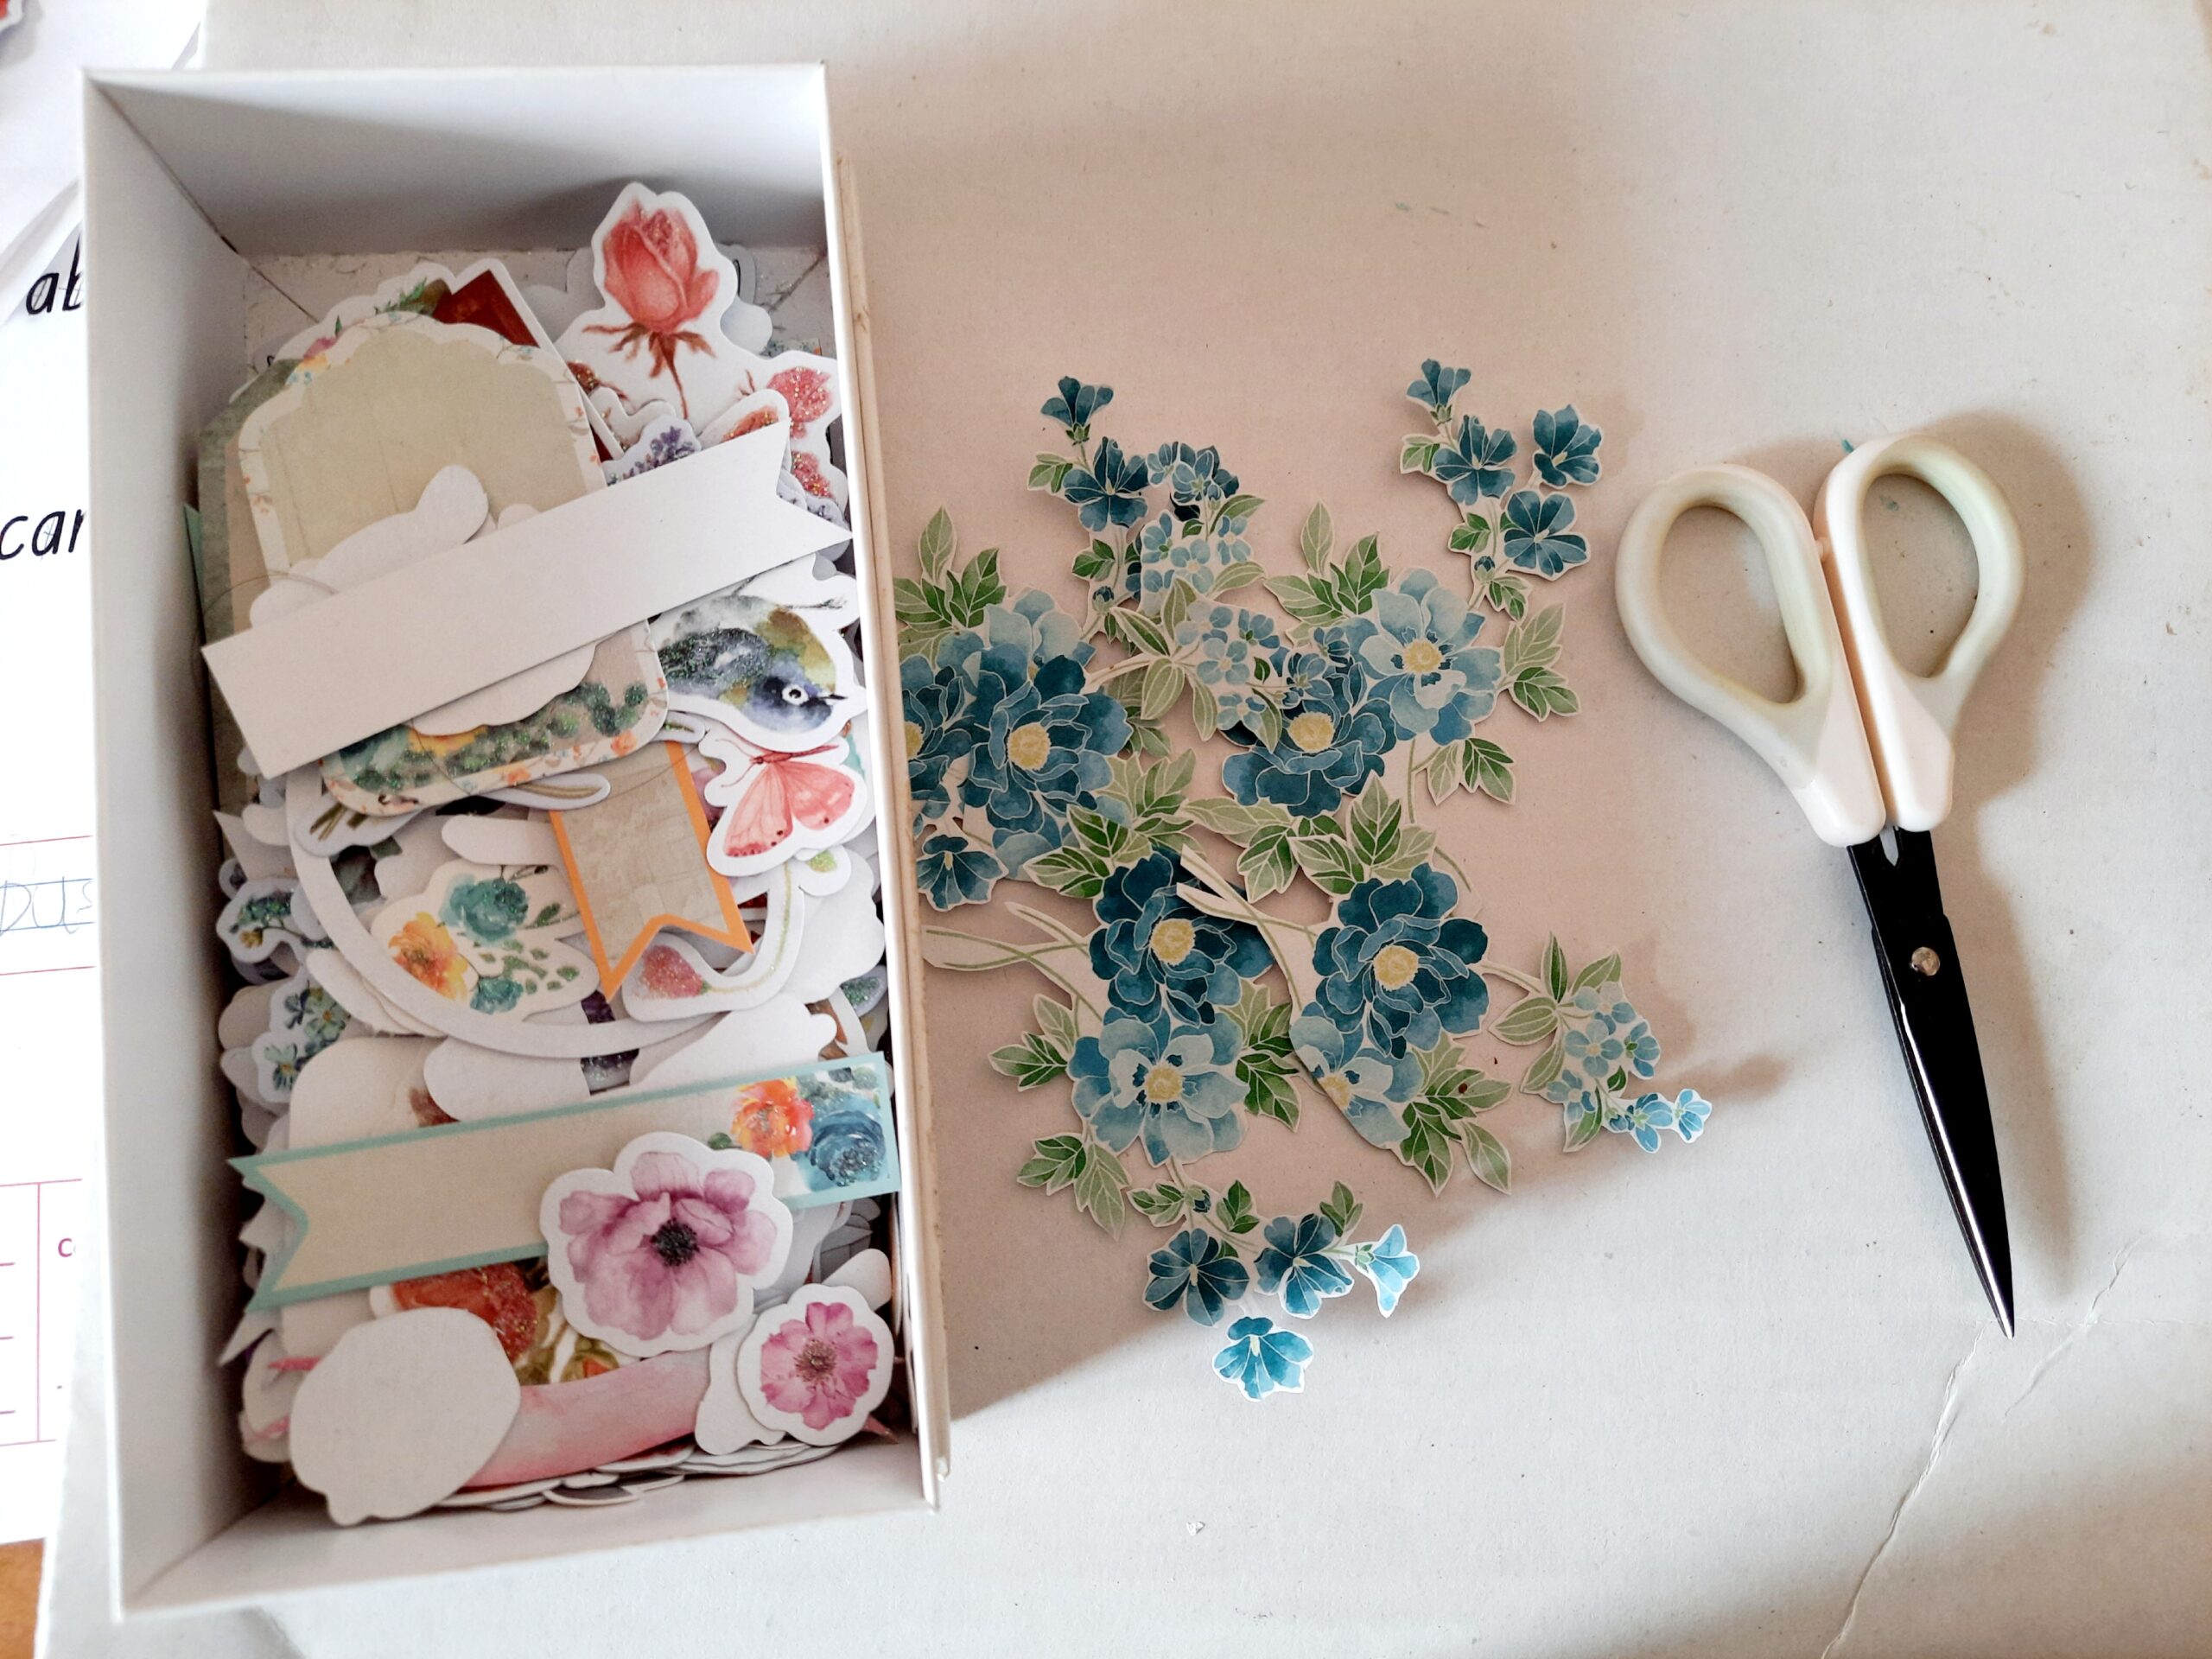
Step 5: Now the final part….that is the focal point and the composition. For focal point, I printed a quote and distressed it with archival ink – Blue bird. And for the composition, I cut out few elements from a paper pack and few elements from Little Birdie ephemera packs.


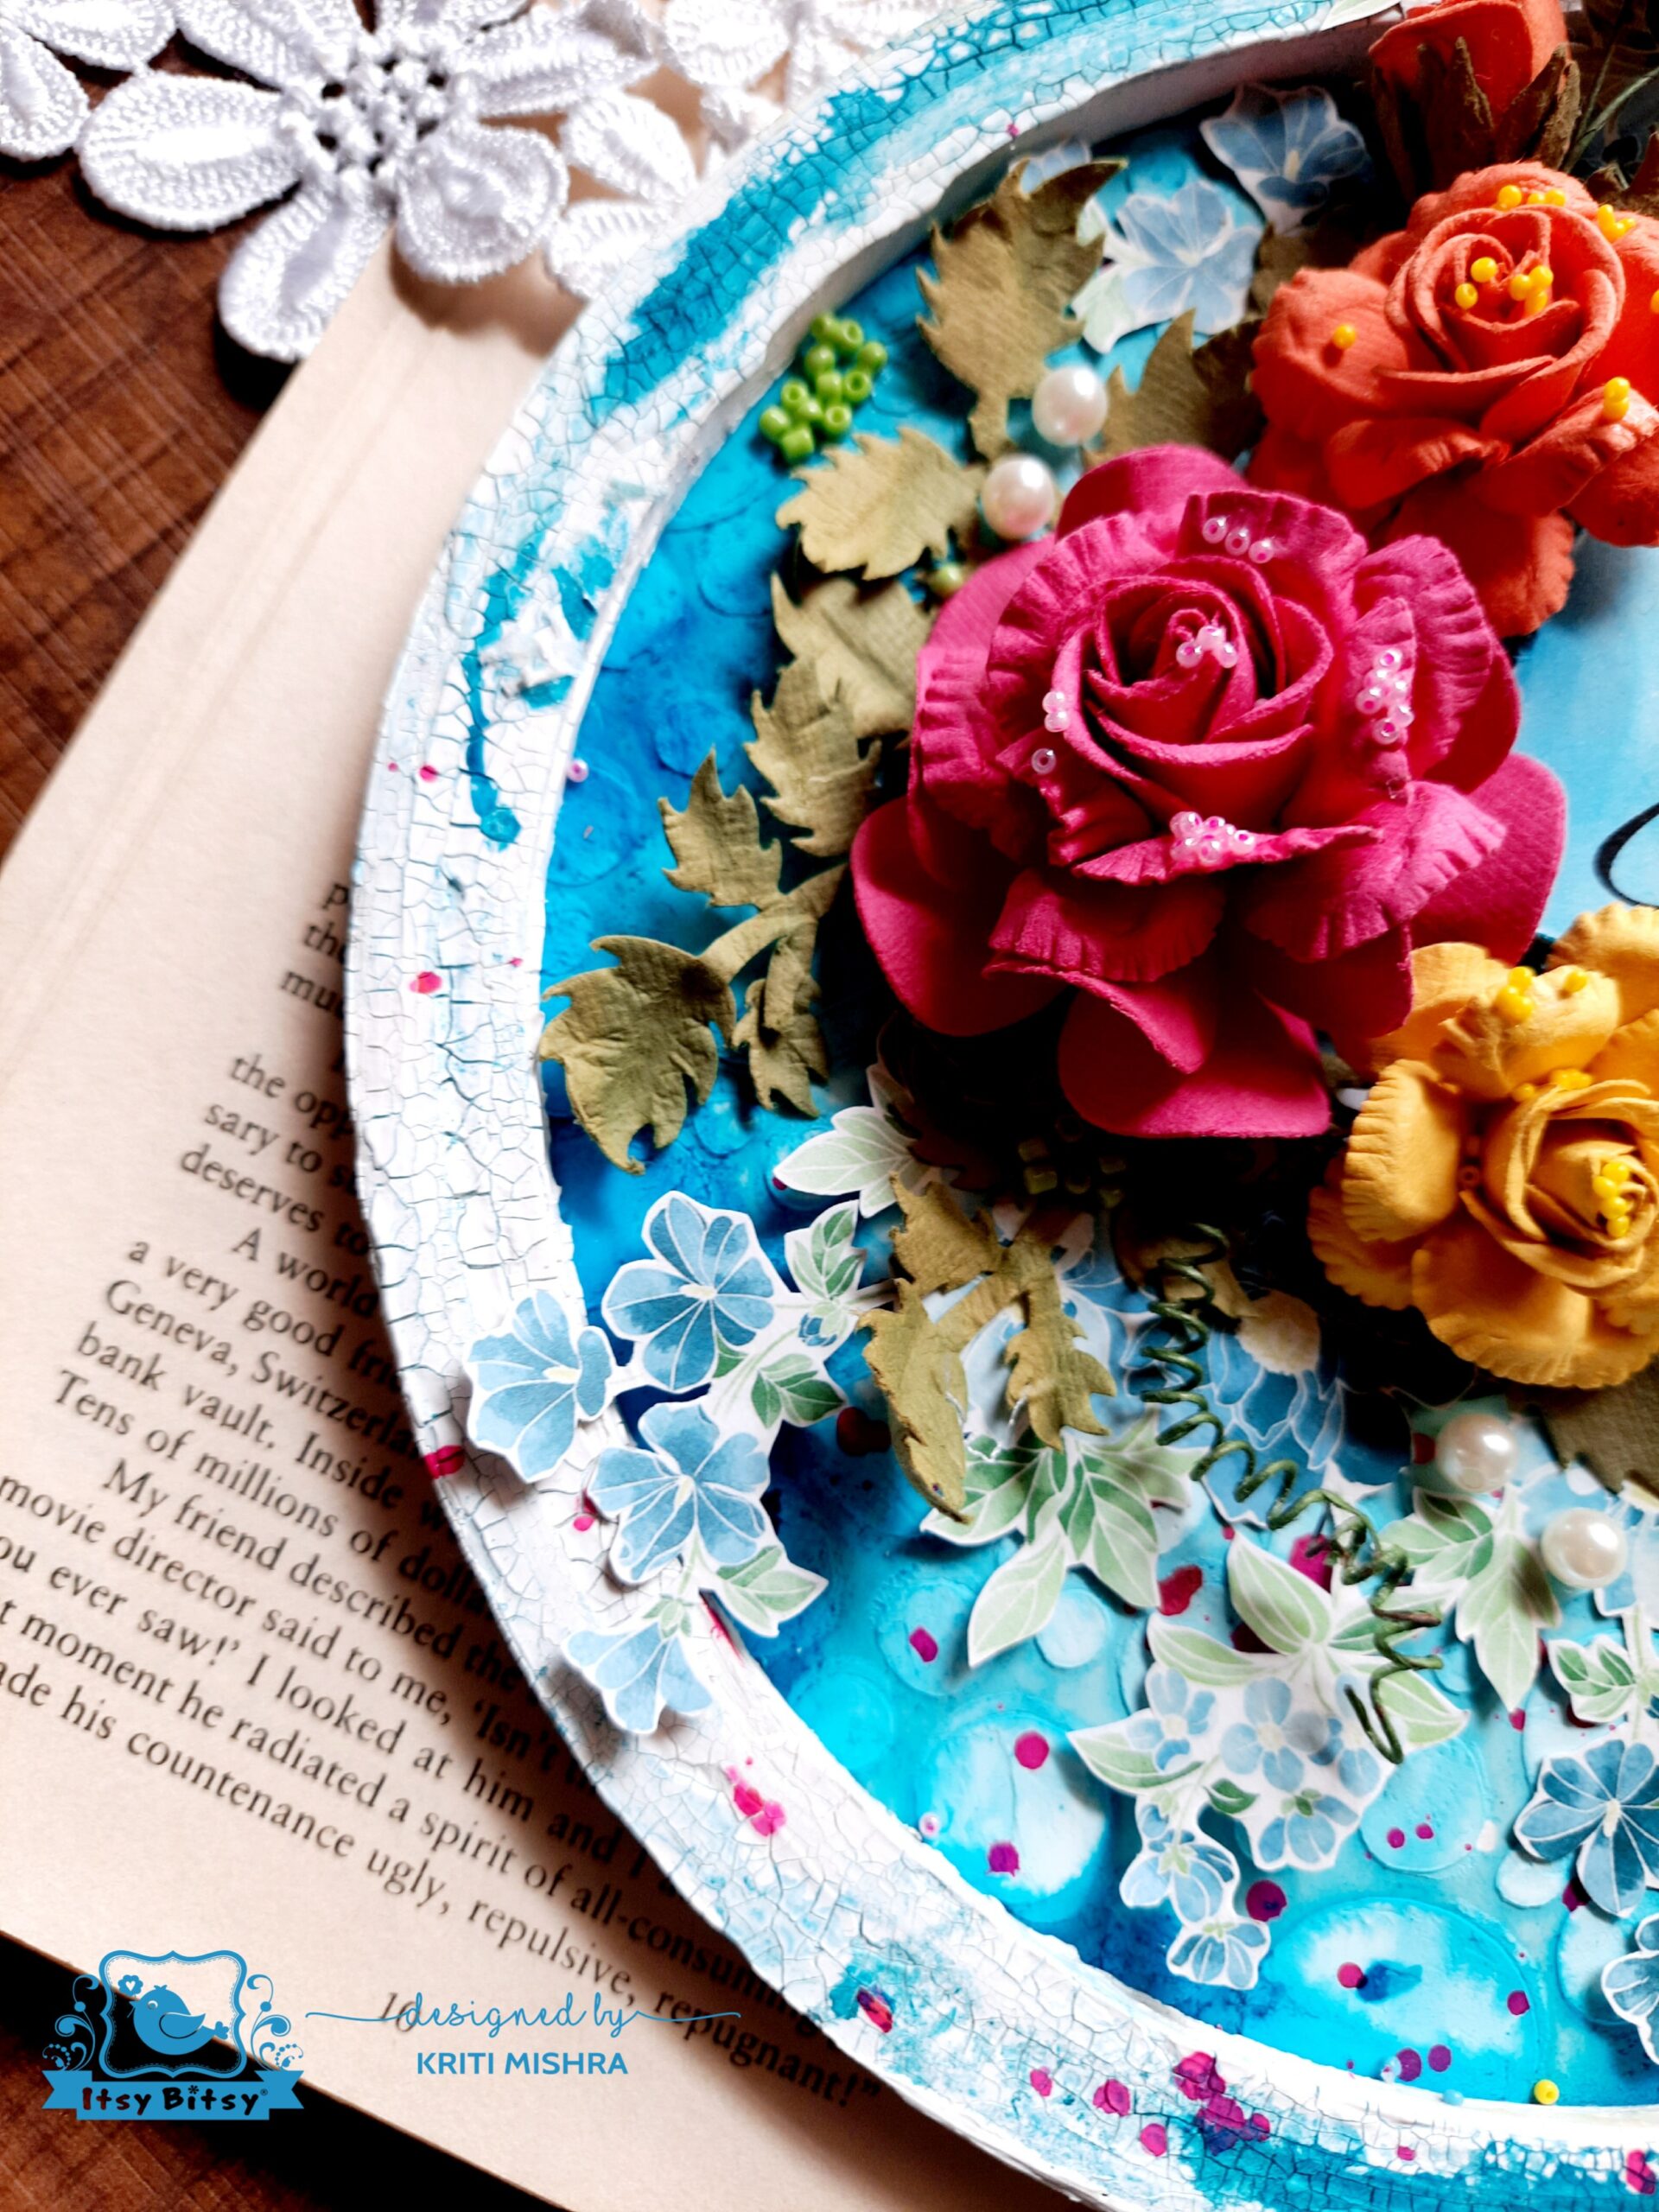
To complete the look, I adhered some handmade flowers from the store and few beads and pearls too.


Here, is the final and some close-up pics…..


I hope you all liked my project.

Kriti Mishra

Wednesday, 10 March 2021

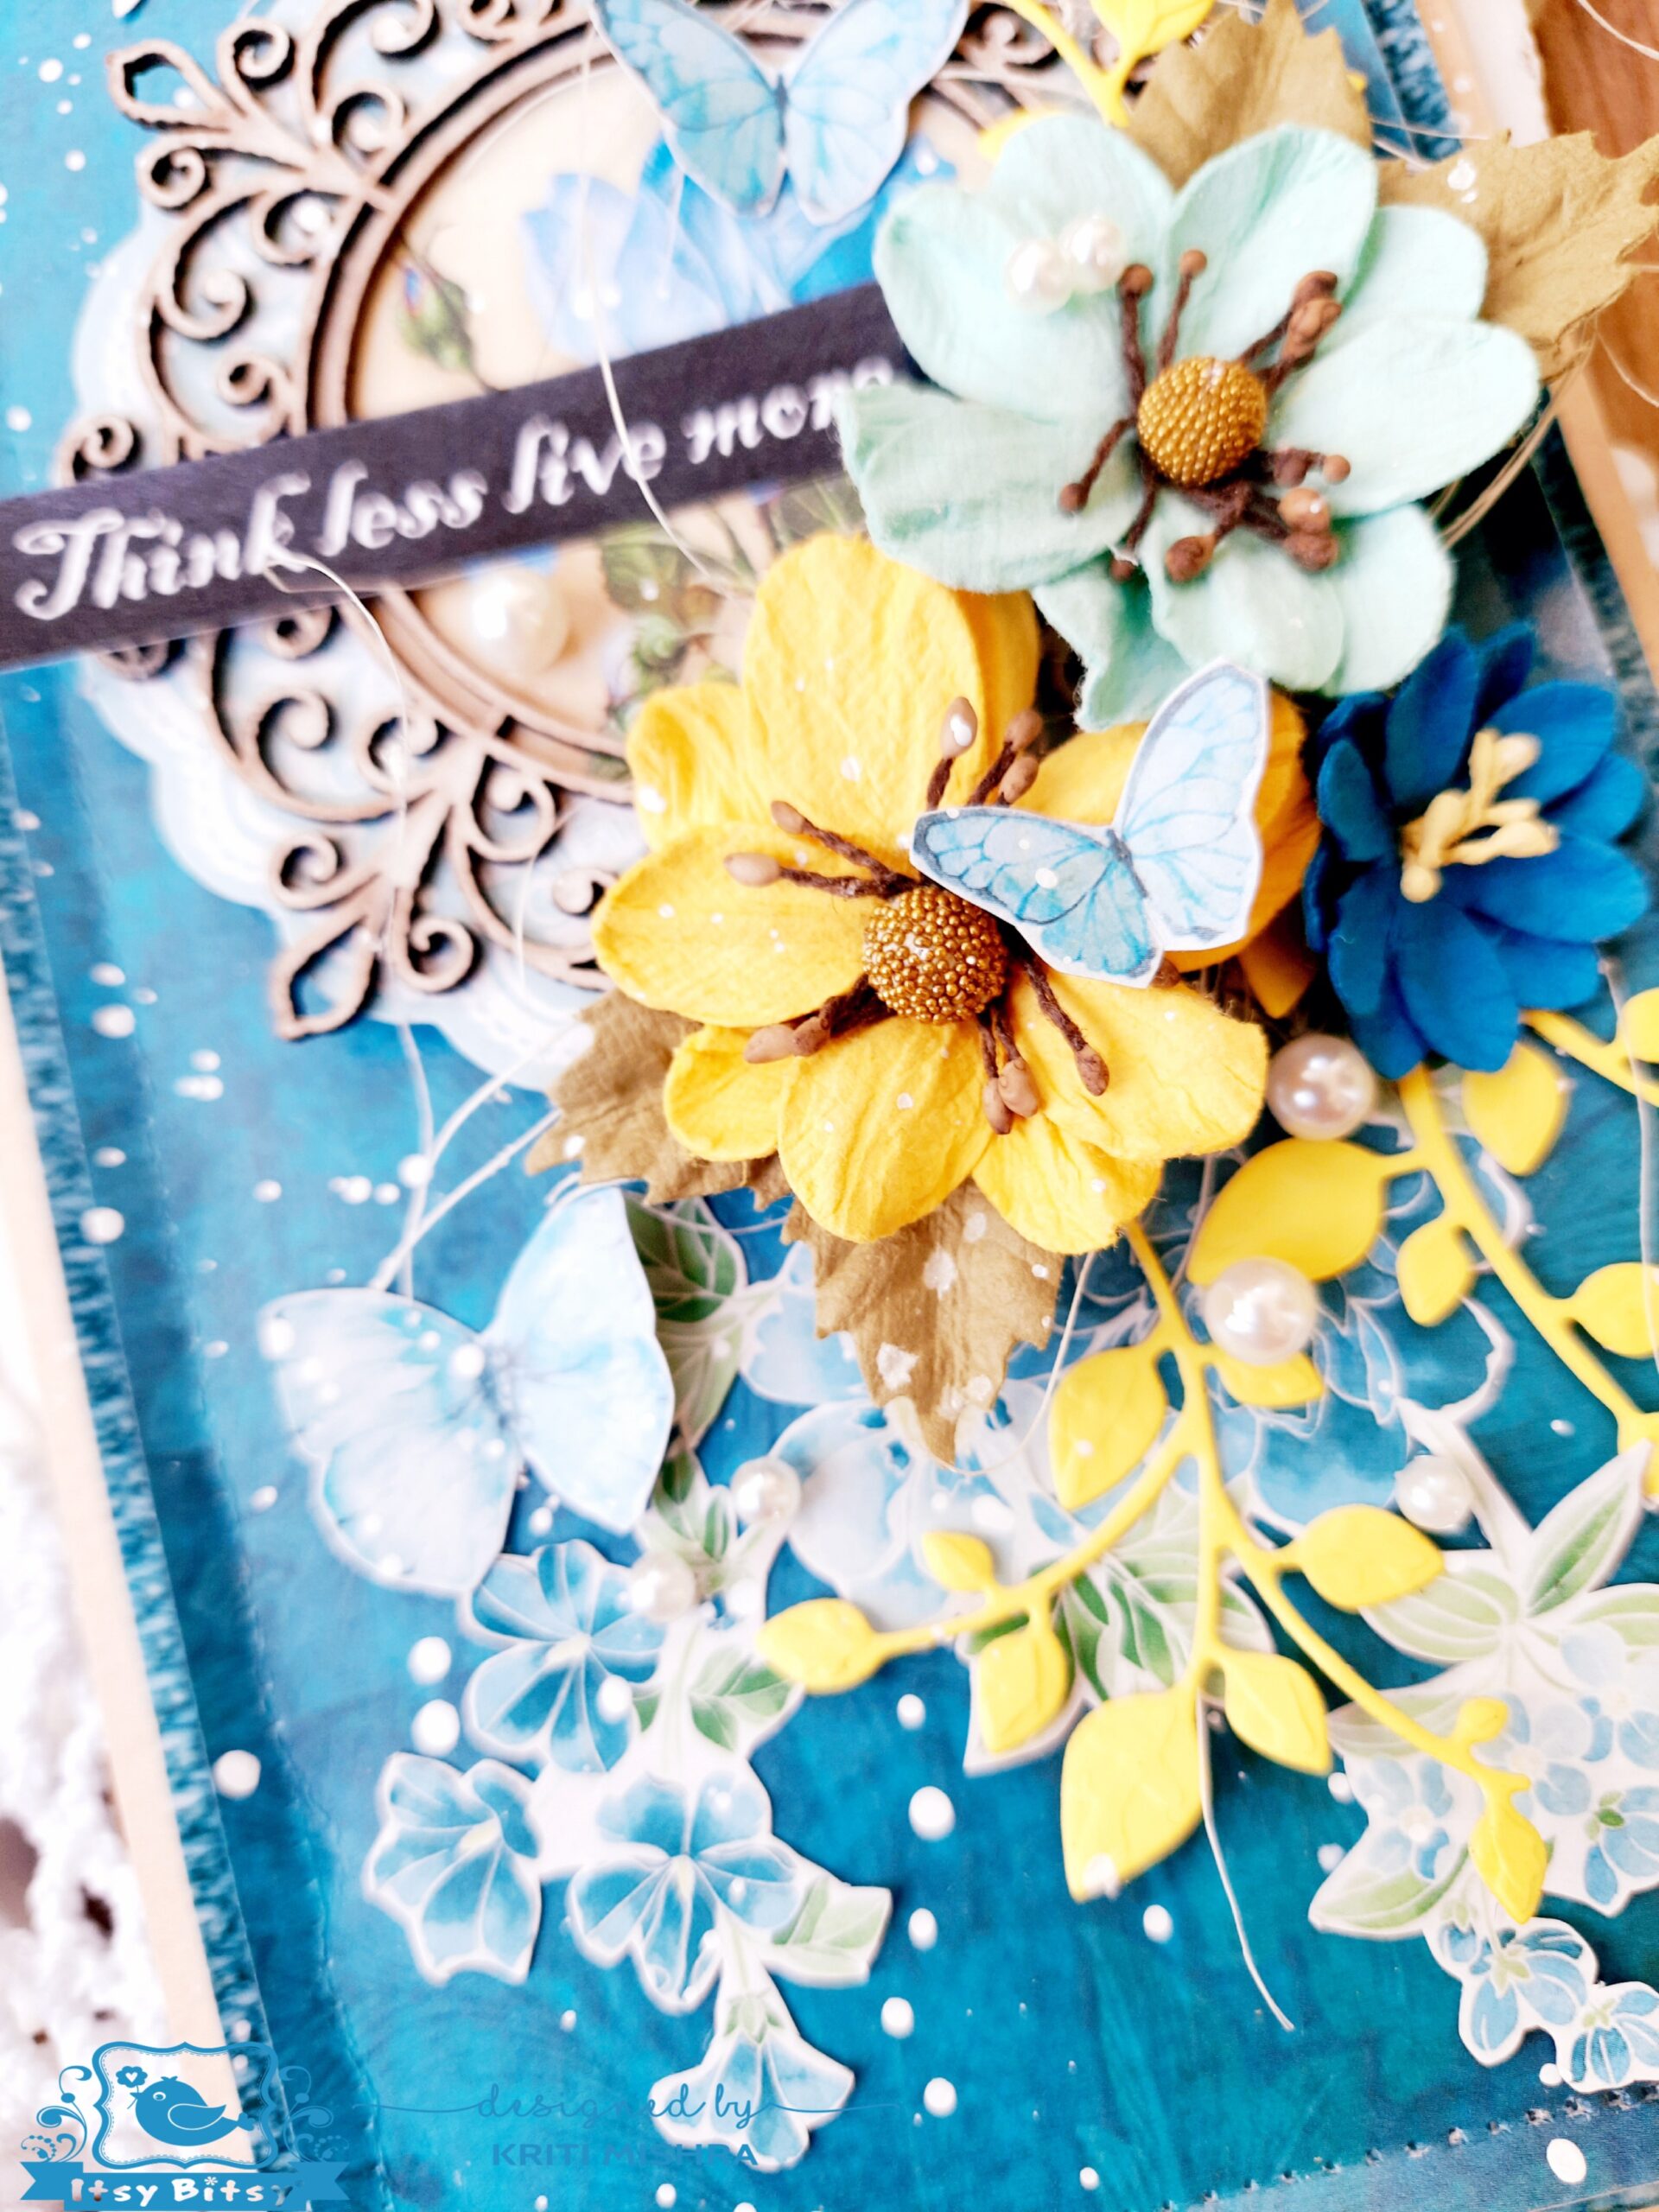
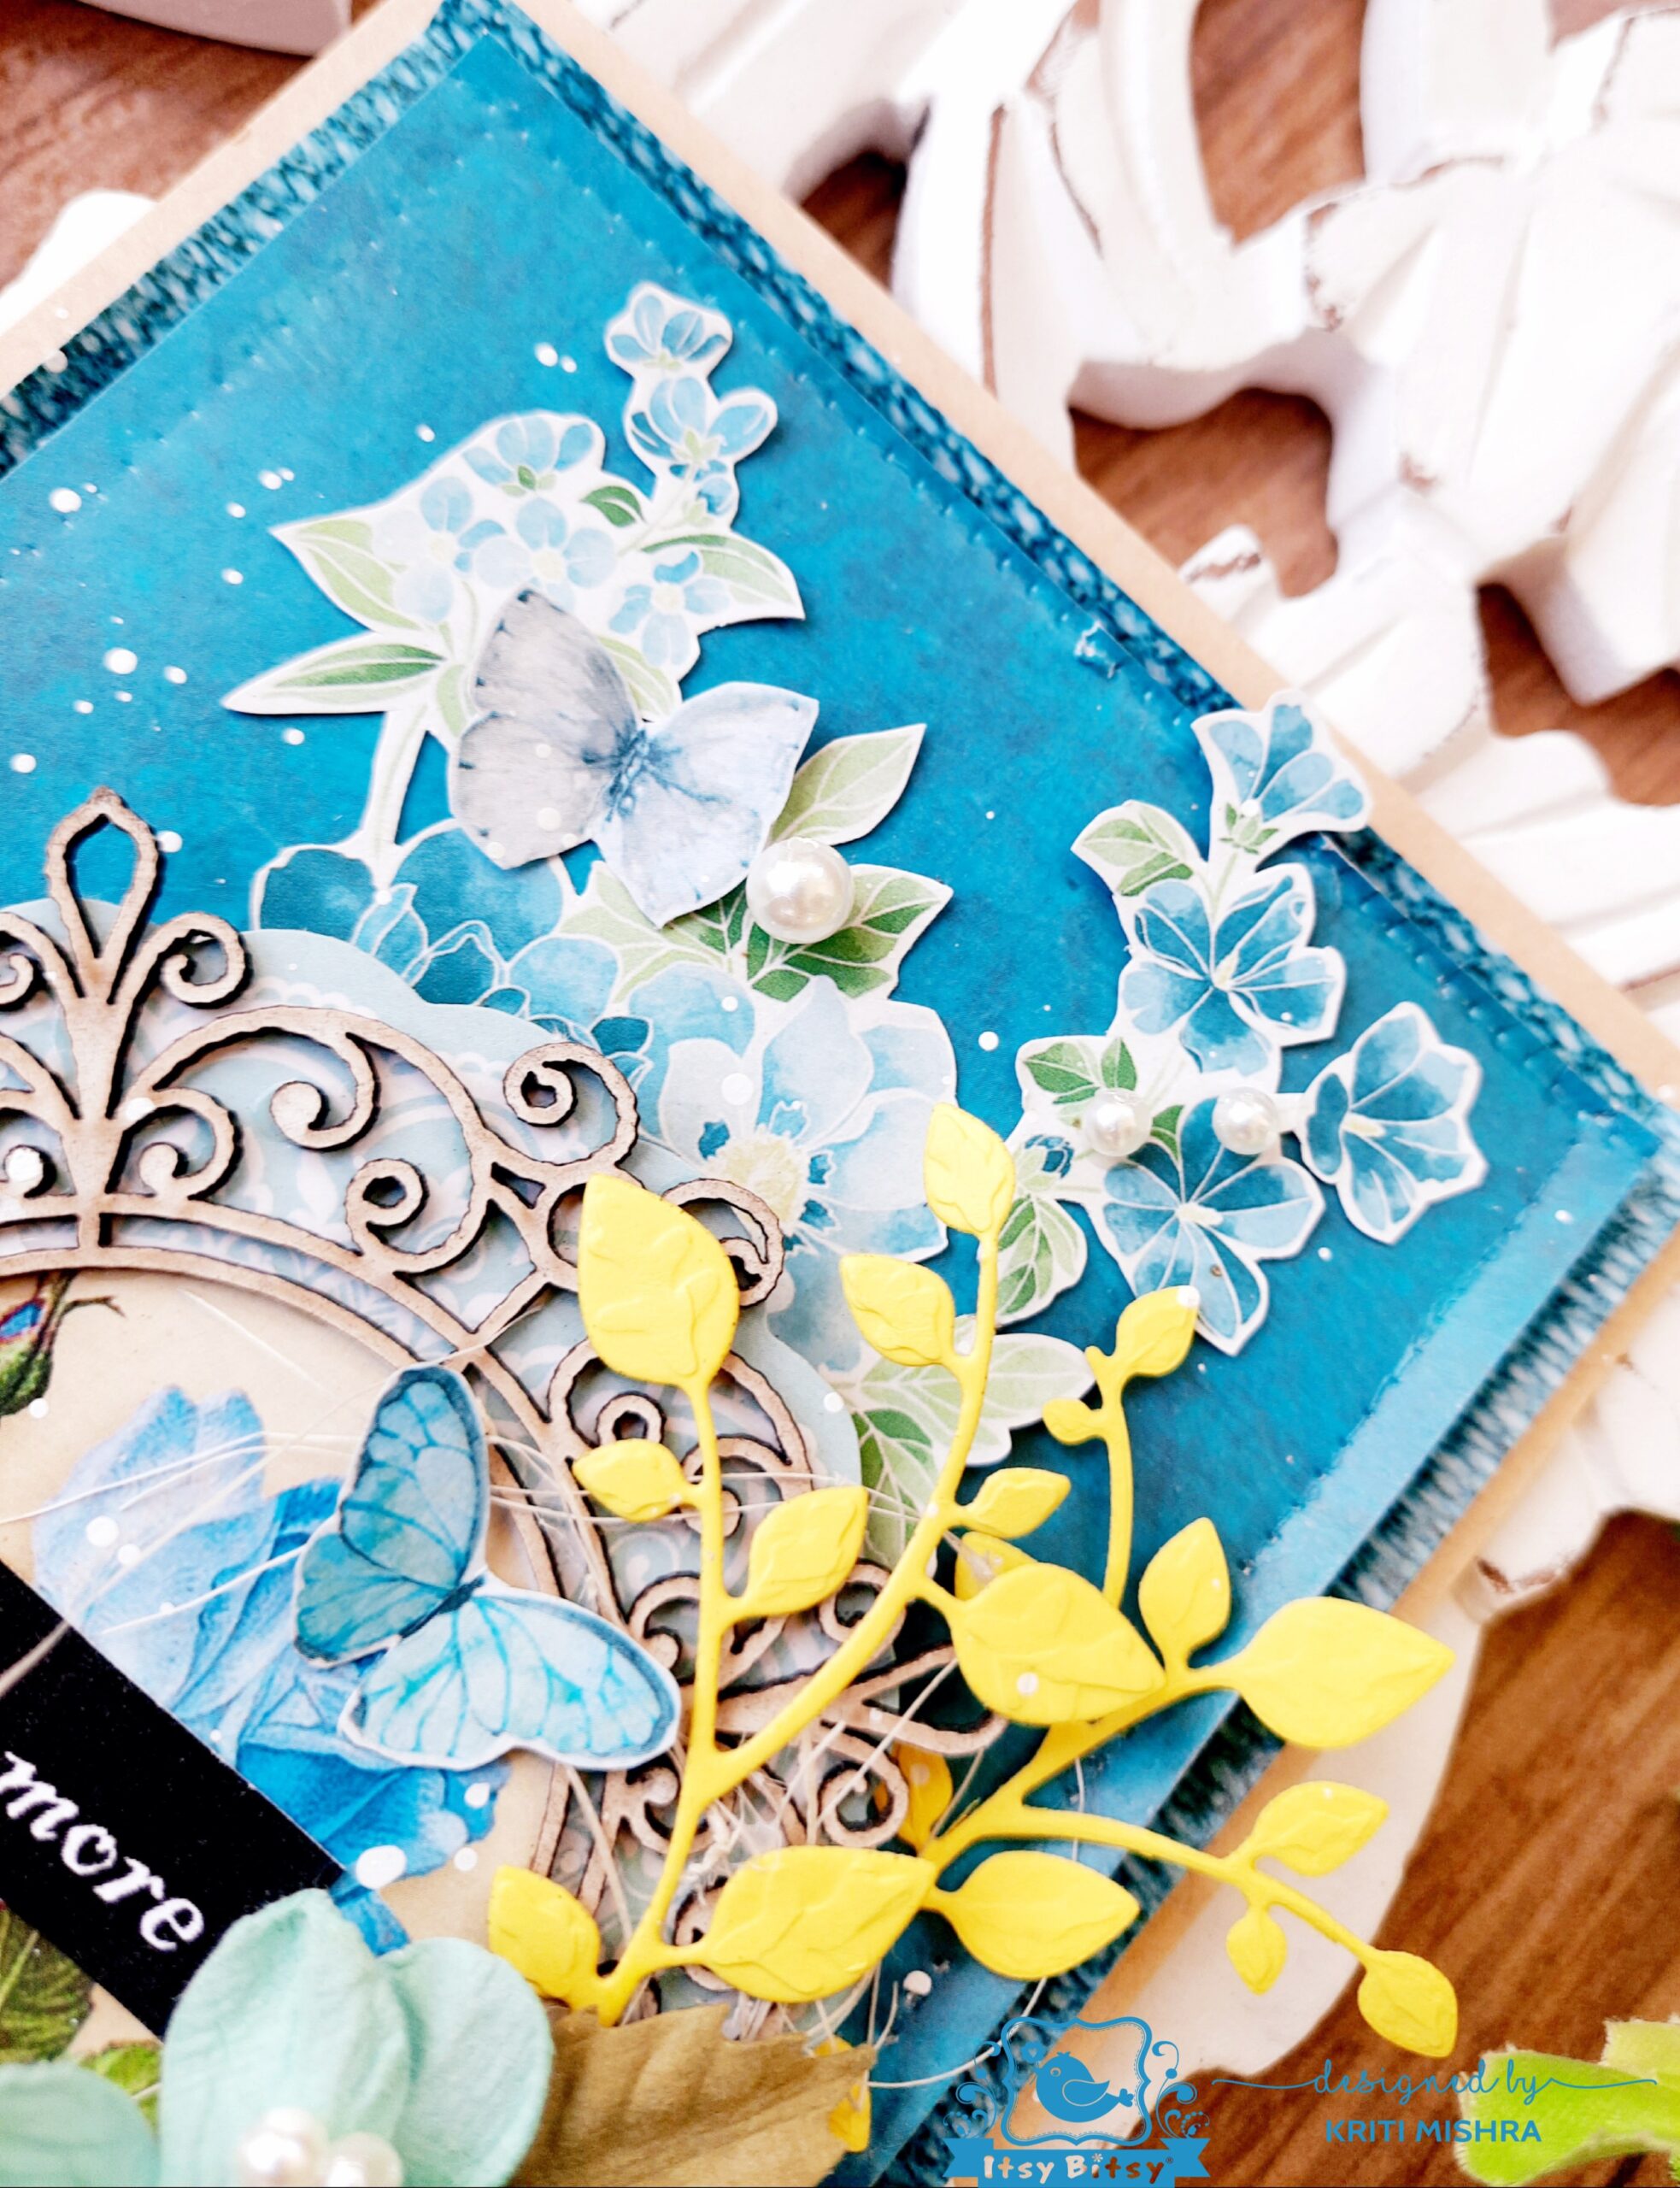
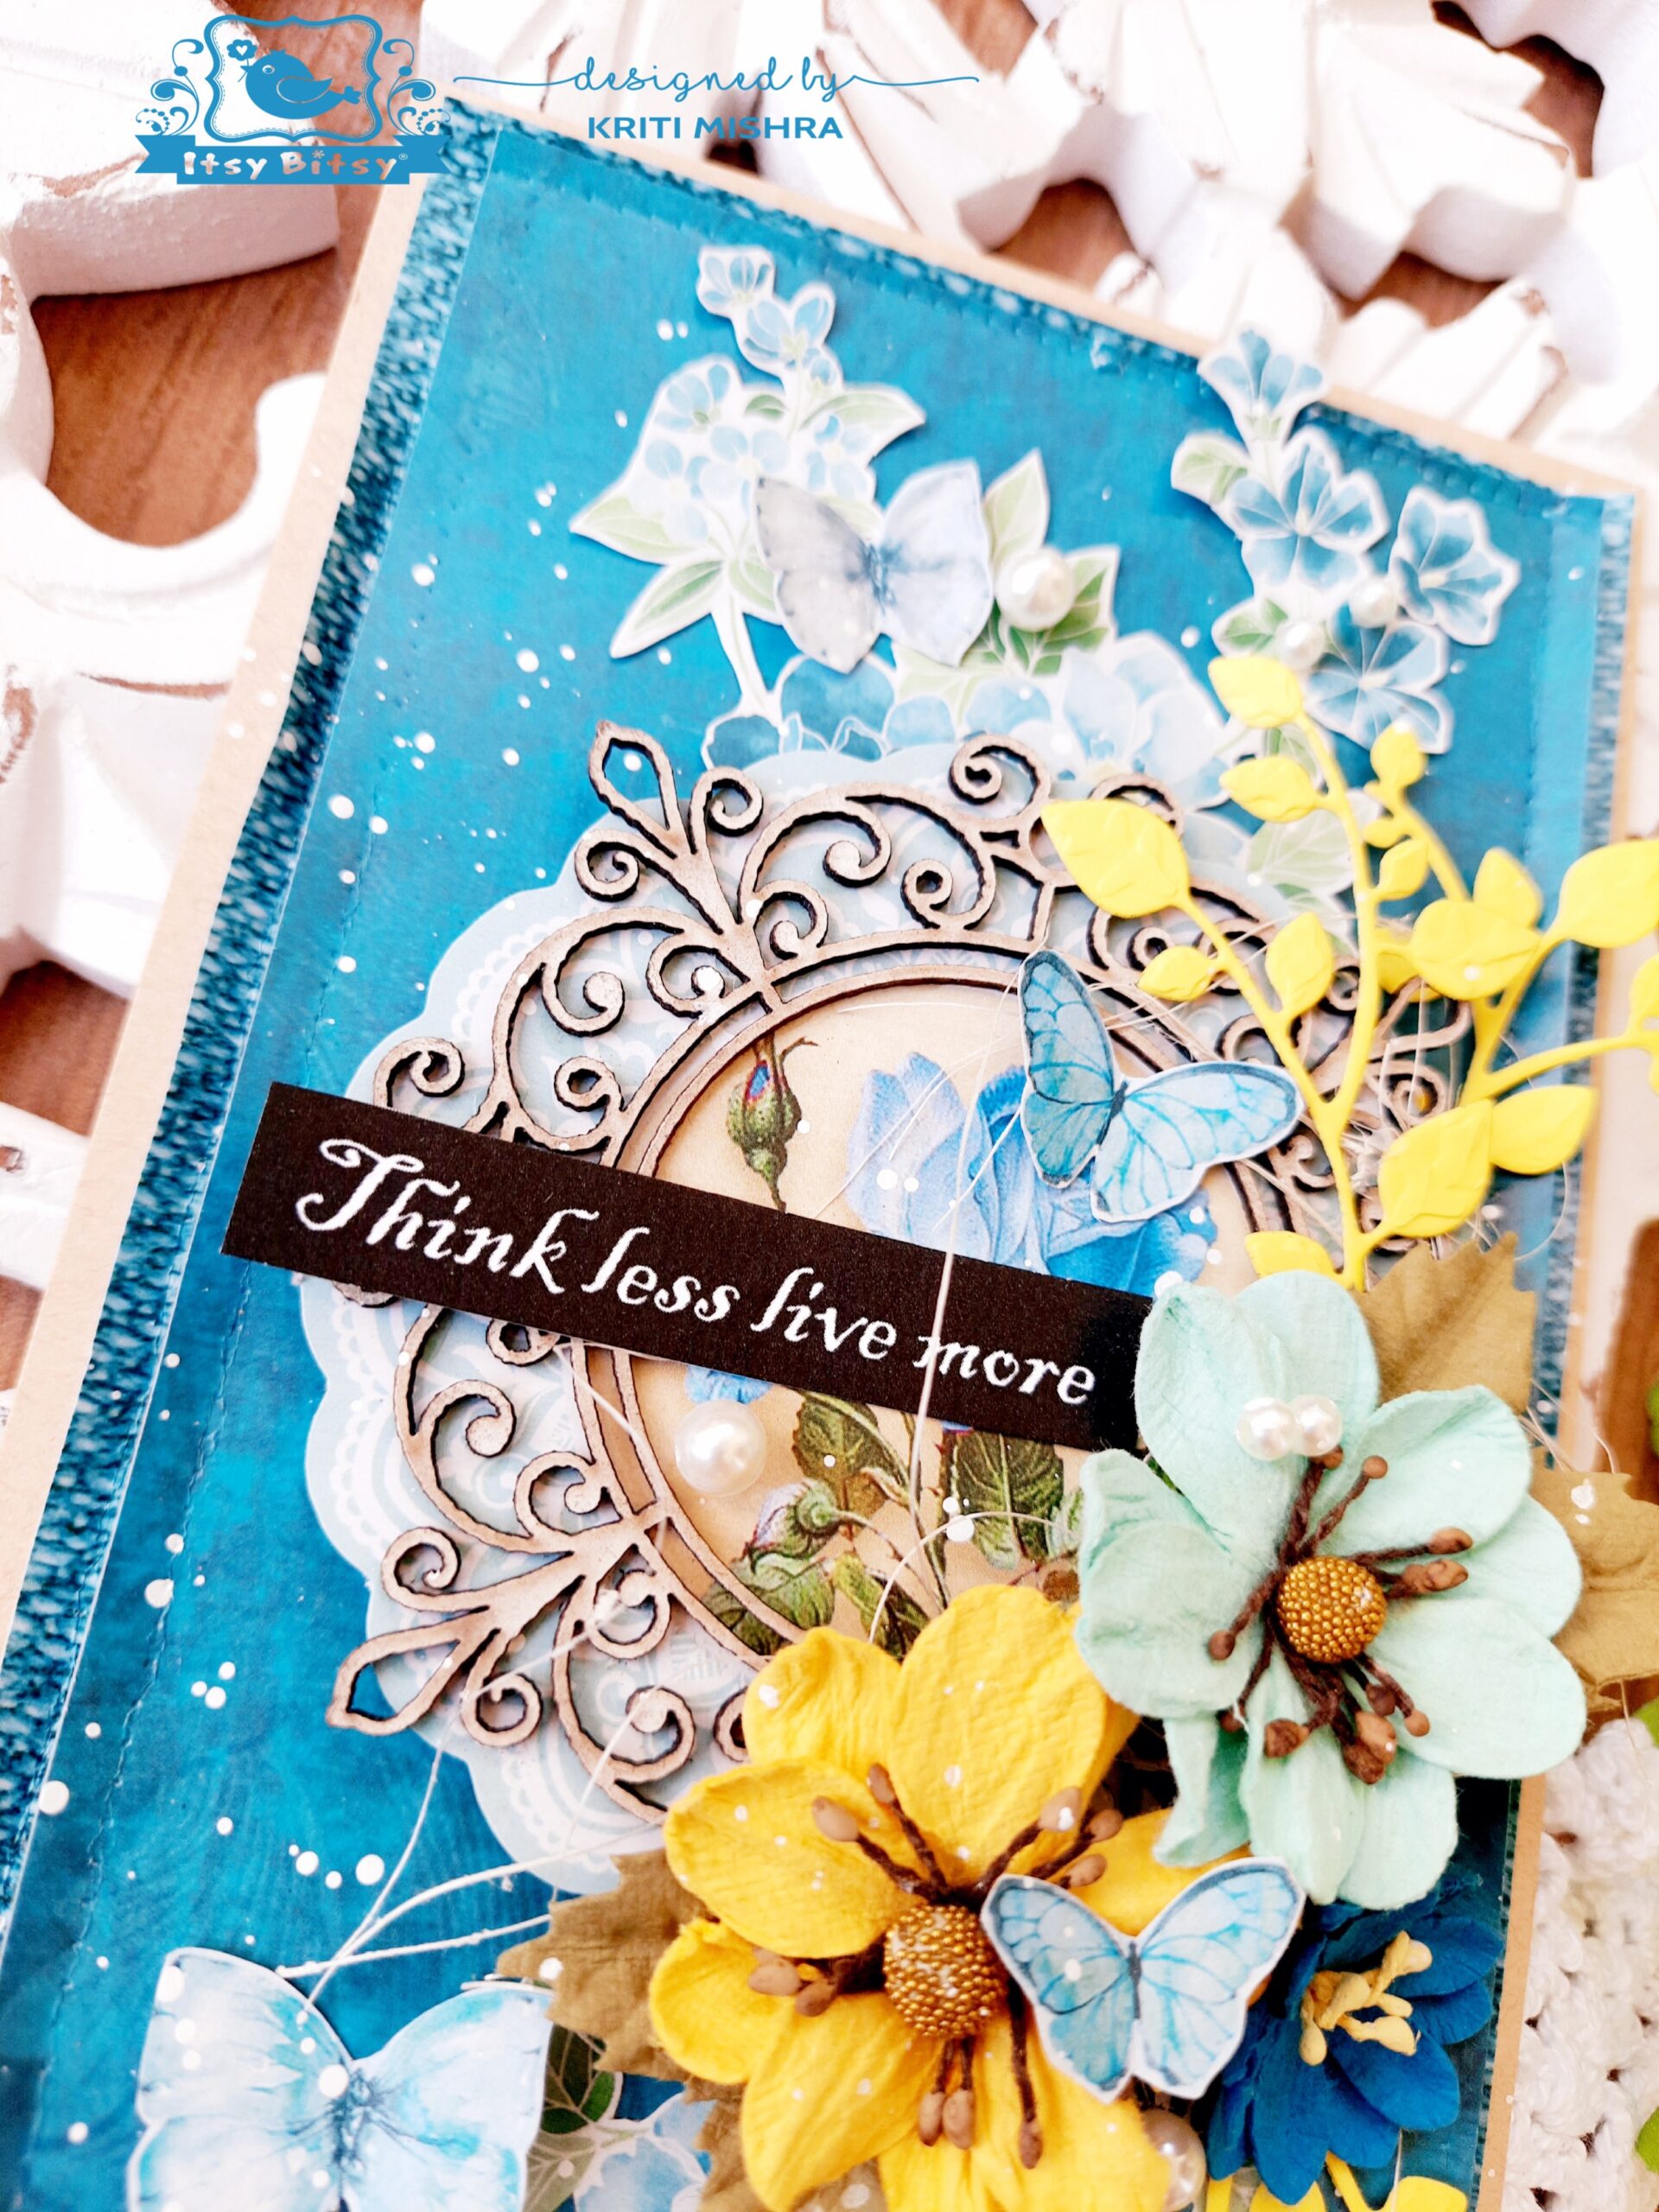
Aqua Medley Handmade Card

 Namaste Friends!

Kriti this side…..hope you all are safe and healthy.

Today, I want to share a handmade card.


I have a step- by- step tutorial for this….


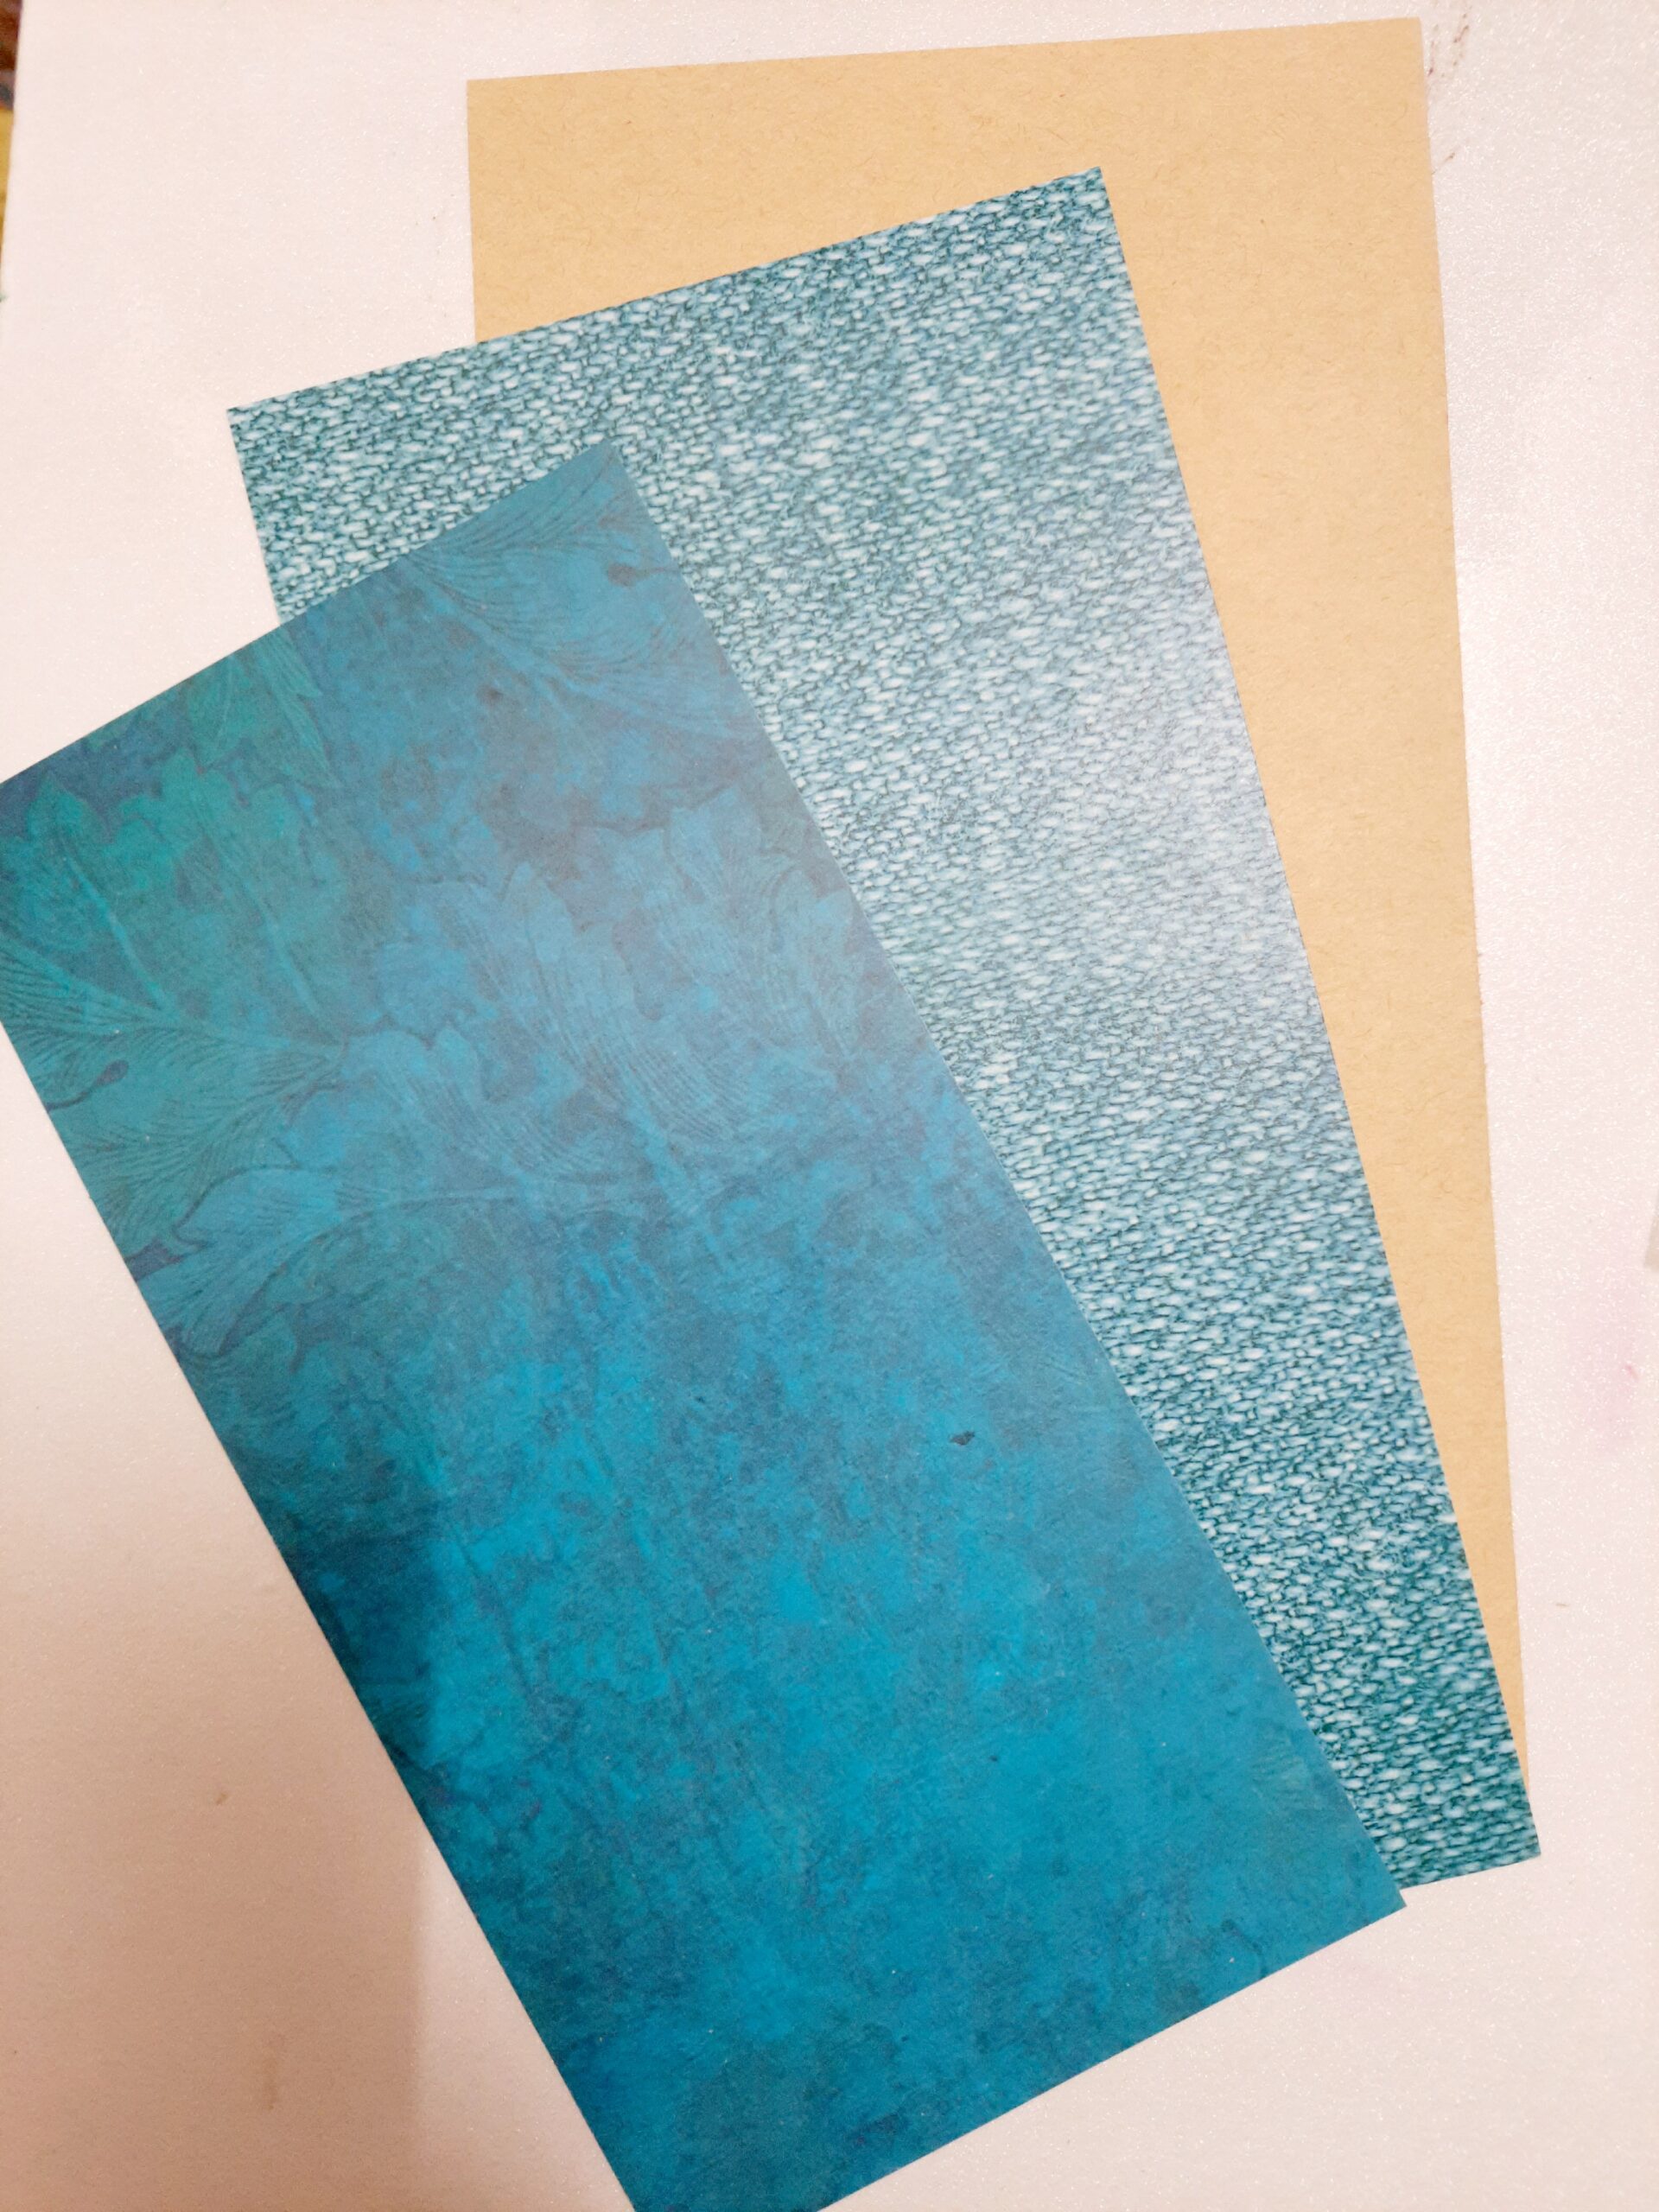
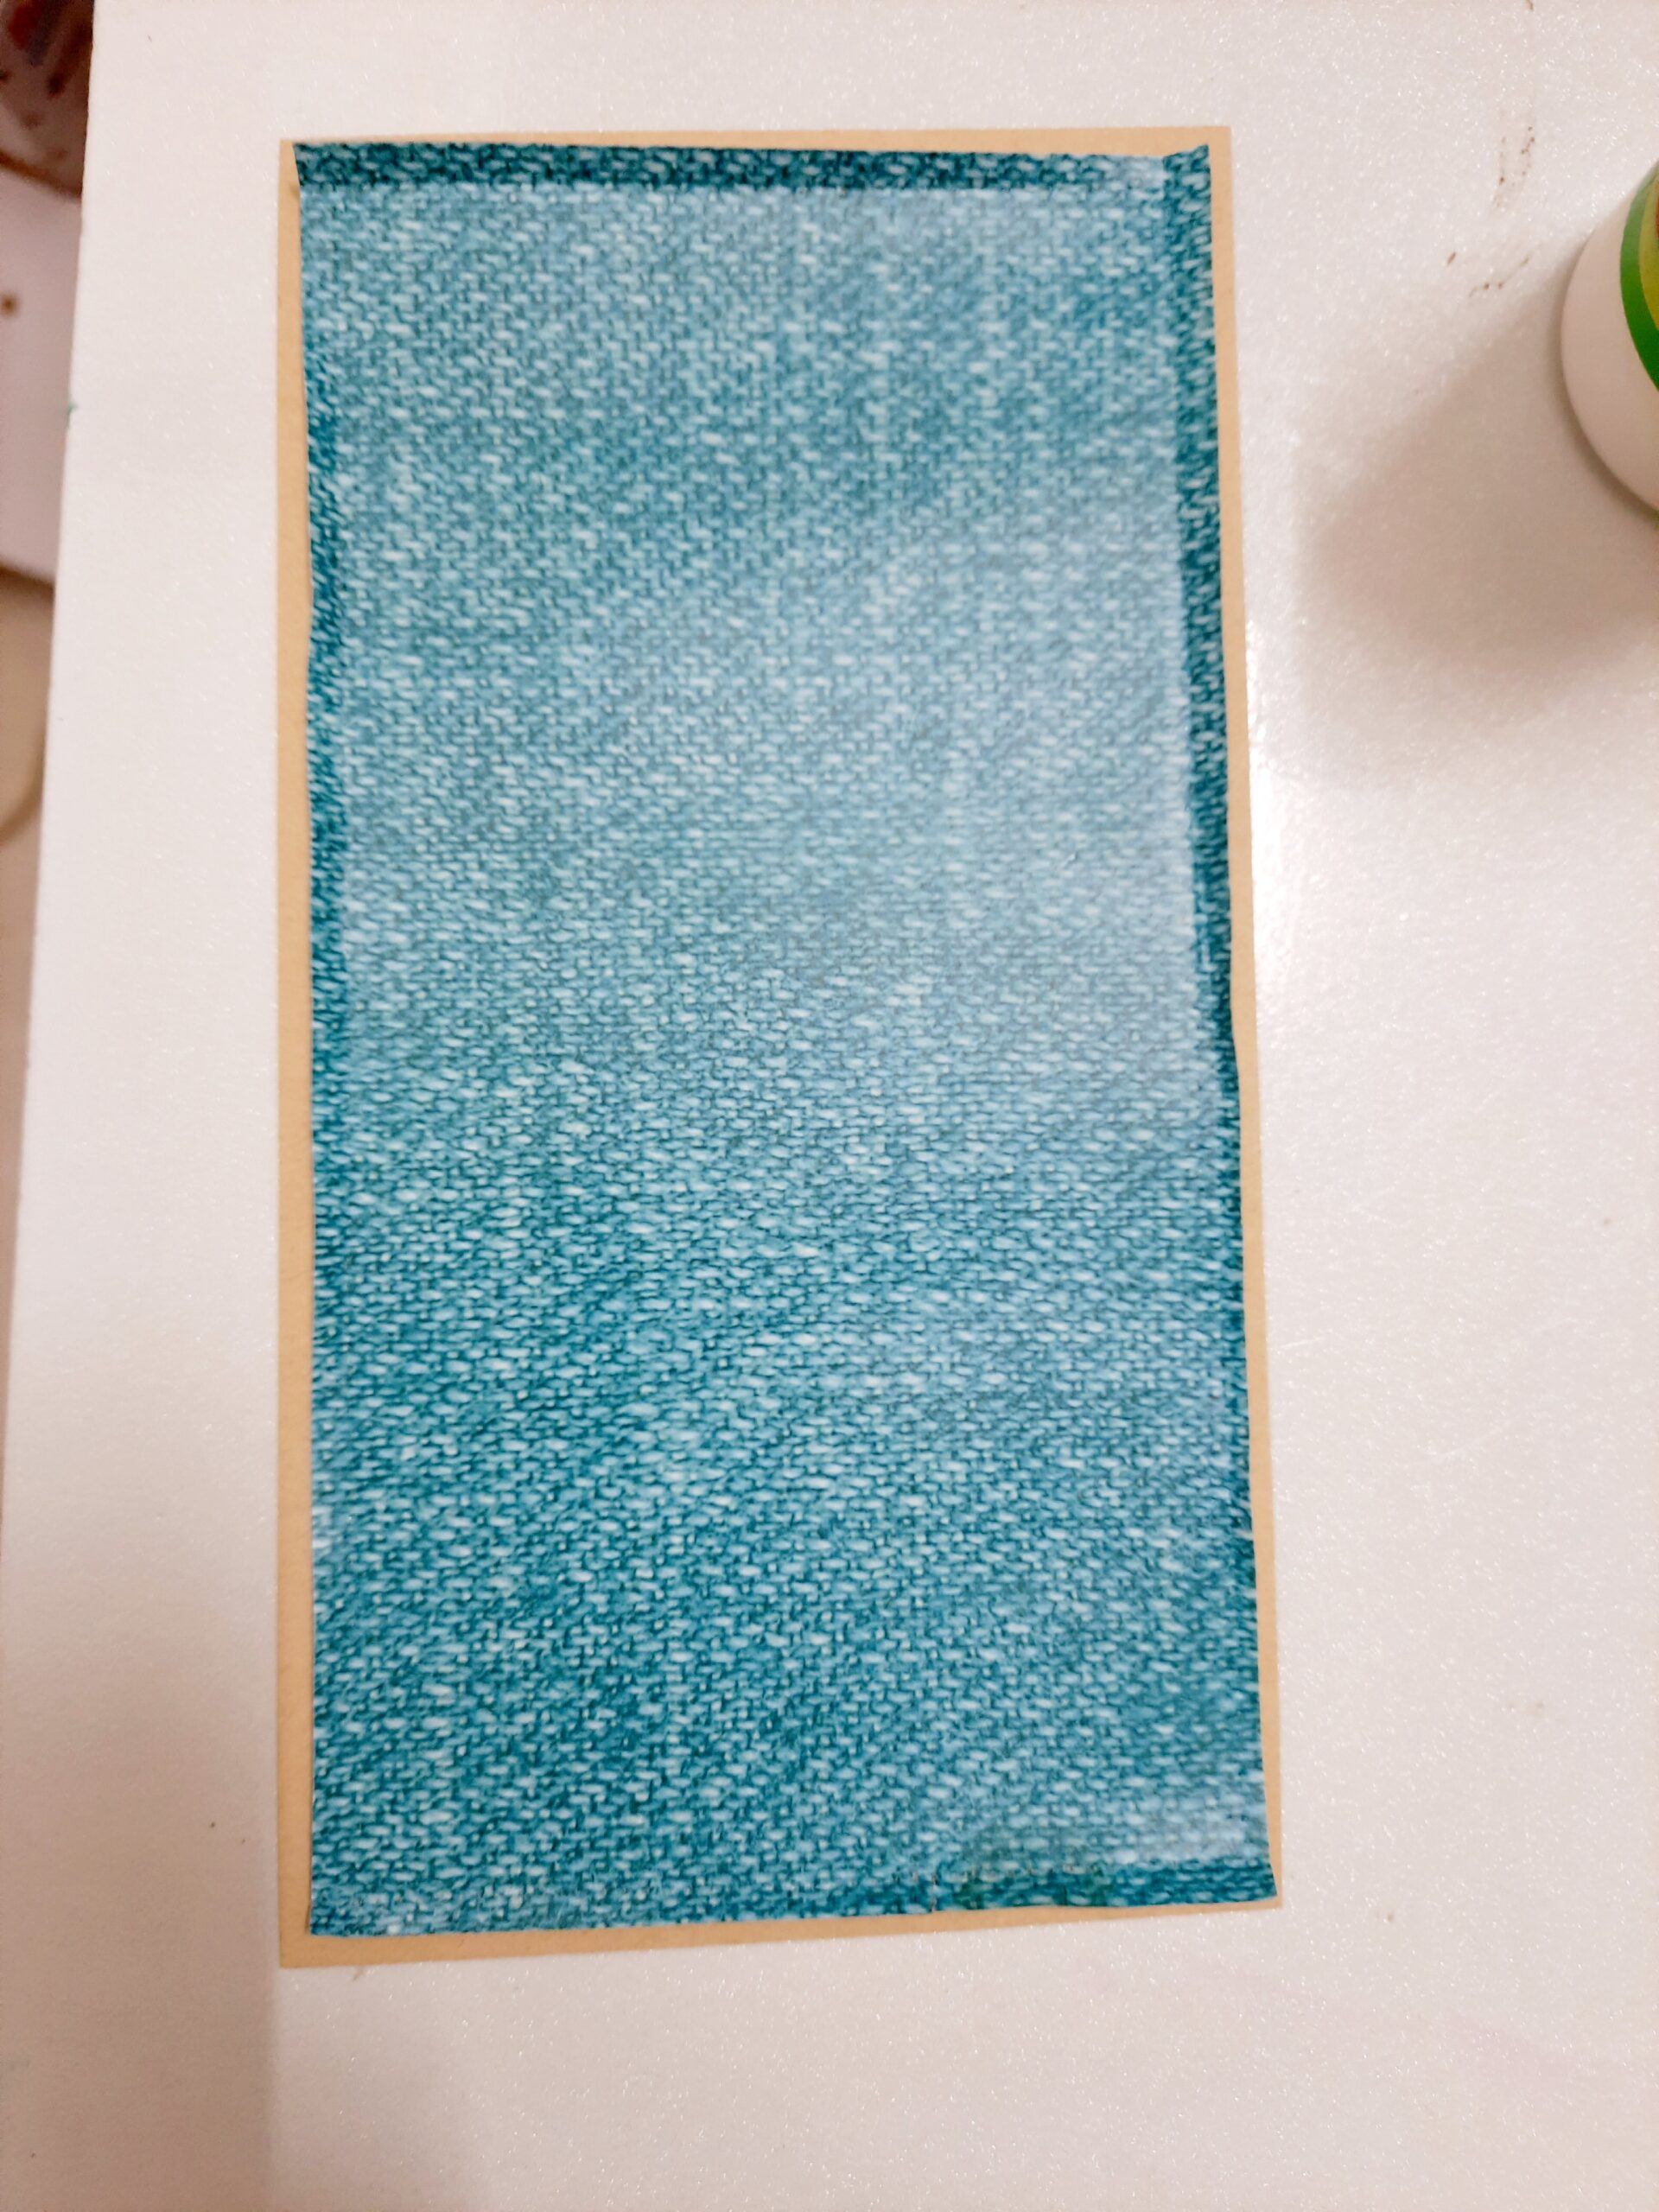
Step 1: Take a card base of size 8″ x 8″ and fold it at 4″. Take two pieces of pattern paper from the Aqua medley paper pack. Cut the first one with the dimensions 7- 3/4″ x 3-3/4″ and the second one with the dimension 7- 1/2″ x 3-1/2″.


Step 2: Now, affix the first paper over the card base with the help of craft glue.


Step 3: Now, take the second paper and adhere it onto the first layer with the help of  double – sided tape to give some dimension to the card. To add some interest, I stitched the borders of both the layers.


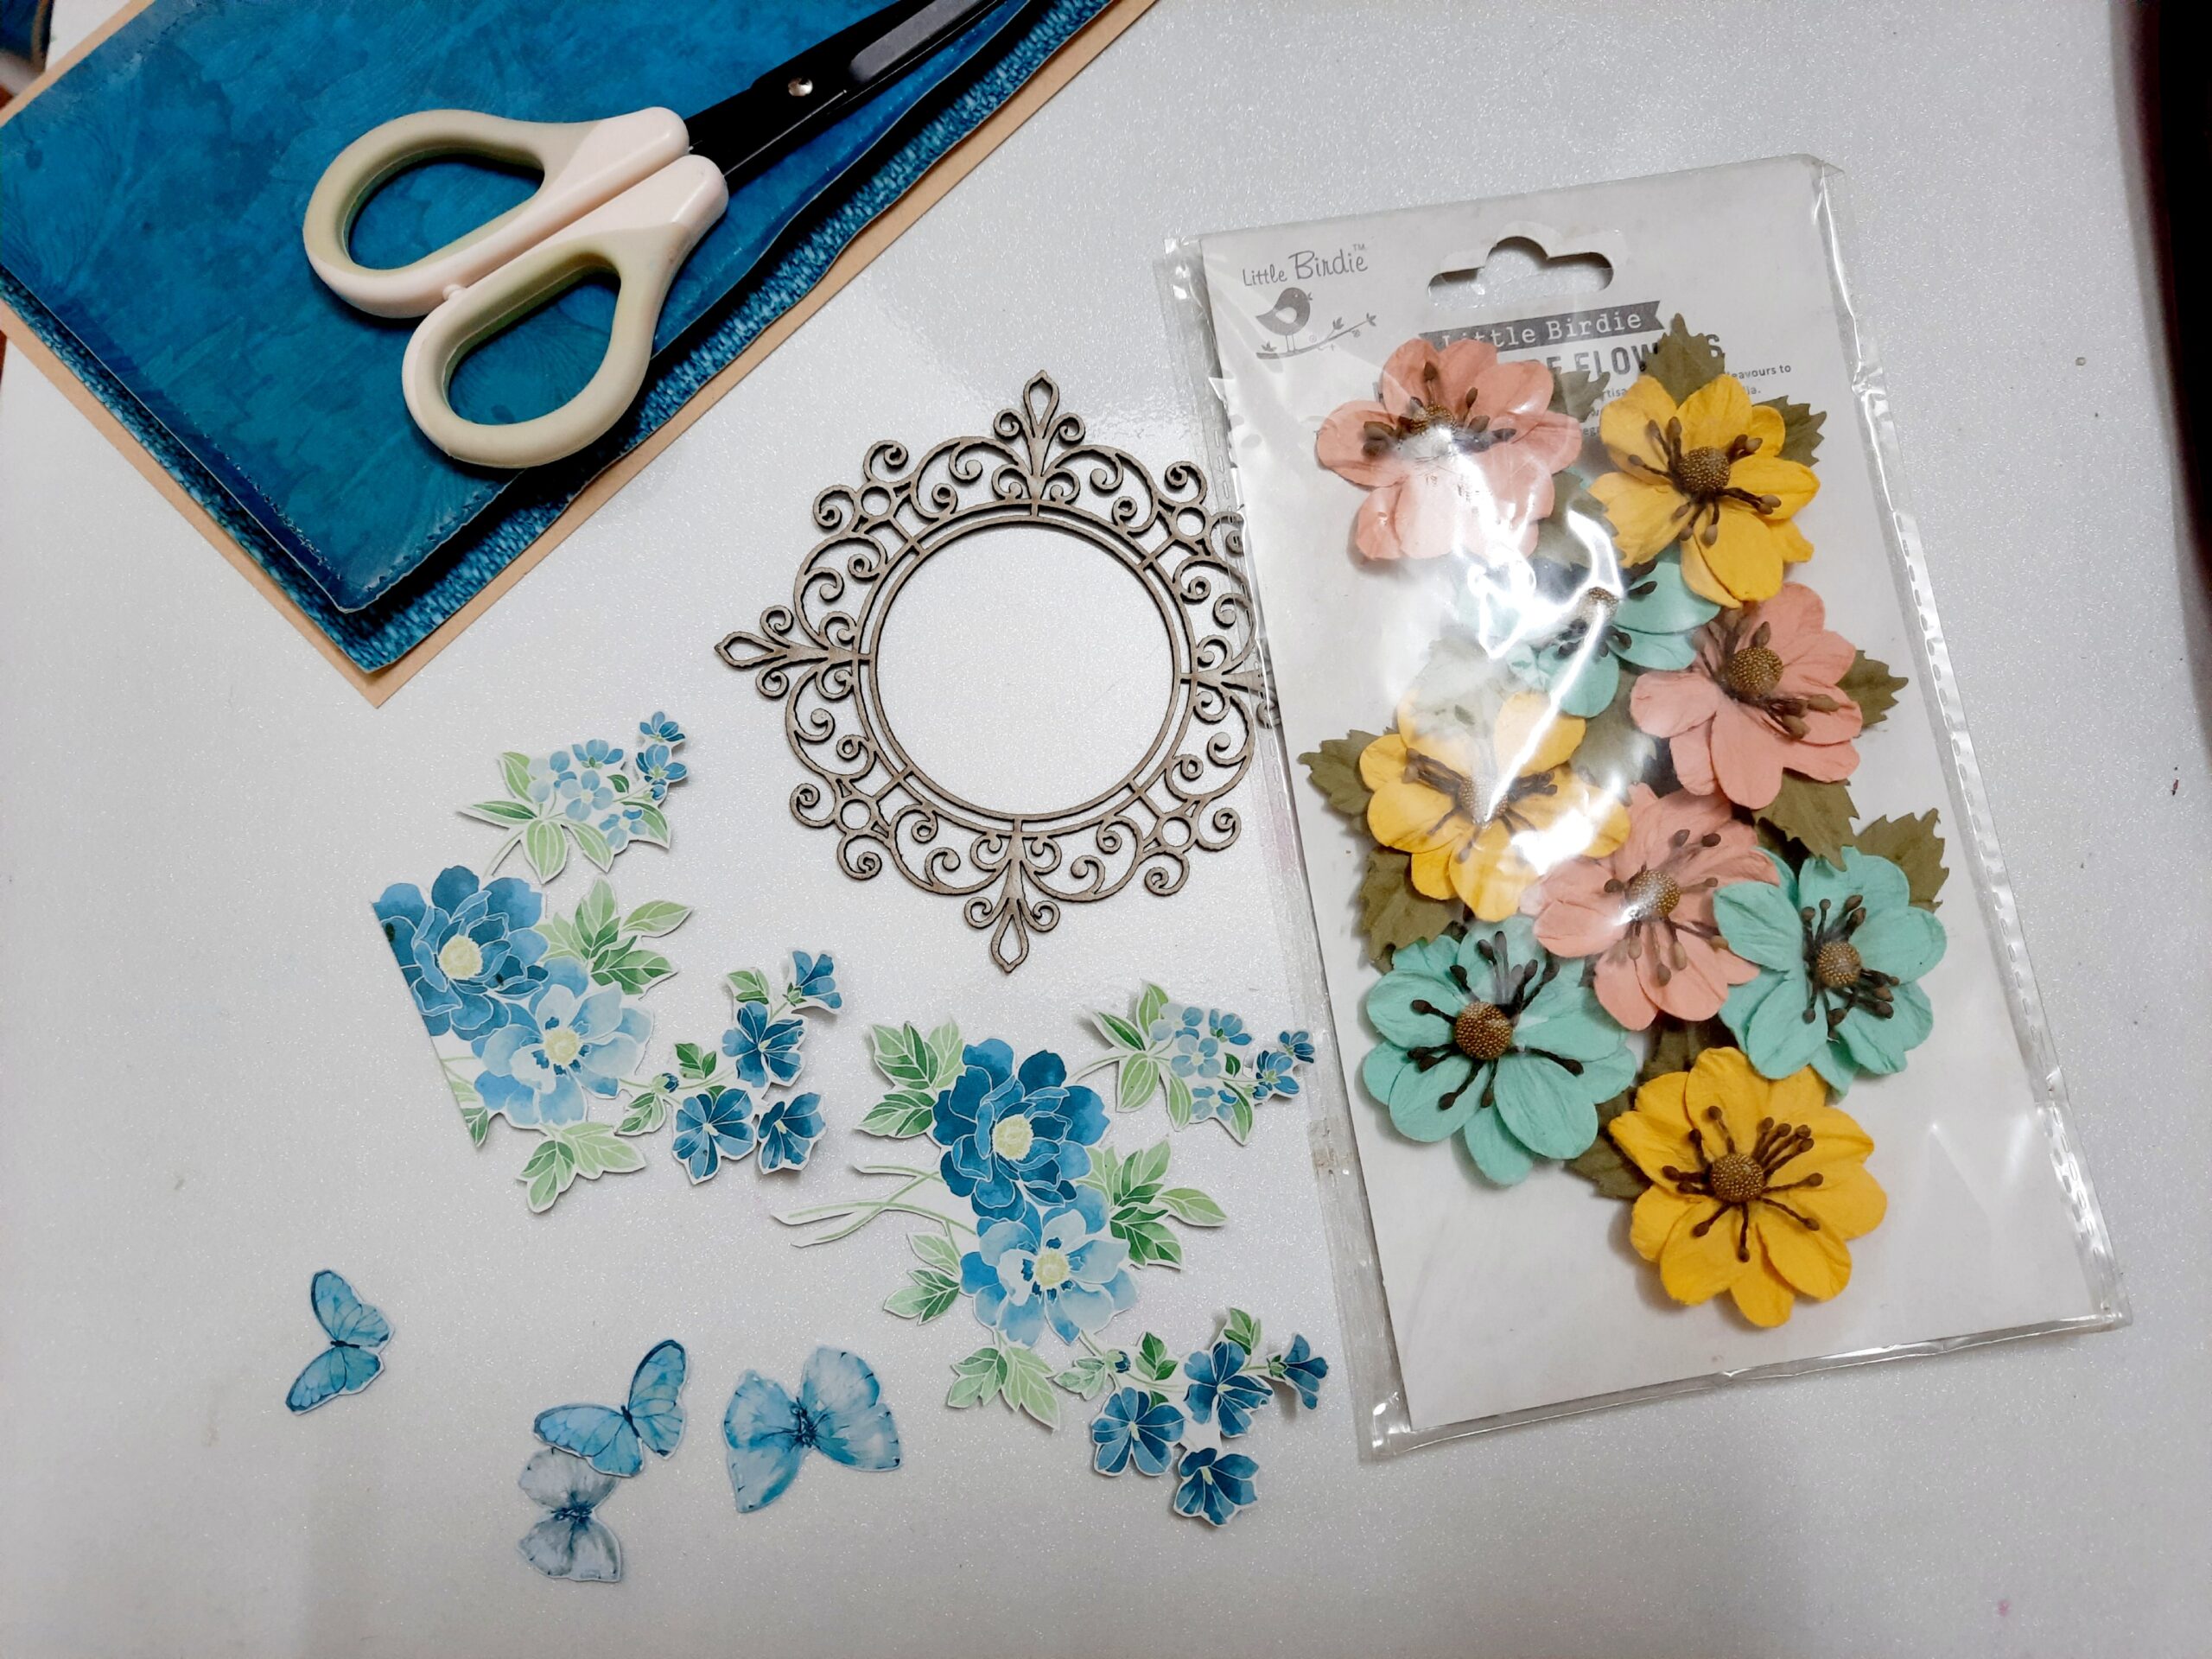
Step 4: Next, arrange some embellishments to adorn the card. For this, I have taken some beautiful handmade flowers from the store, one frame chipboard and few fussy cut elements from the paper pack.


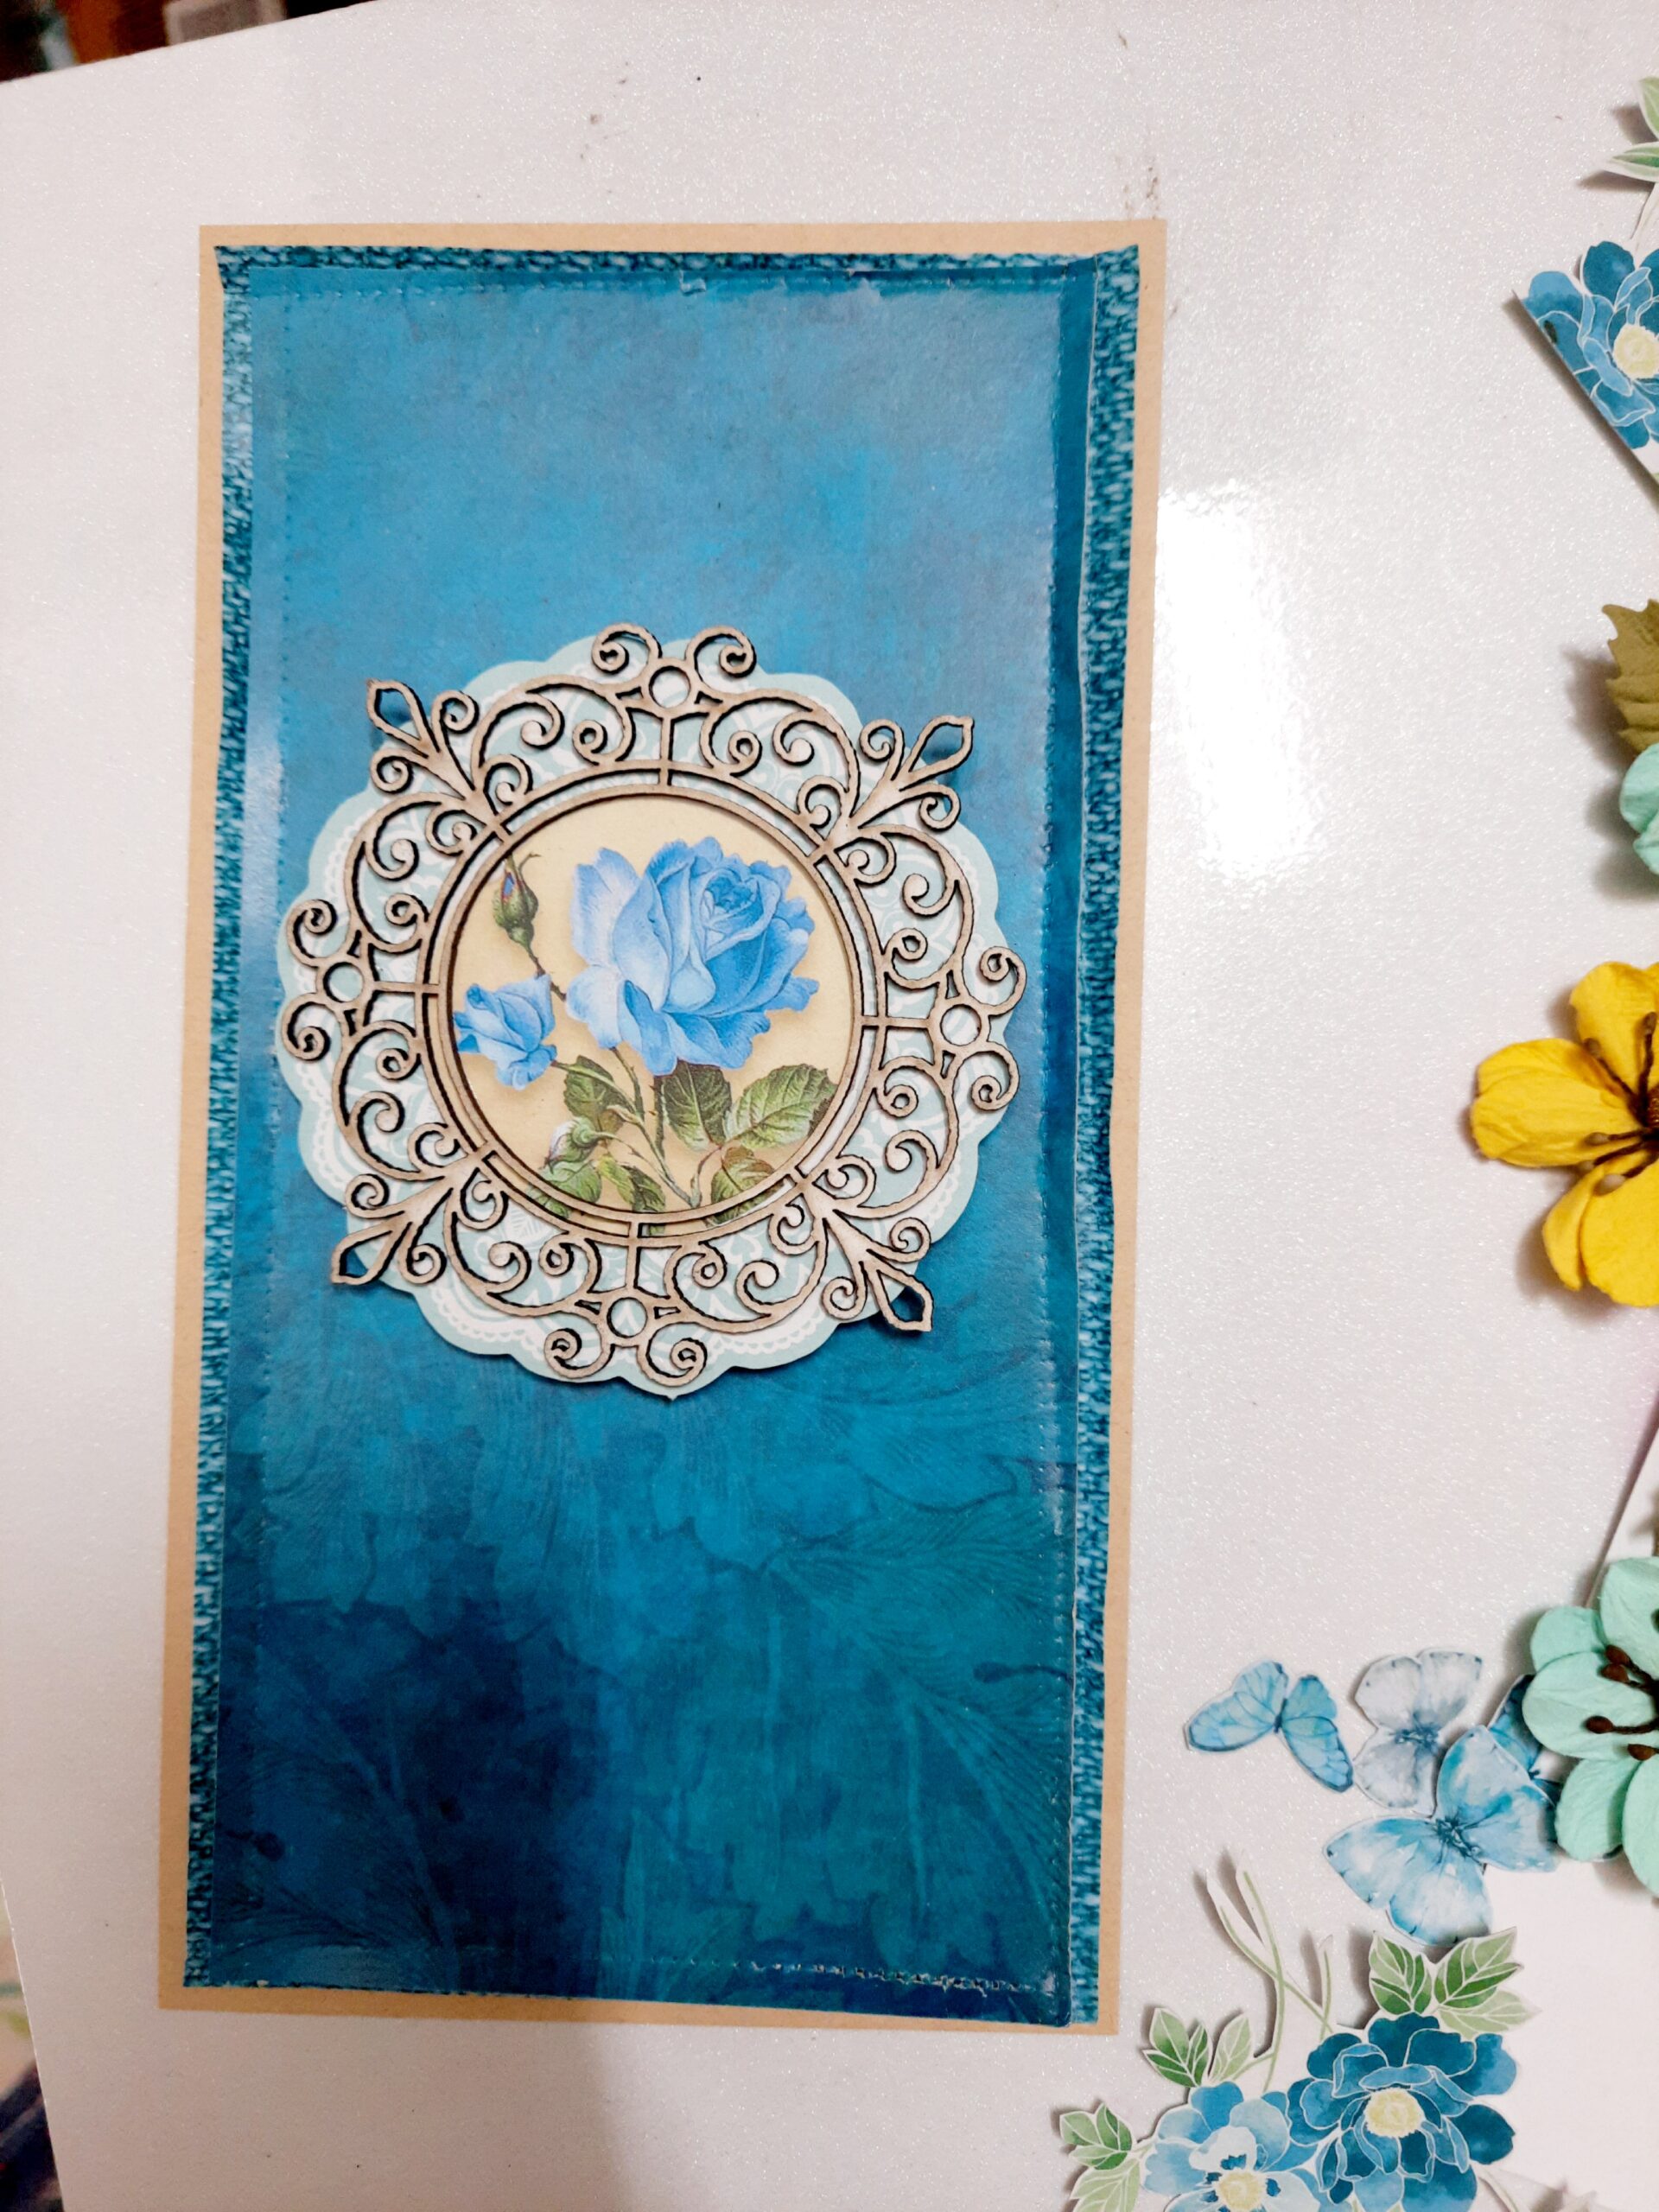
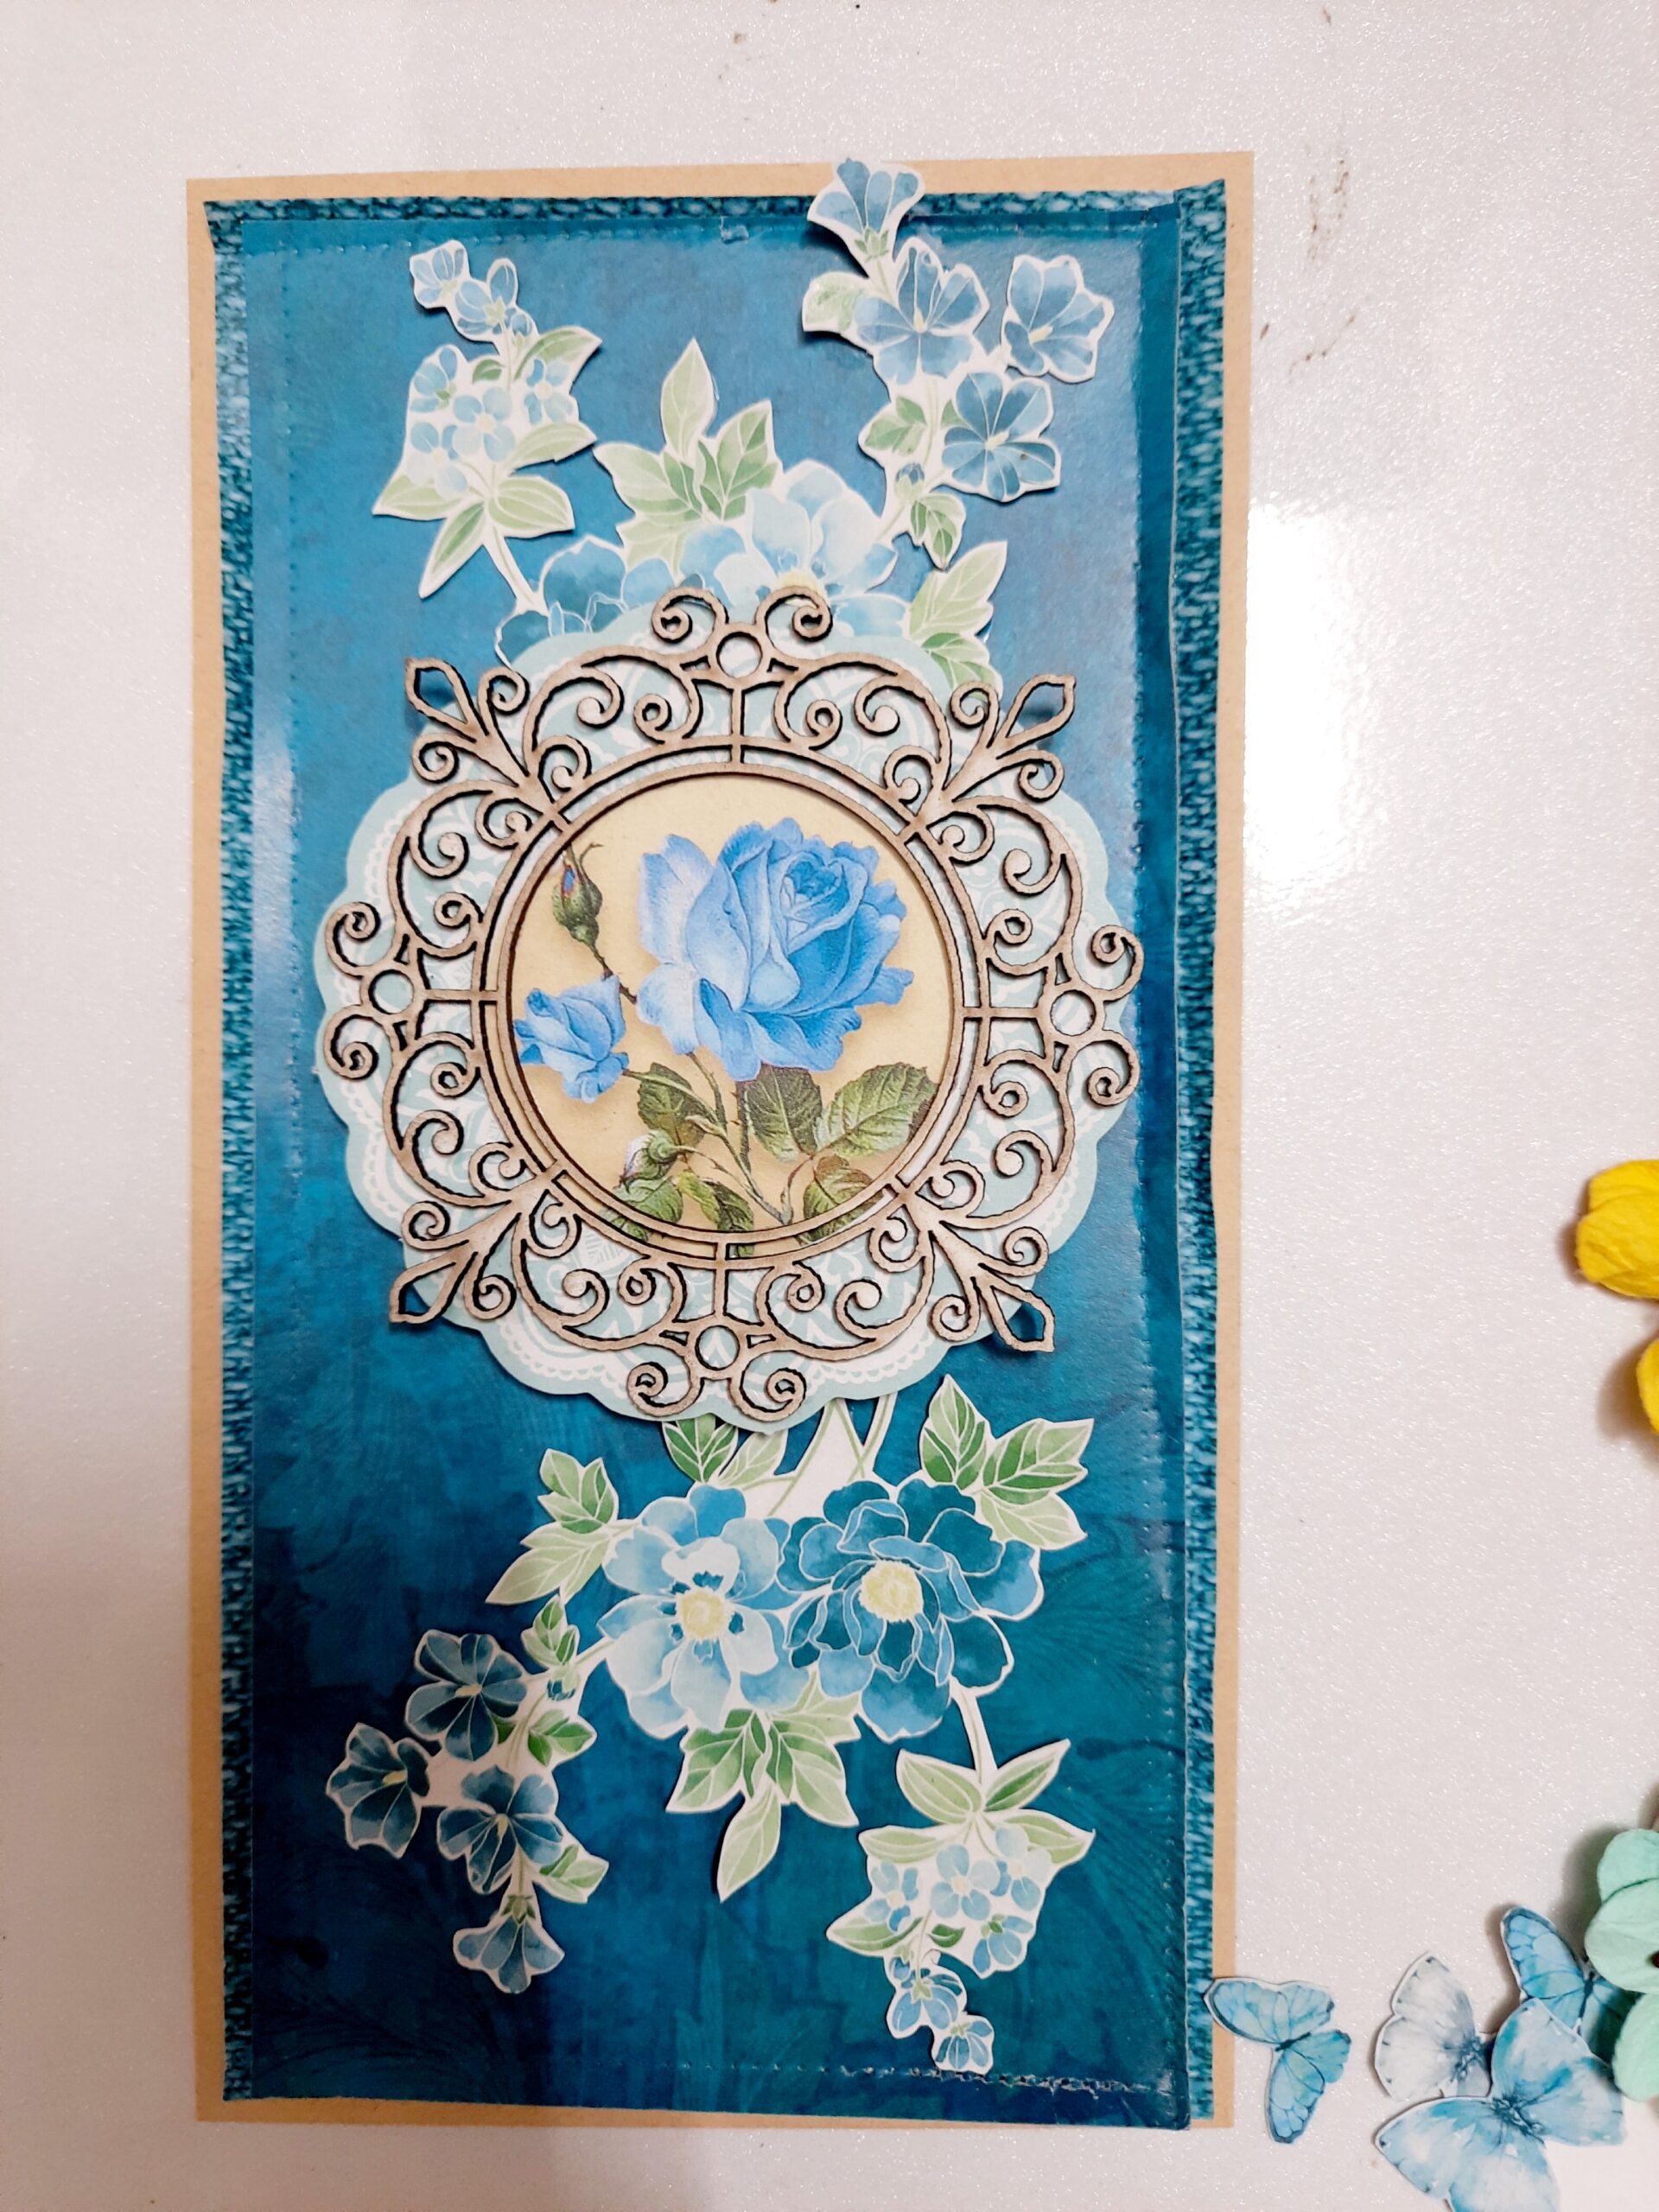
Step 5: Now start decorating the card with the elements collected.


And ta- DA…..its ready…..


Some close- up pics….


I hope you all like it…..

Semi- finalist at Heartfelt Creations Design Team 2022(Please vote for me)

  Namaste Friends!! I am ve ry excited to a nnounce that I made it to the semi- finals of prestigious Heartfelt Creations Design Team 2022. ...