Thursday, 22 April 2021

Mixed Media Slimline Card

 Namaste  Friends!!

Kriti this side…..hope you all are safe and healthy.


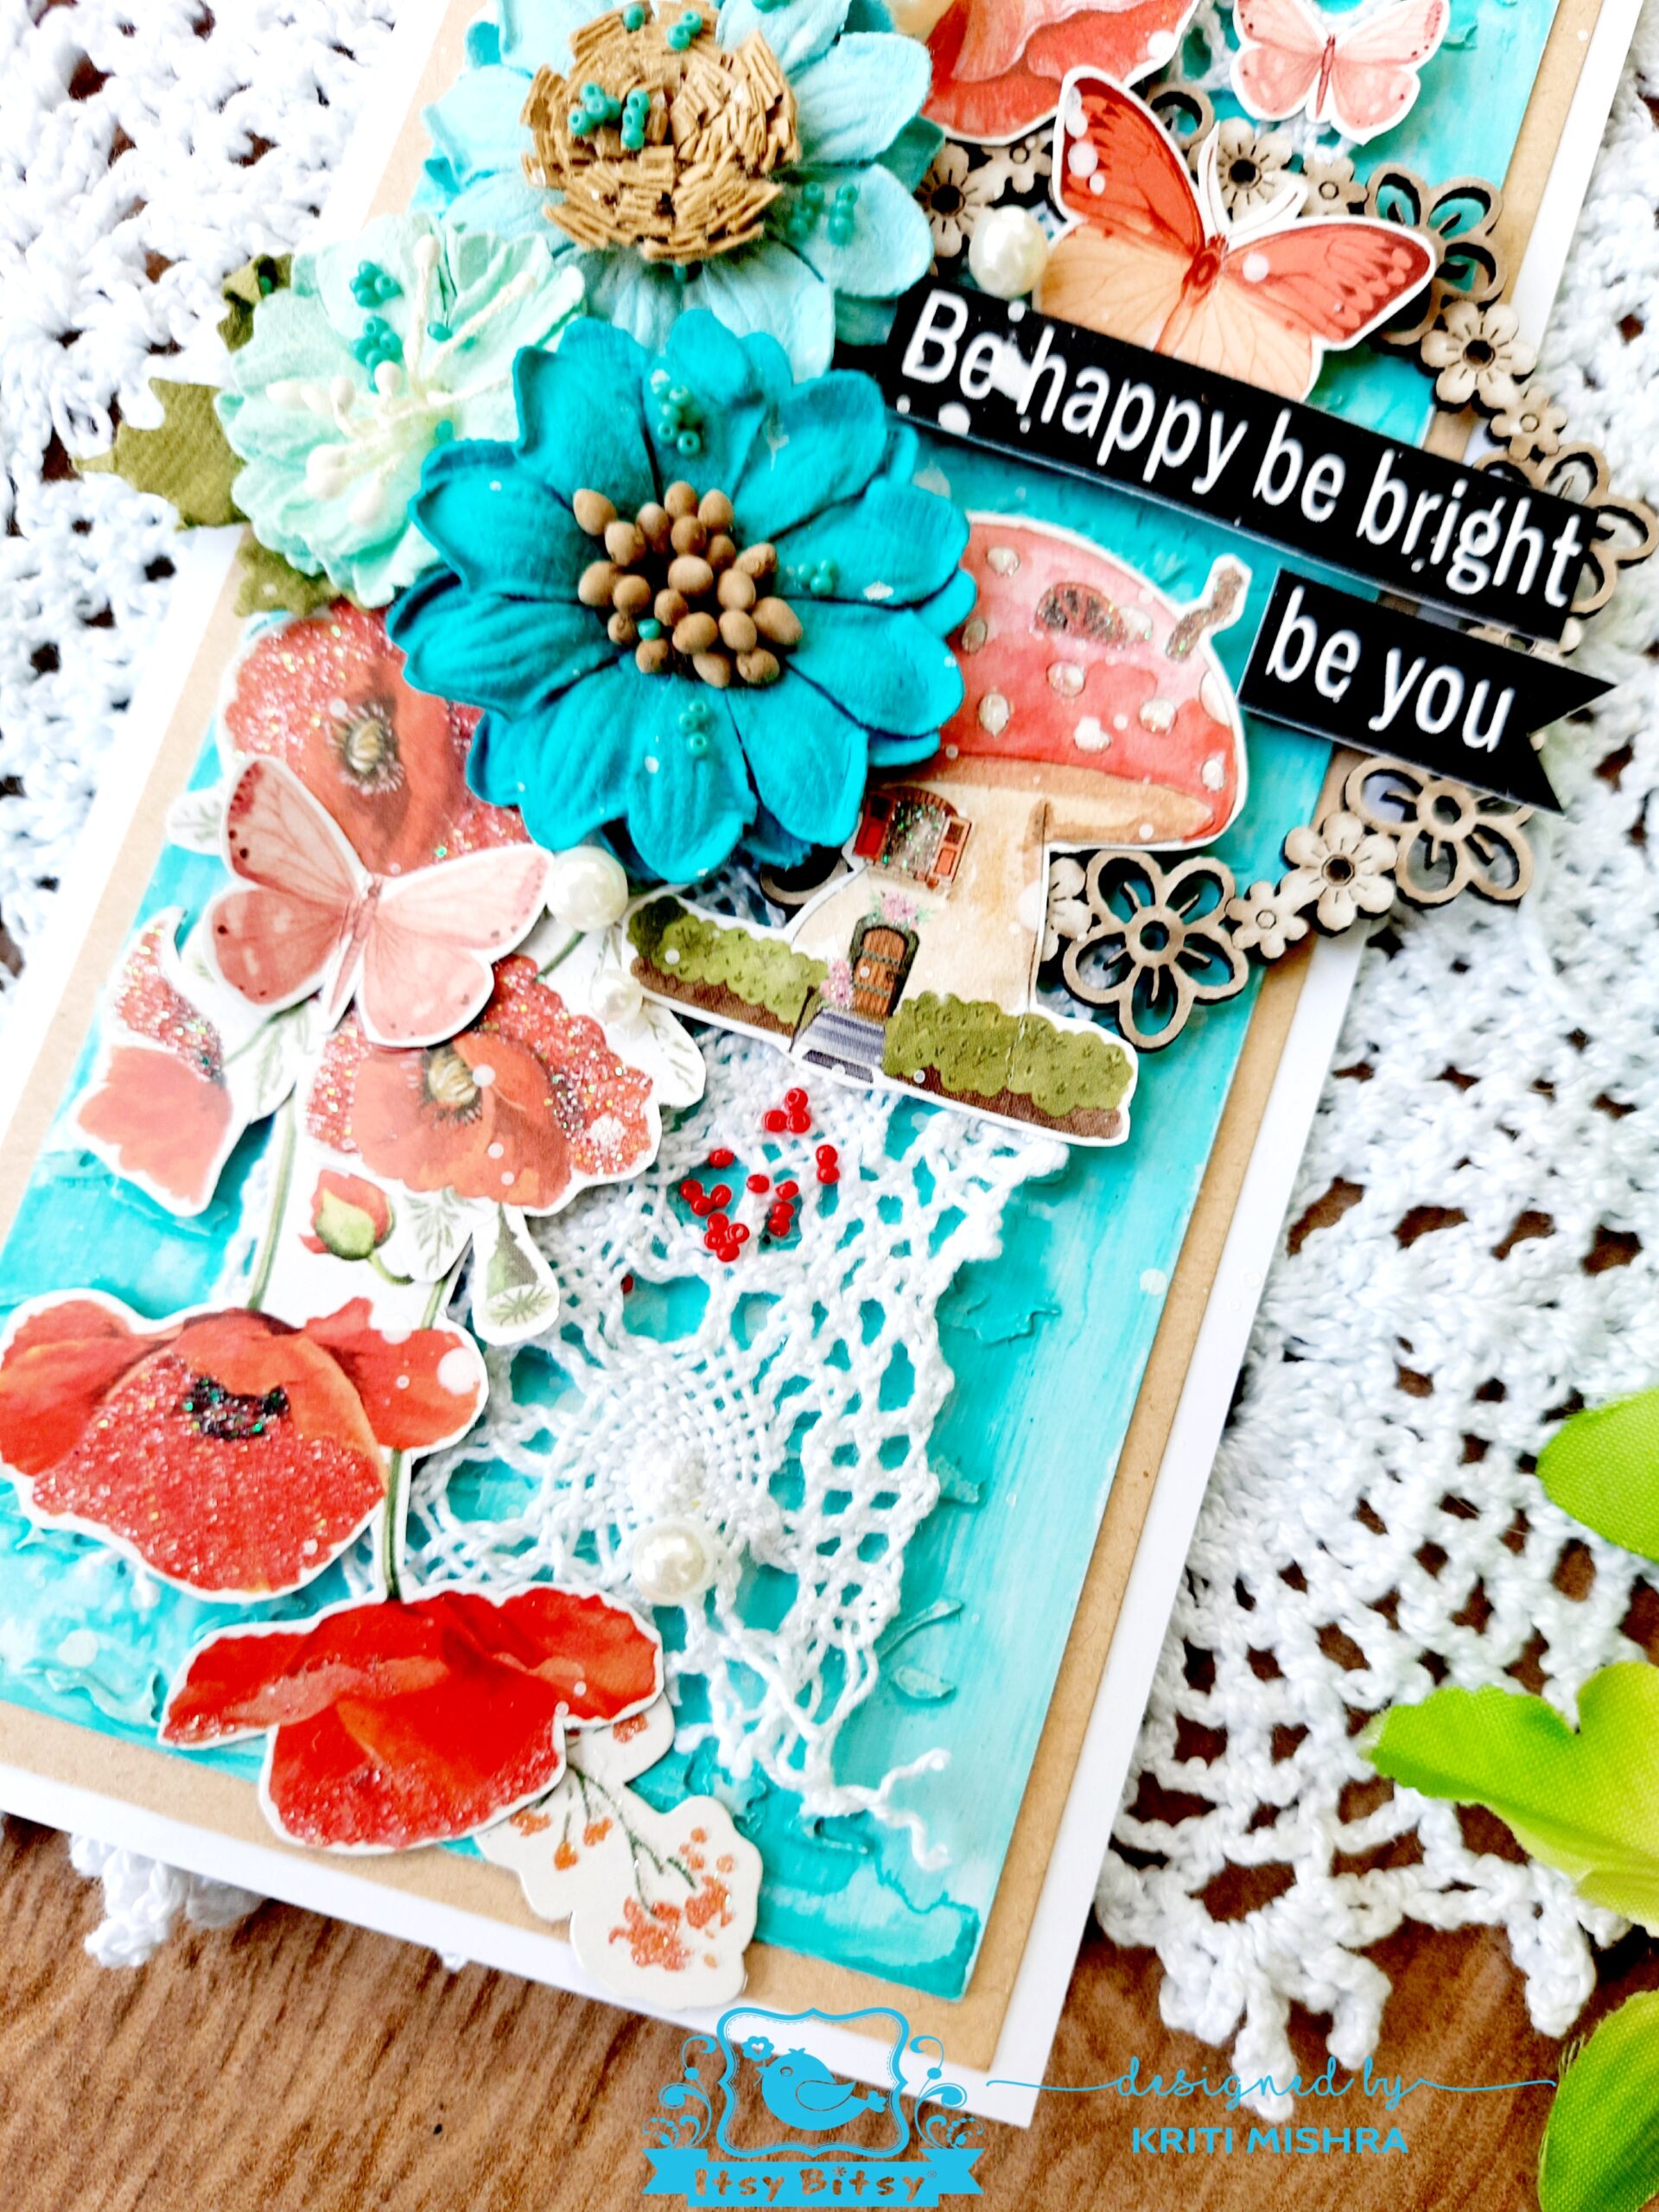
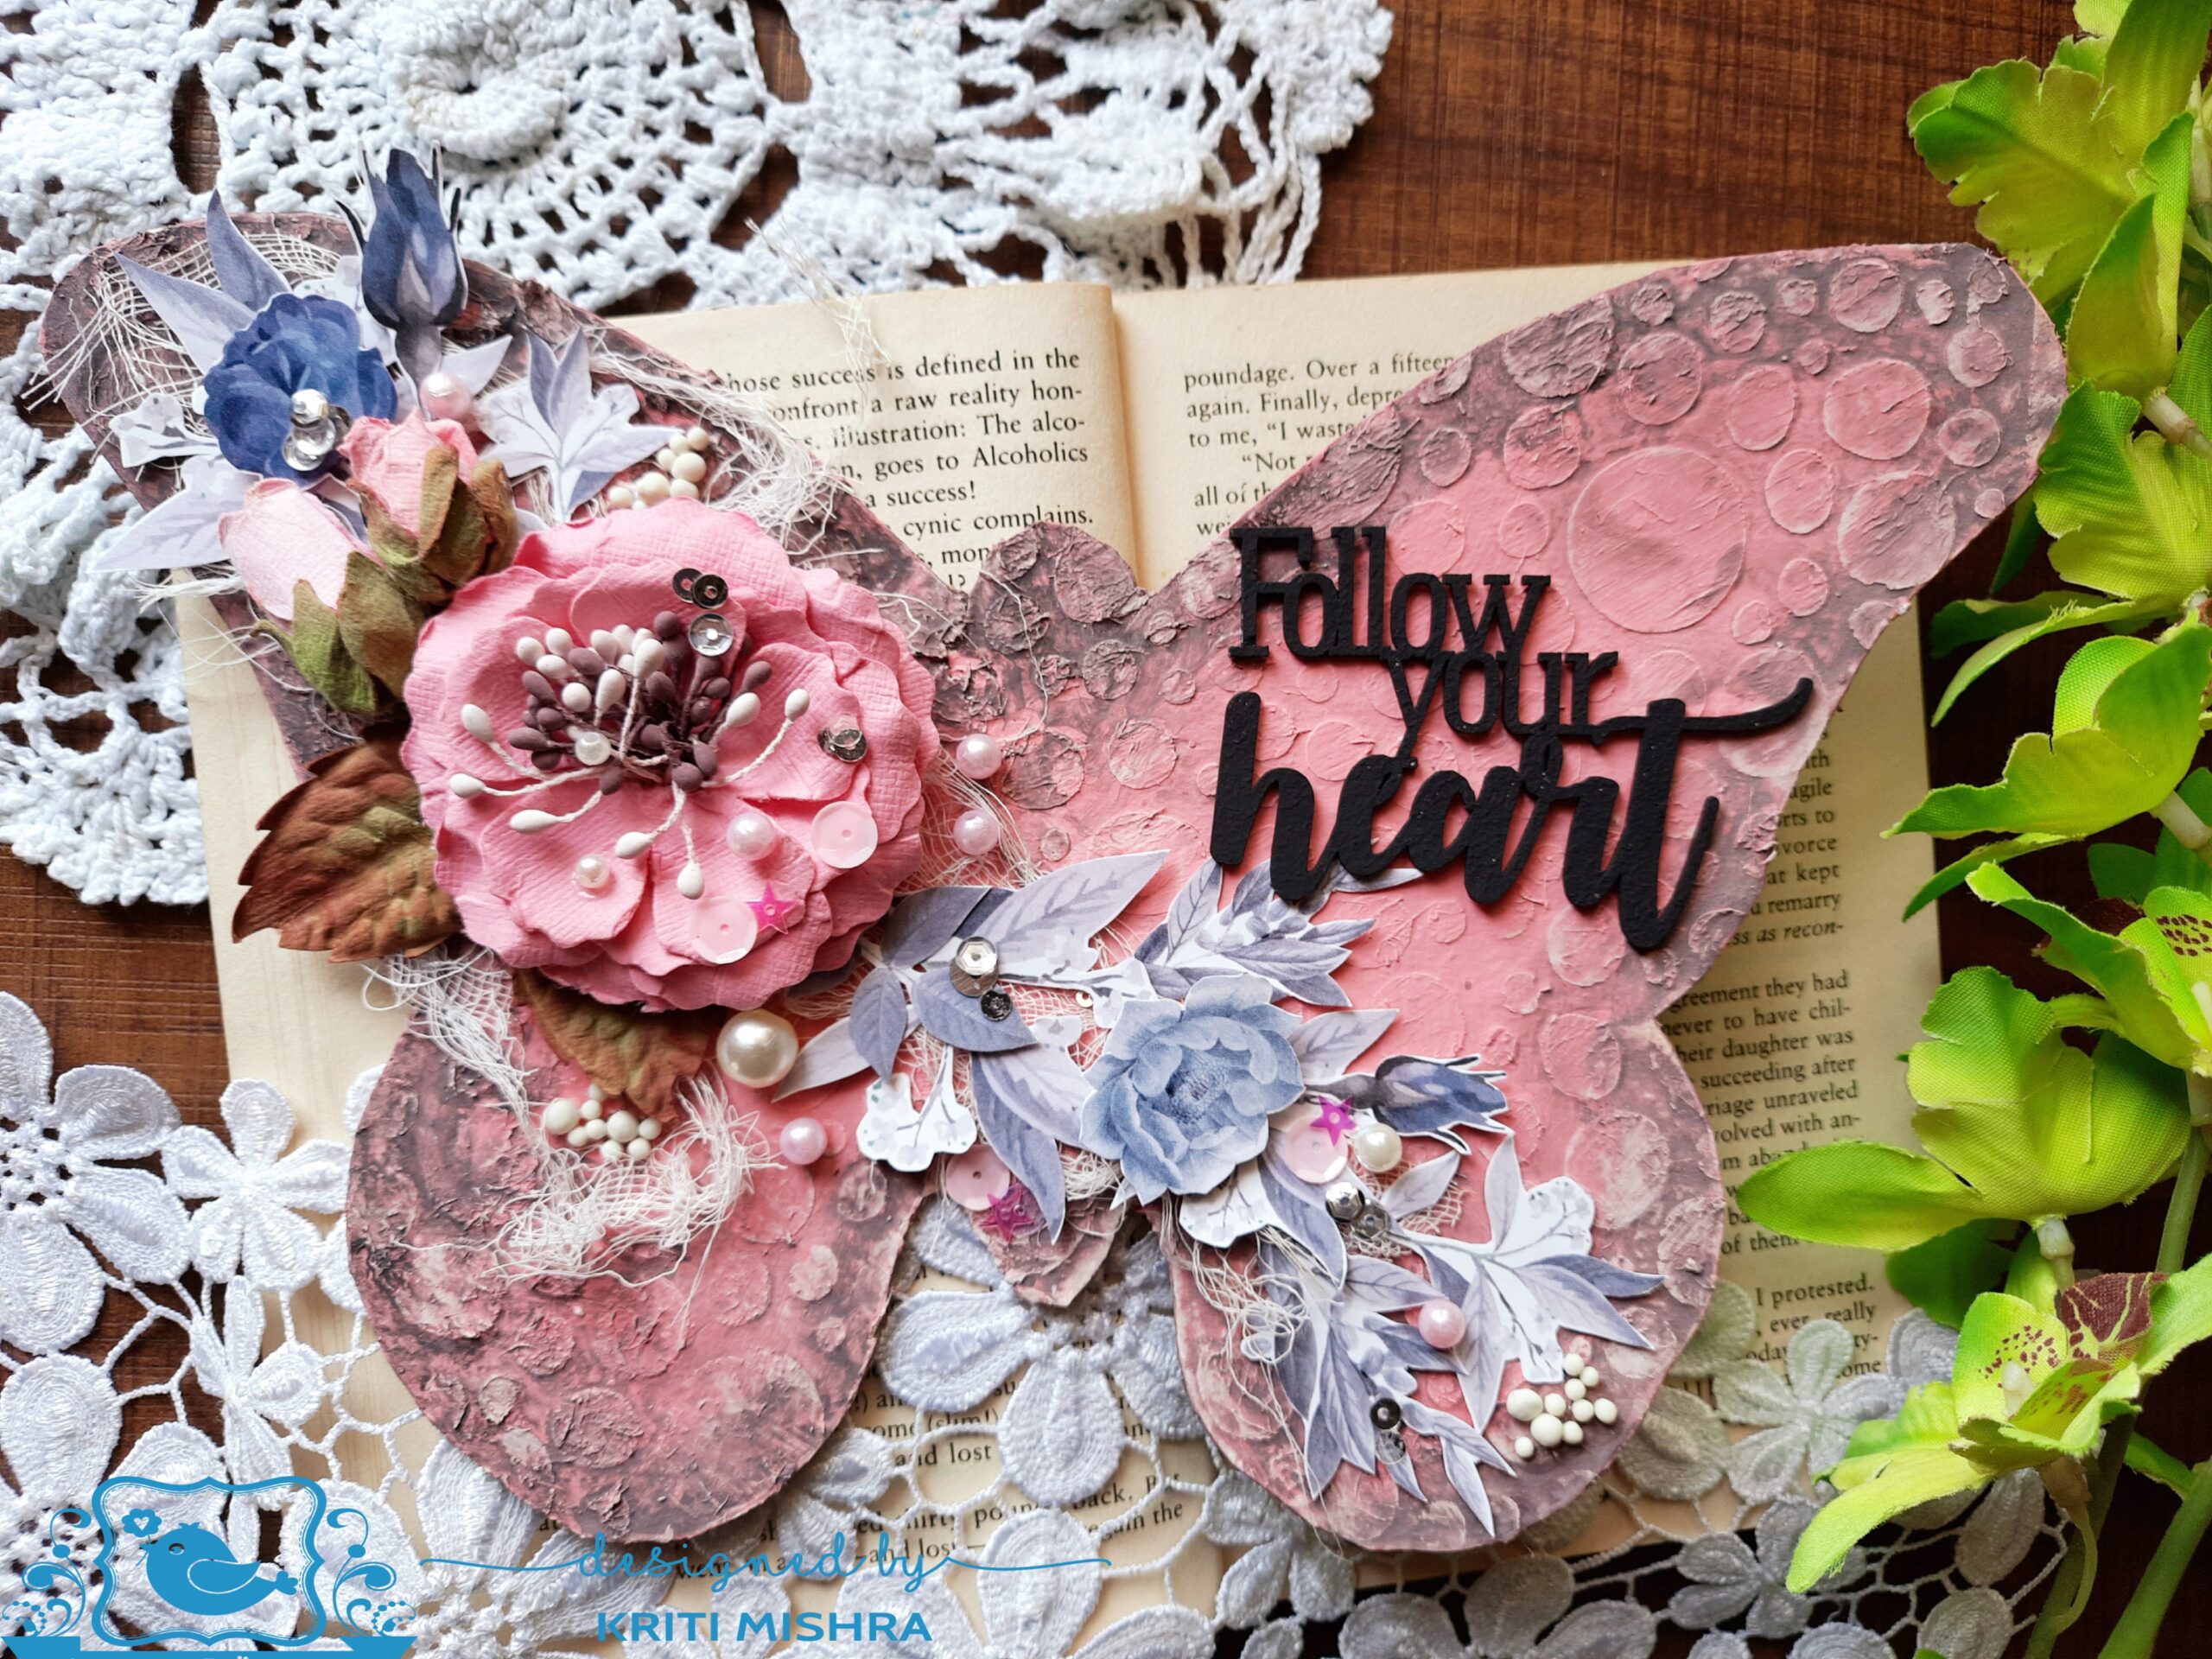
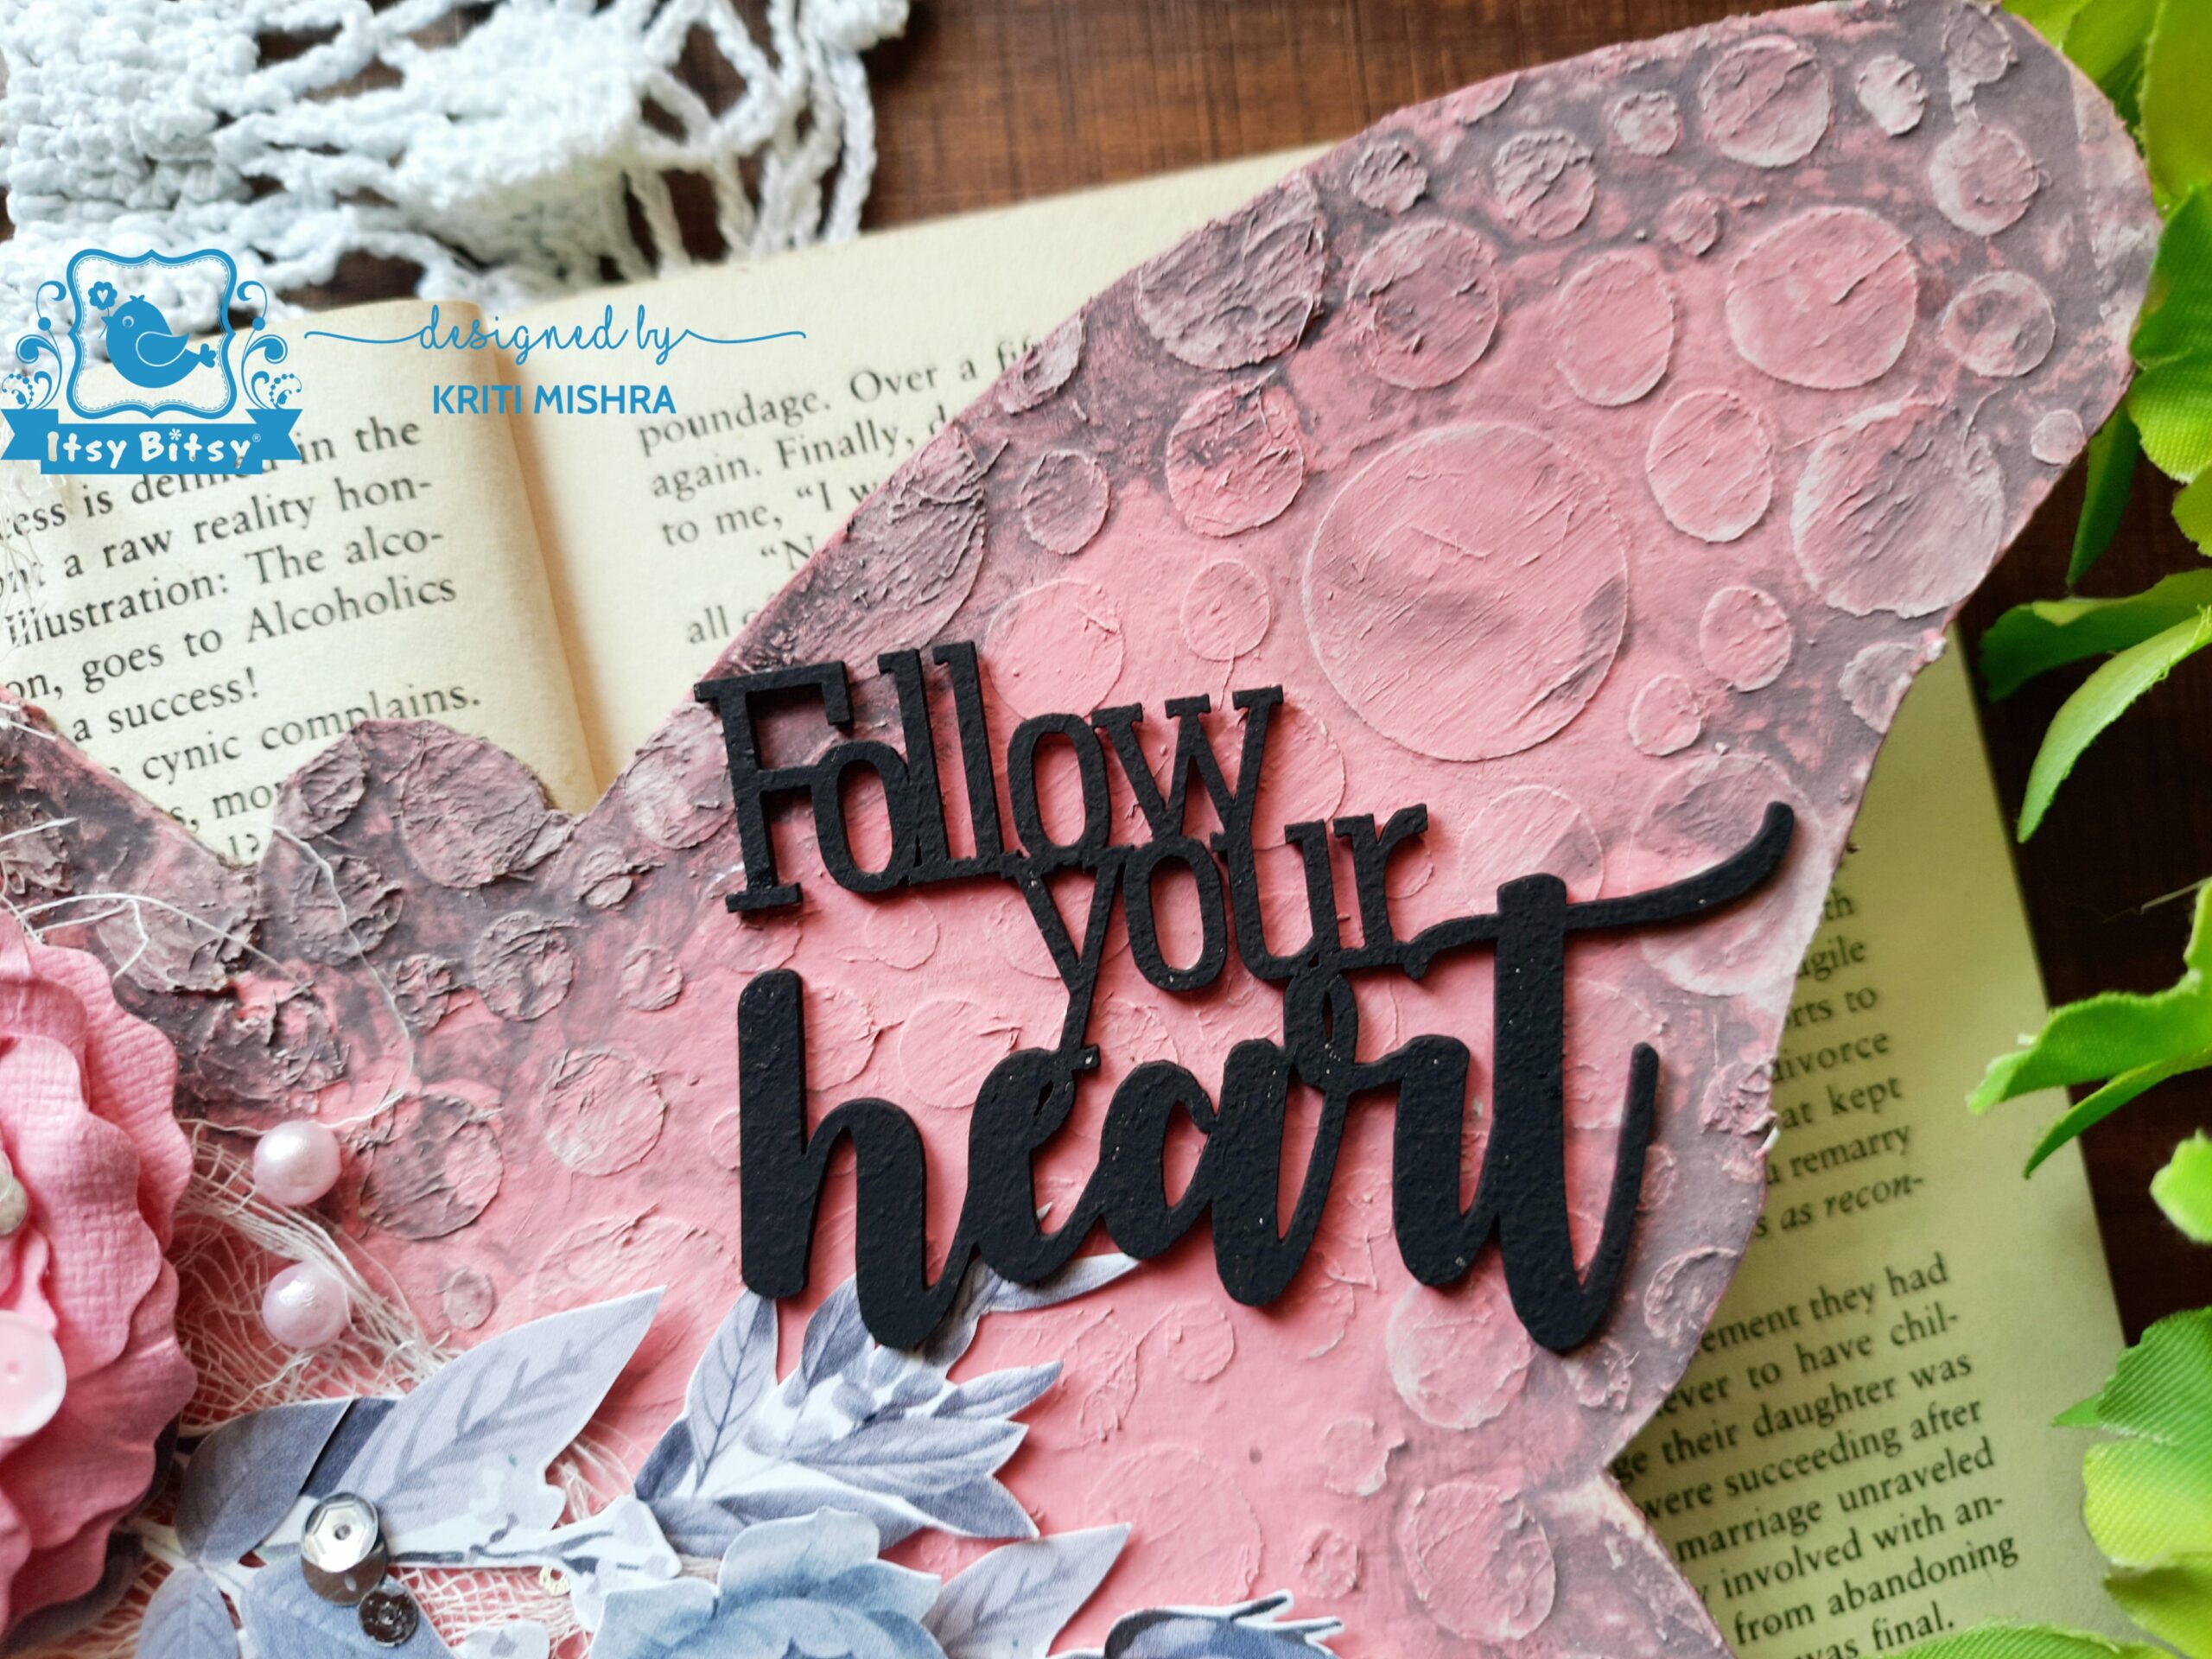
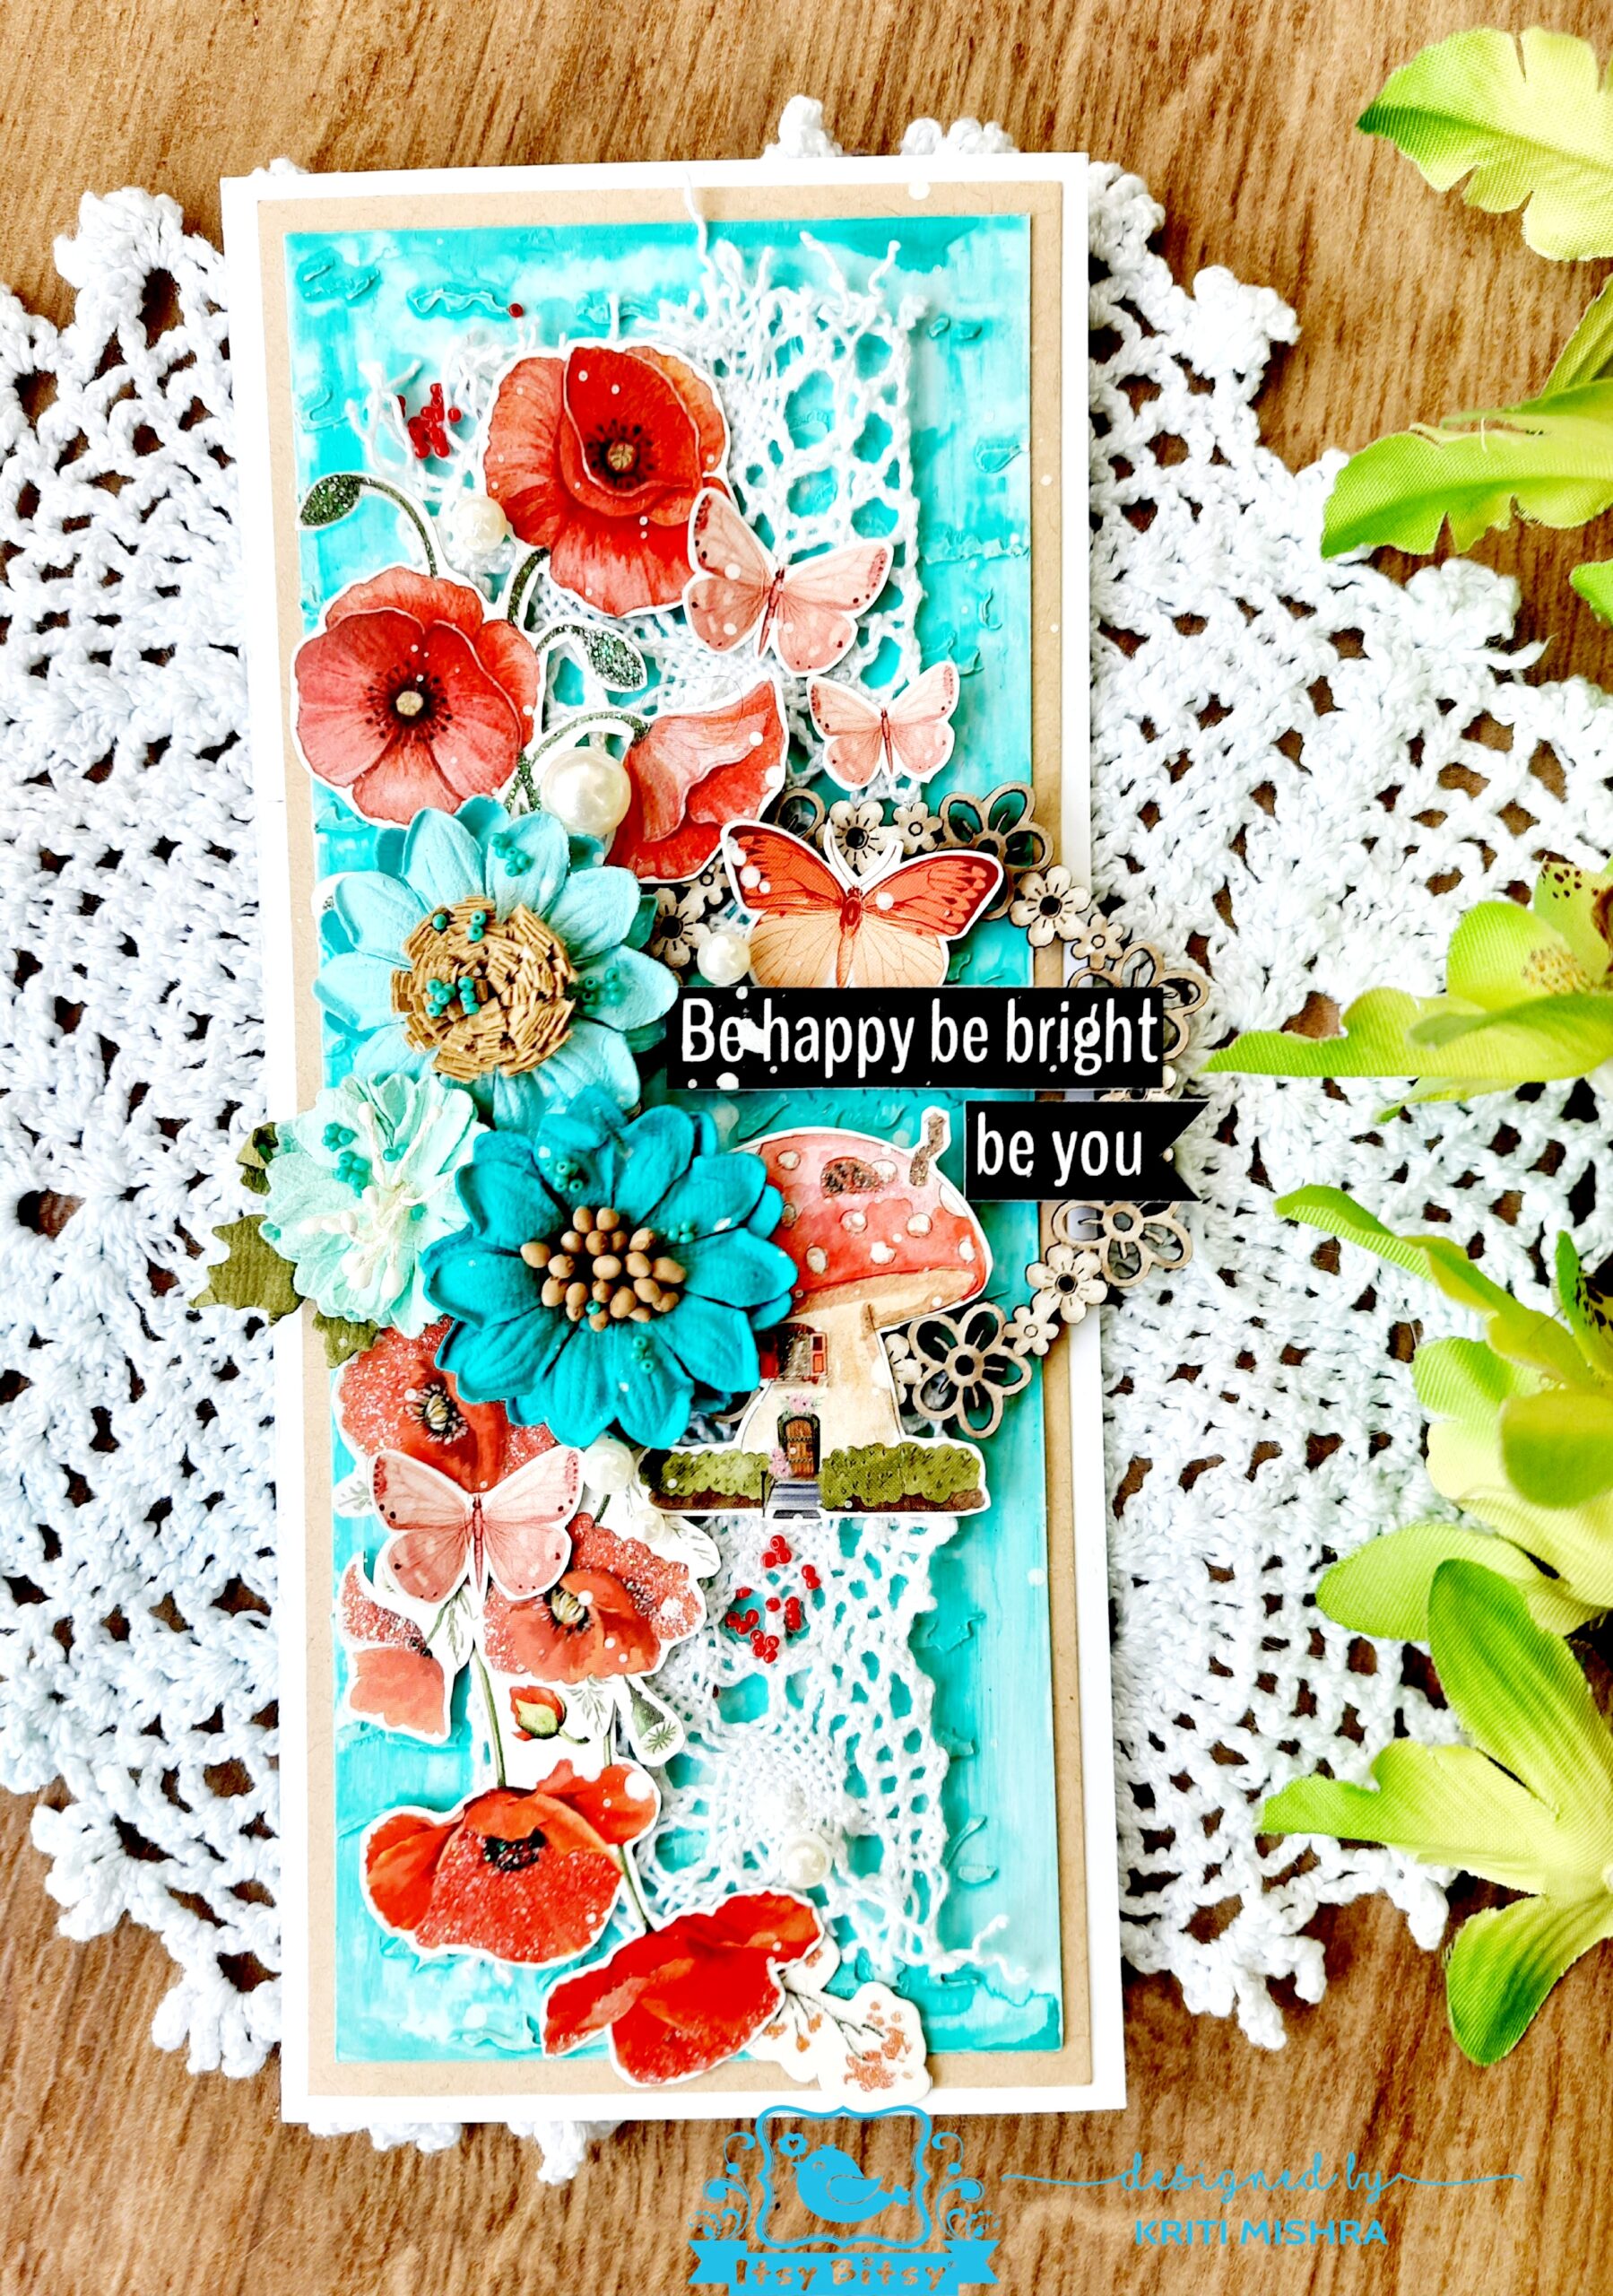
Today, I want to share a mixed media slimline card.


I hope you like this card.  Slimline cards are in trend these days and to make this one more interesting,  I gave it a twist by adding some mixed media techniques.


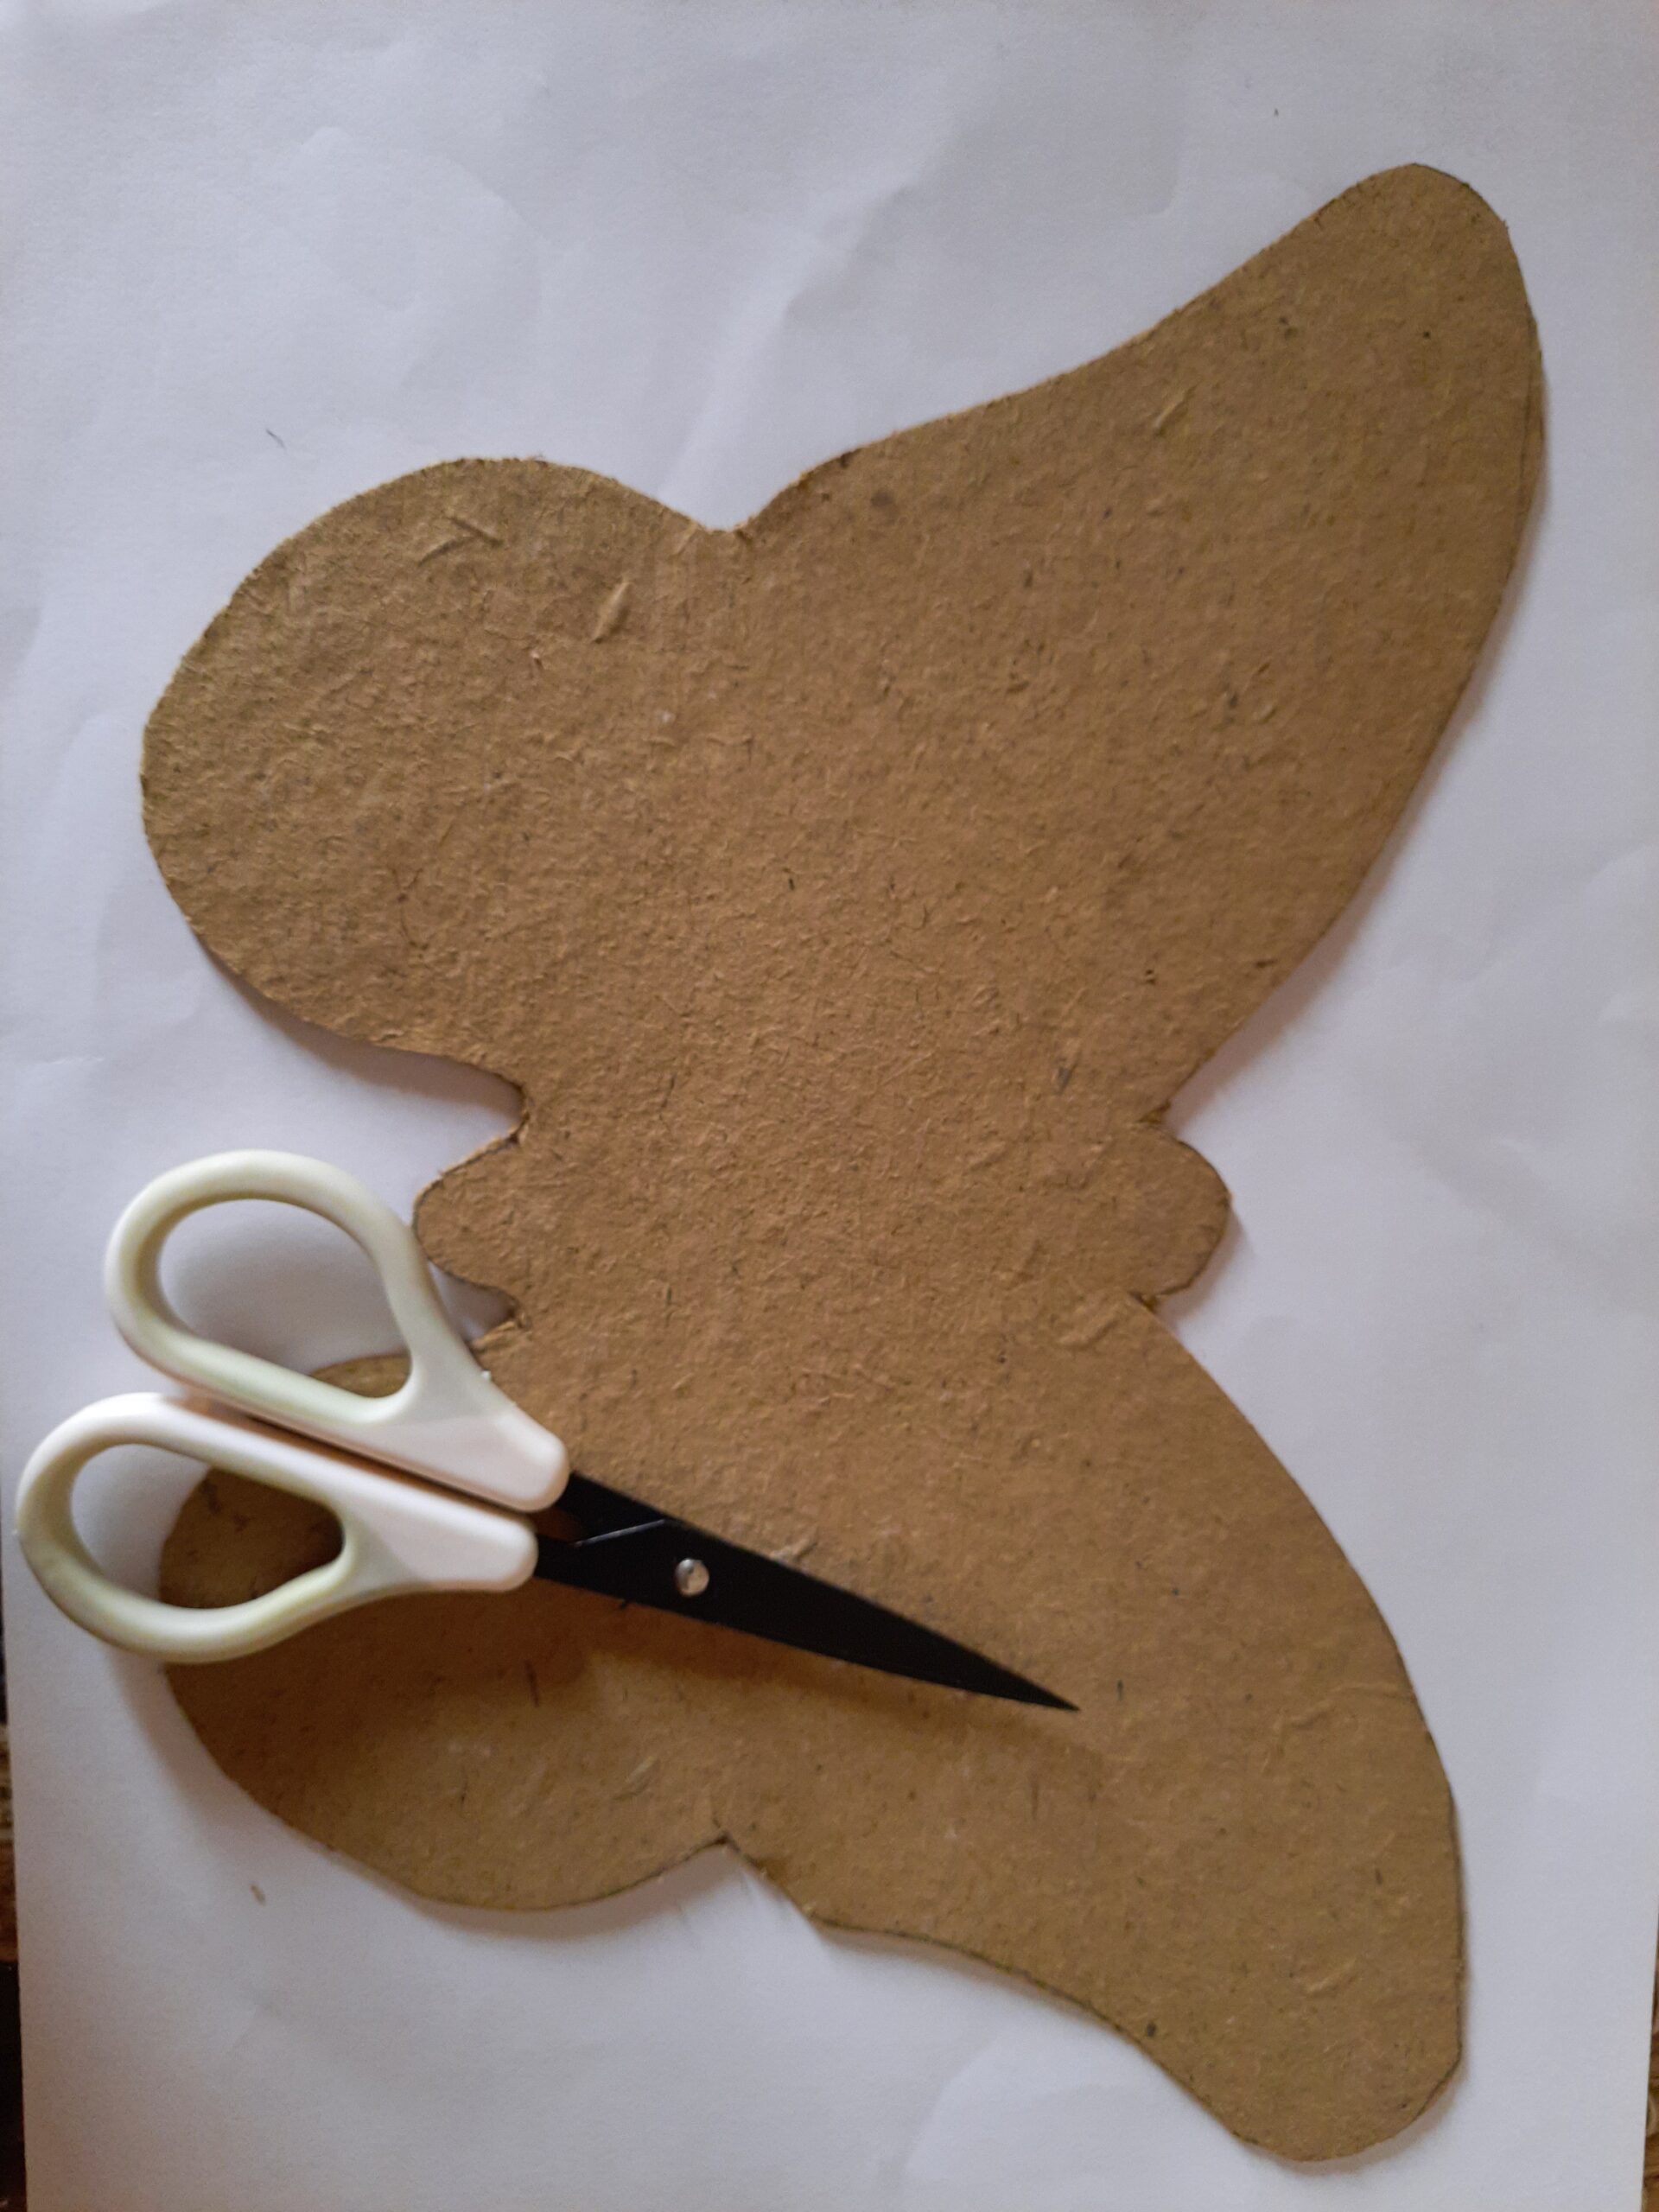
I have a step- by- step tutorial for this –


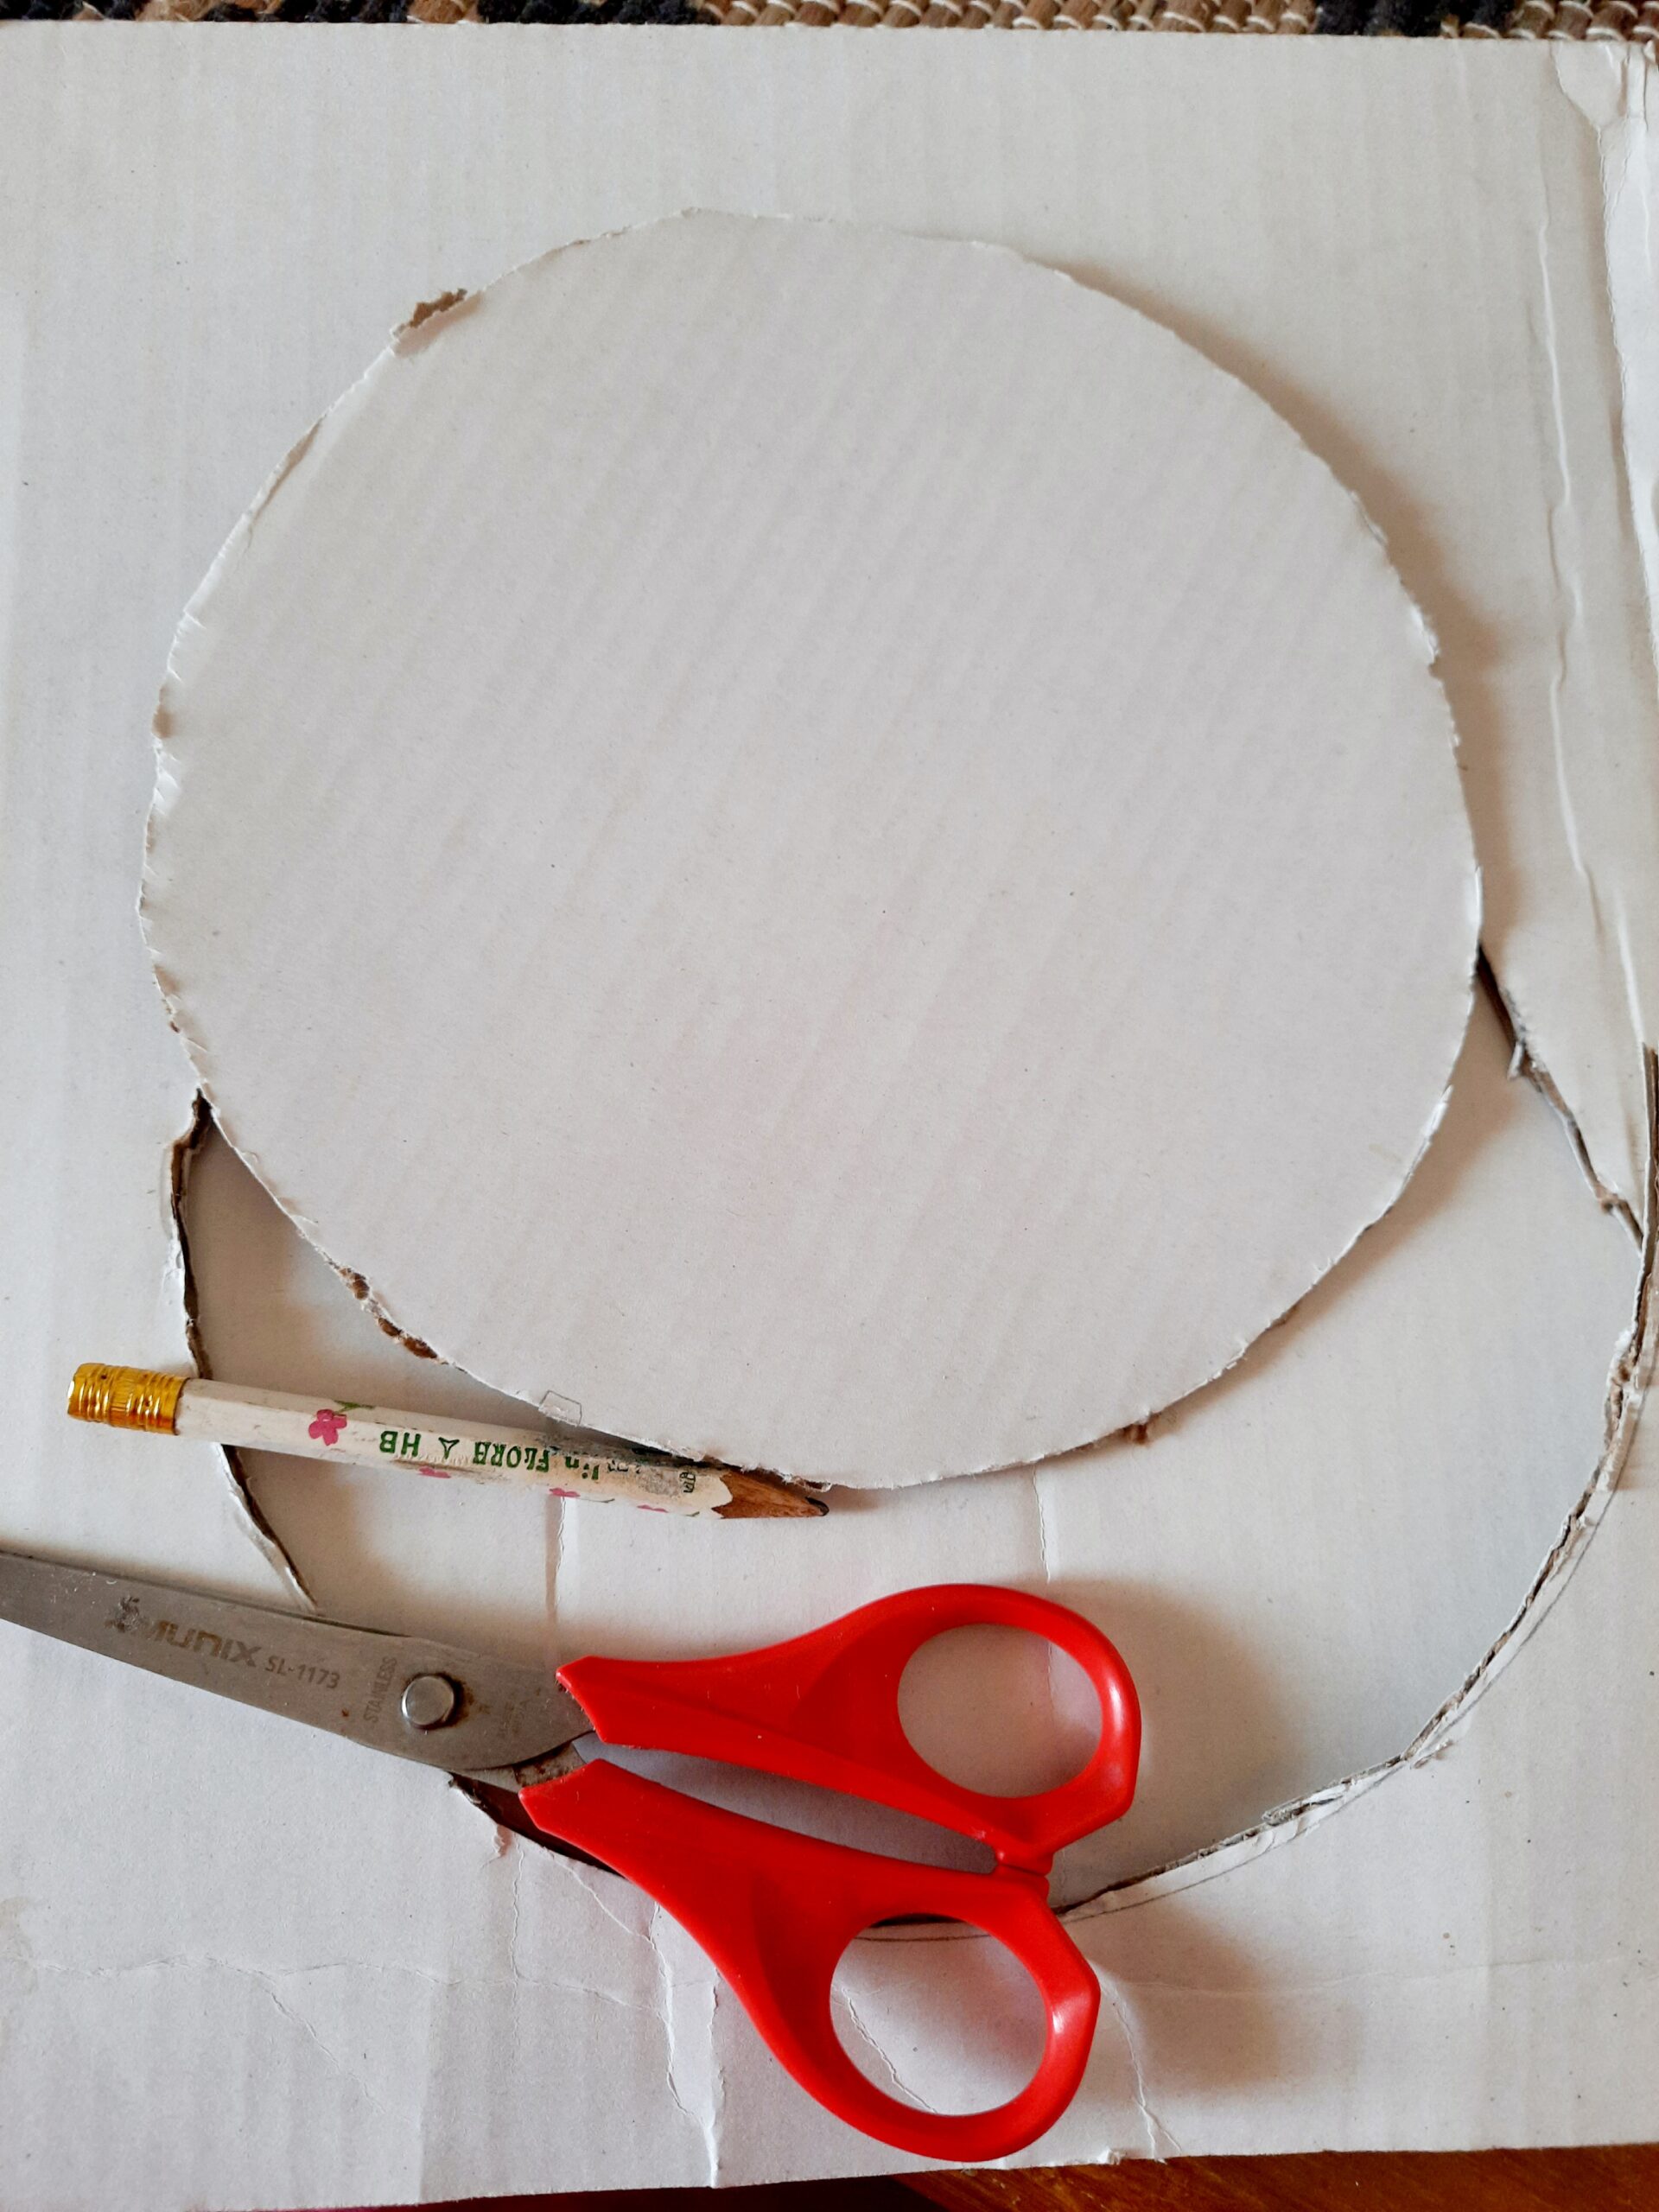
Step 1: Take a white card stock of size 8″ x 8″ and fold it at 4″(which will work as a card base) . Take another piece of Kraft color card stock of dimensions 7- 3/4″ x 3-3/4″ and third piece of white card stock of dimension 7- 1/2″ x 3-1/2″.


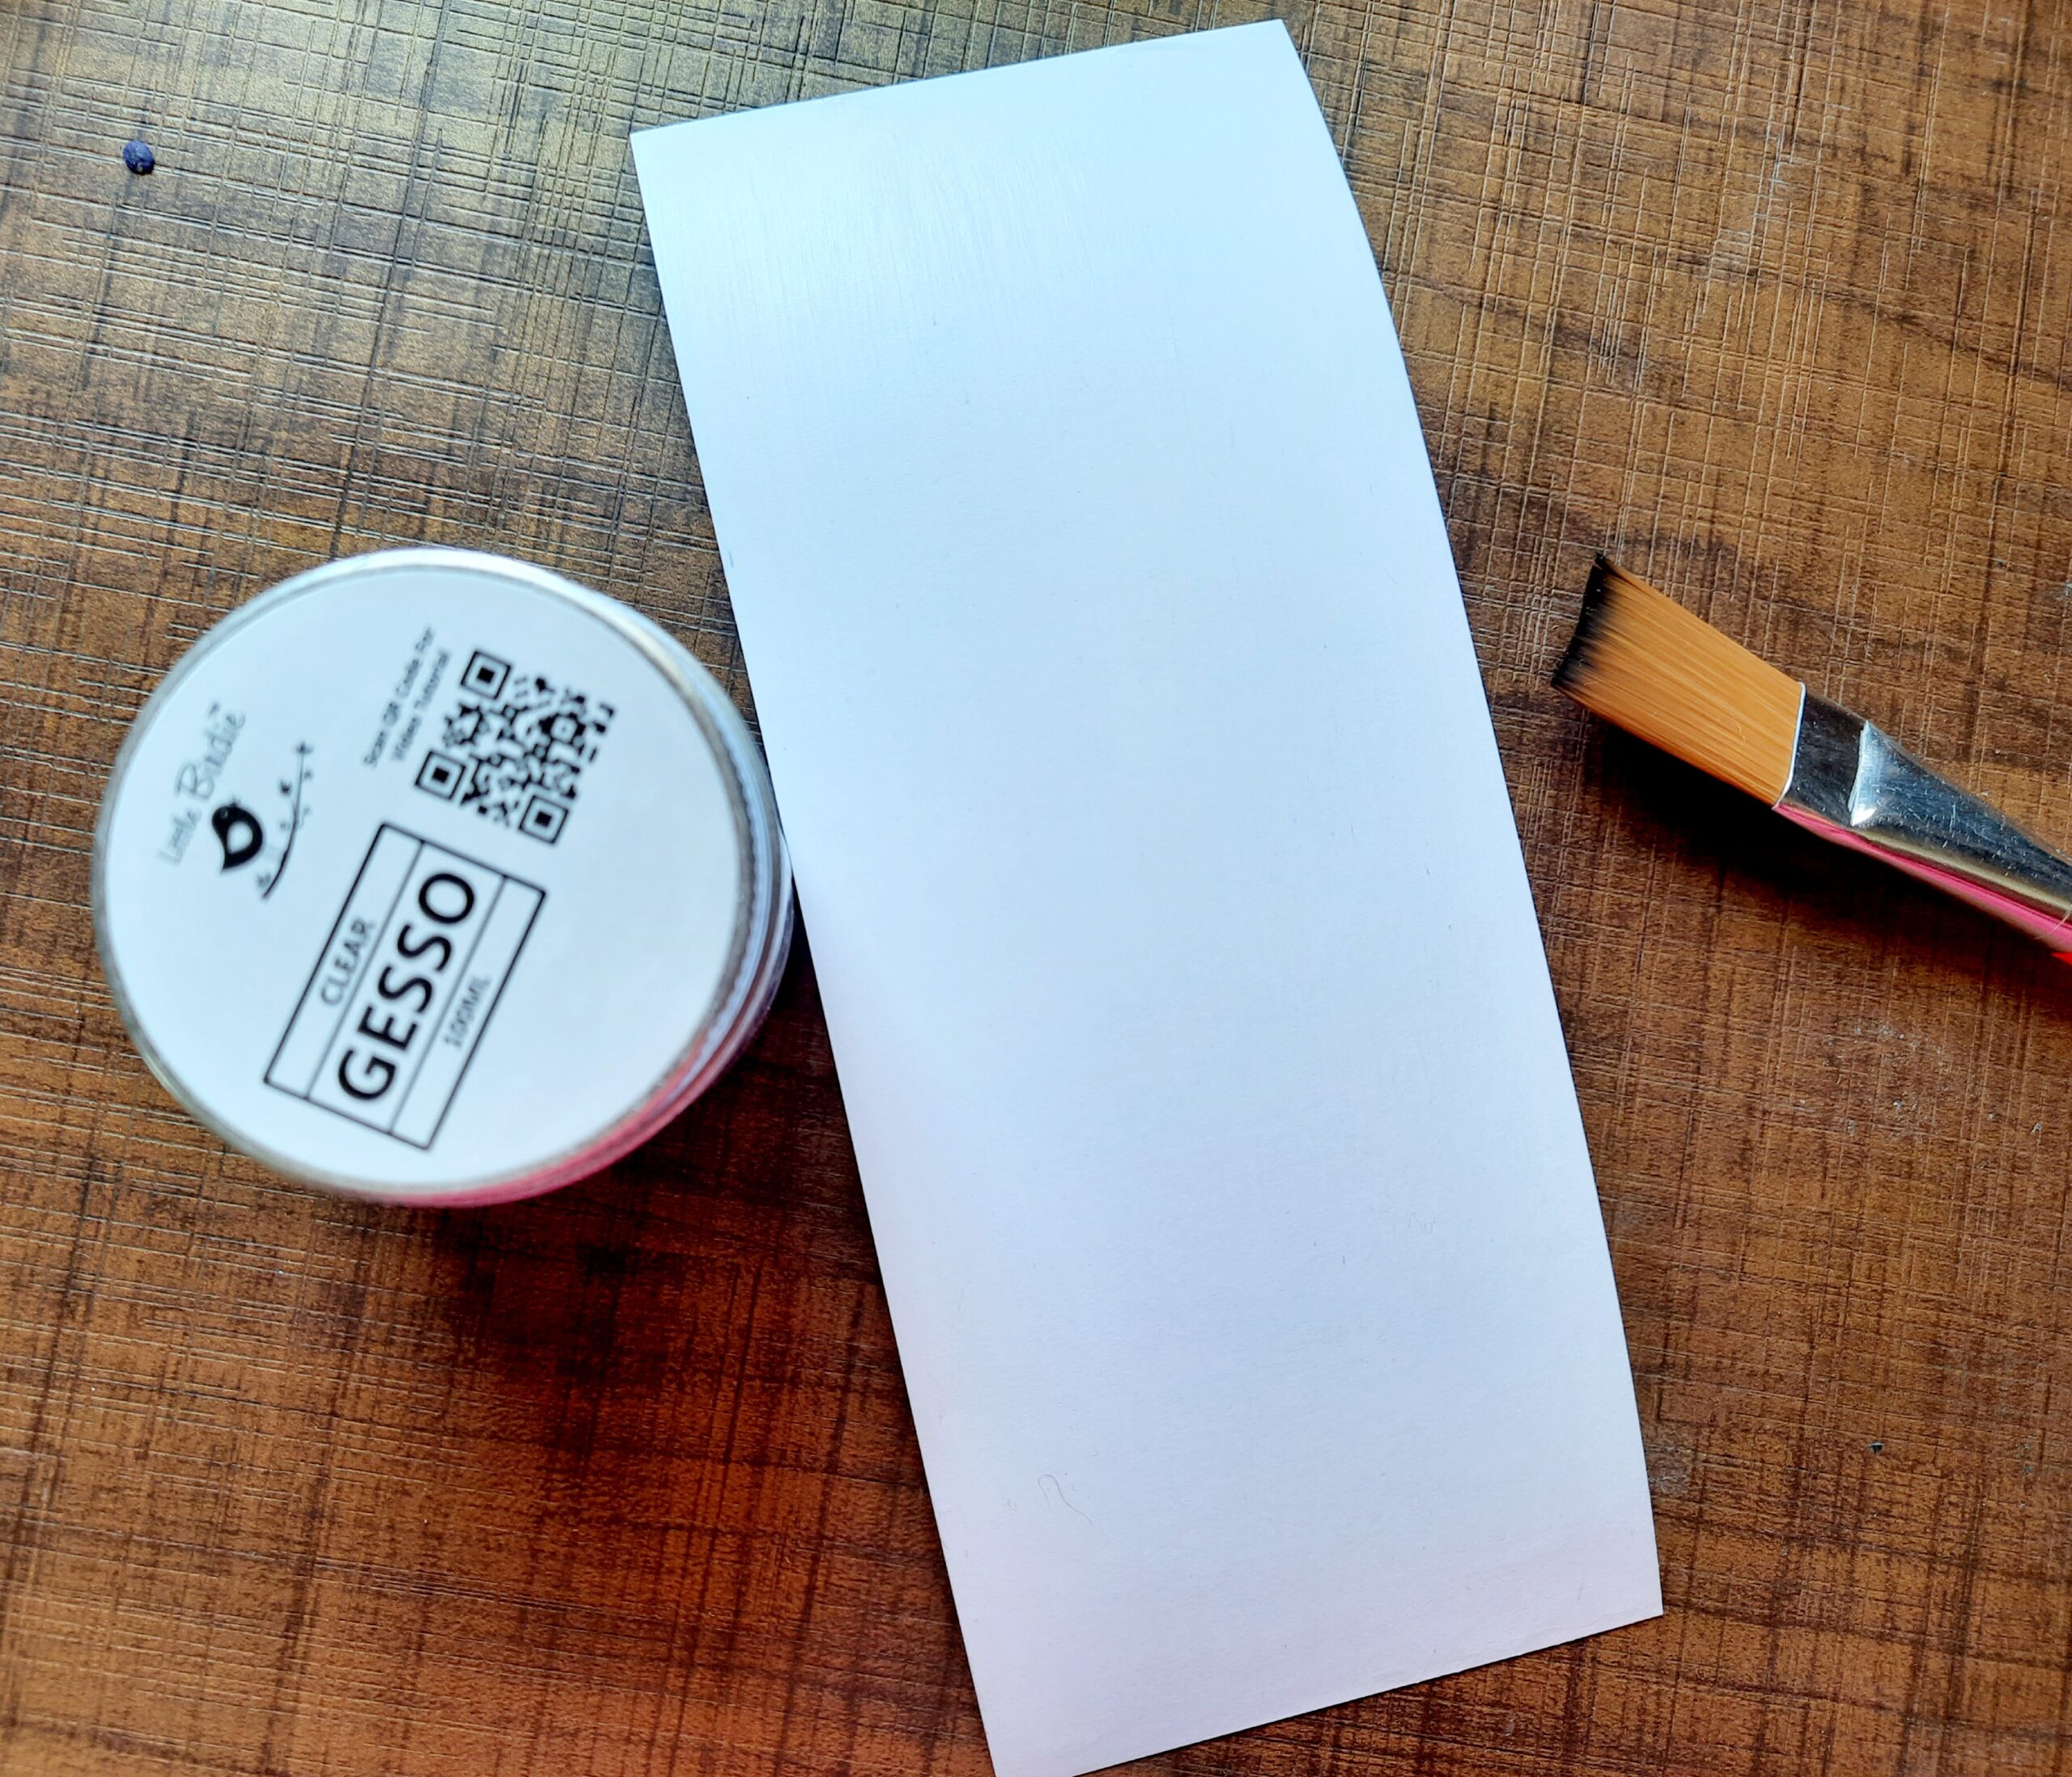
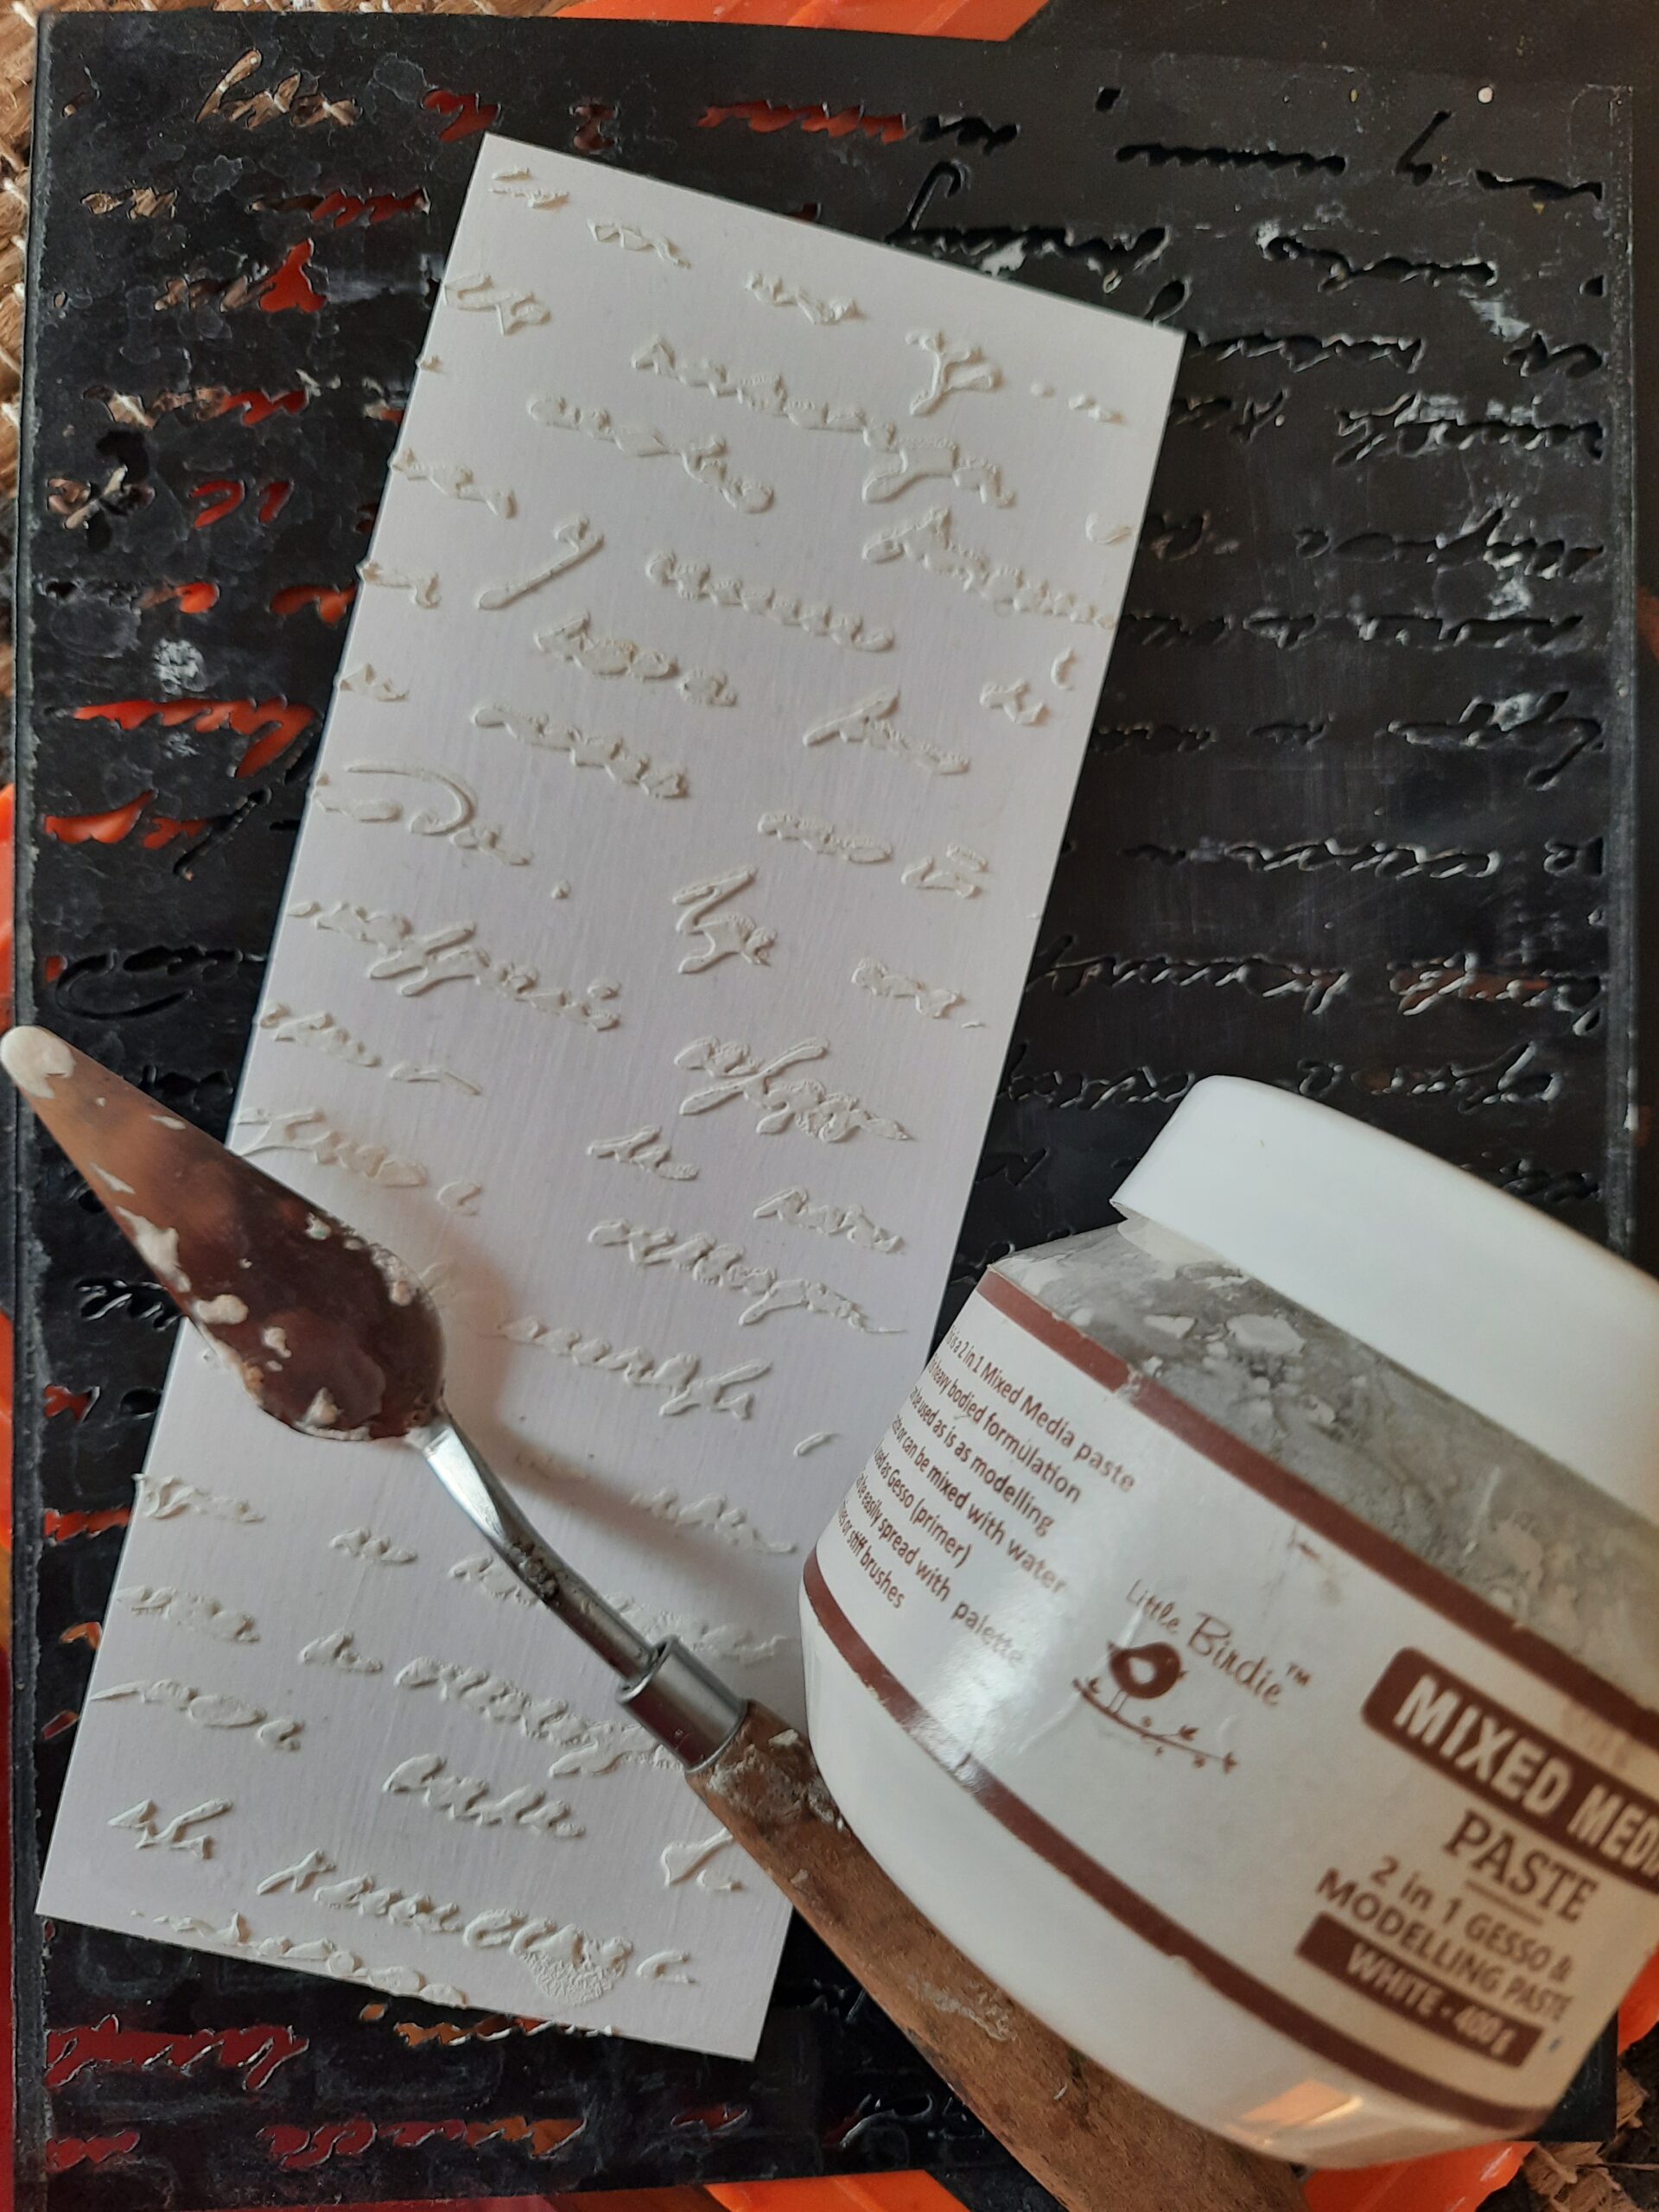
Step 2: Now apply Little Birdie’s clear Gesso over the smallest white card stock piece to make it water  resistant.


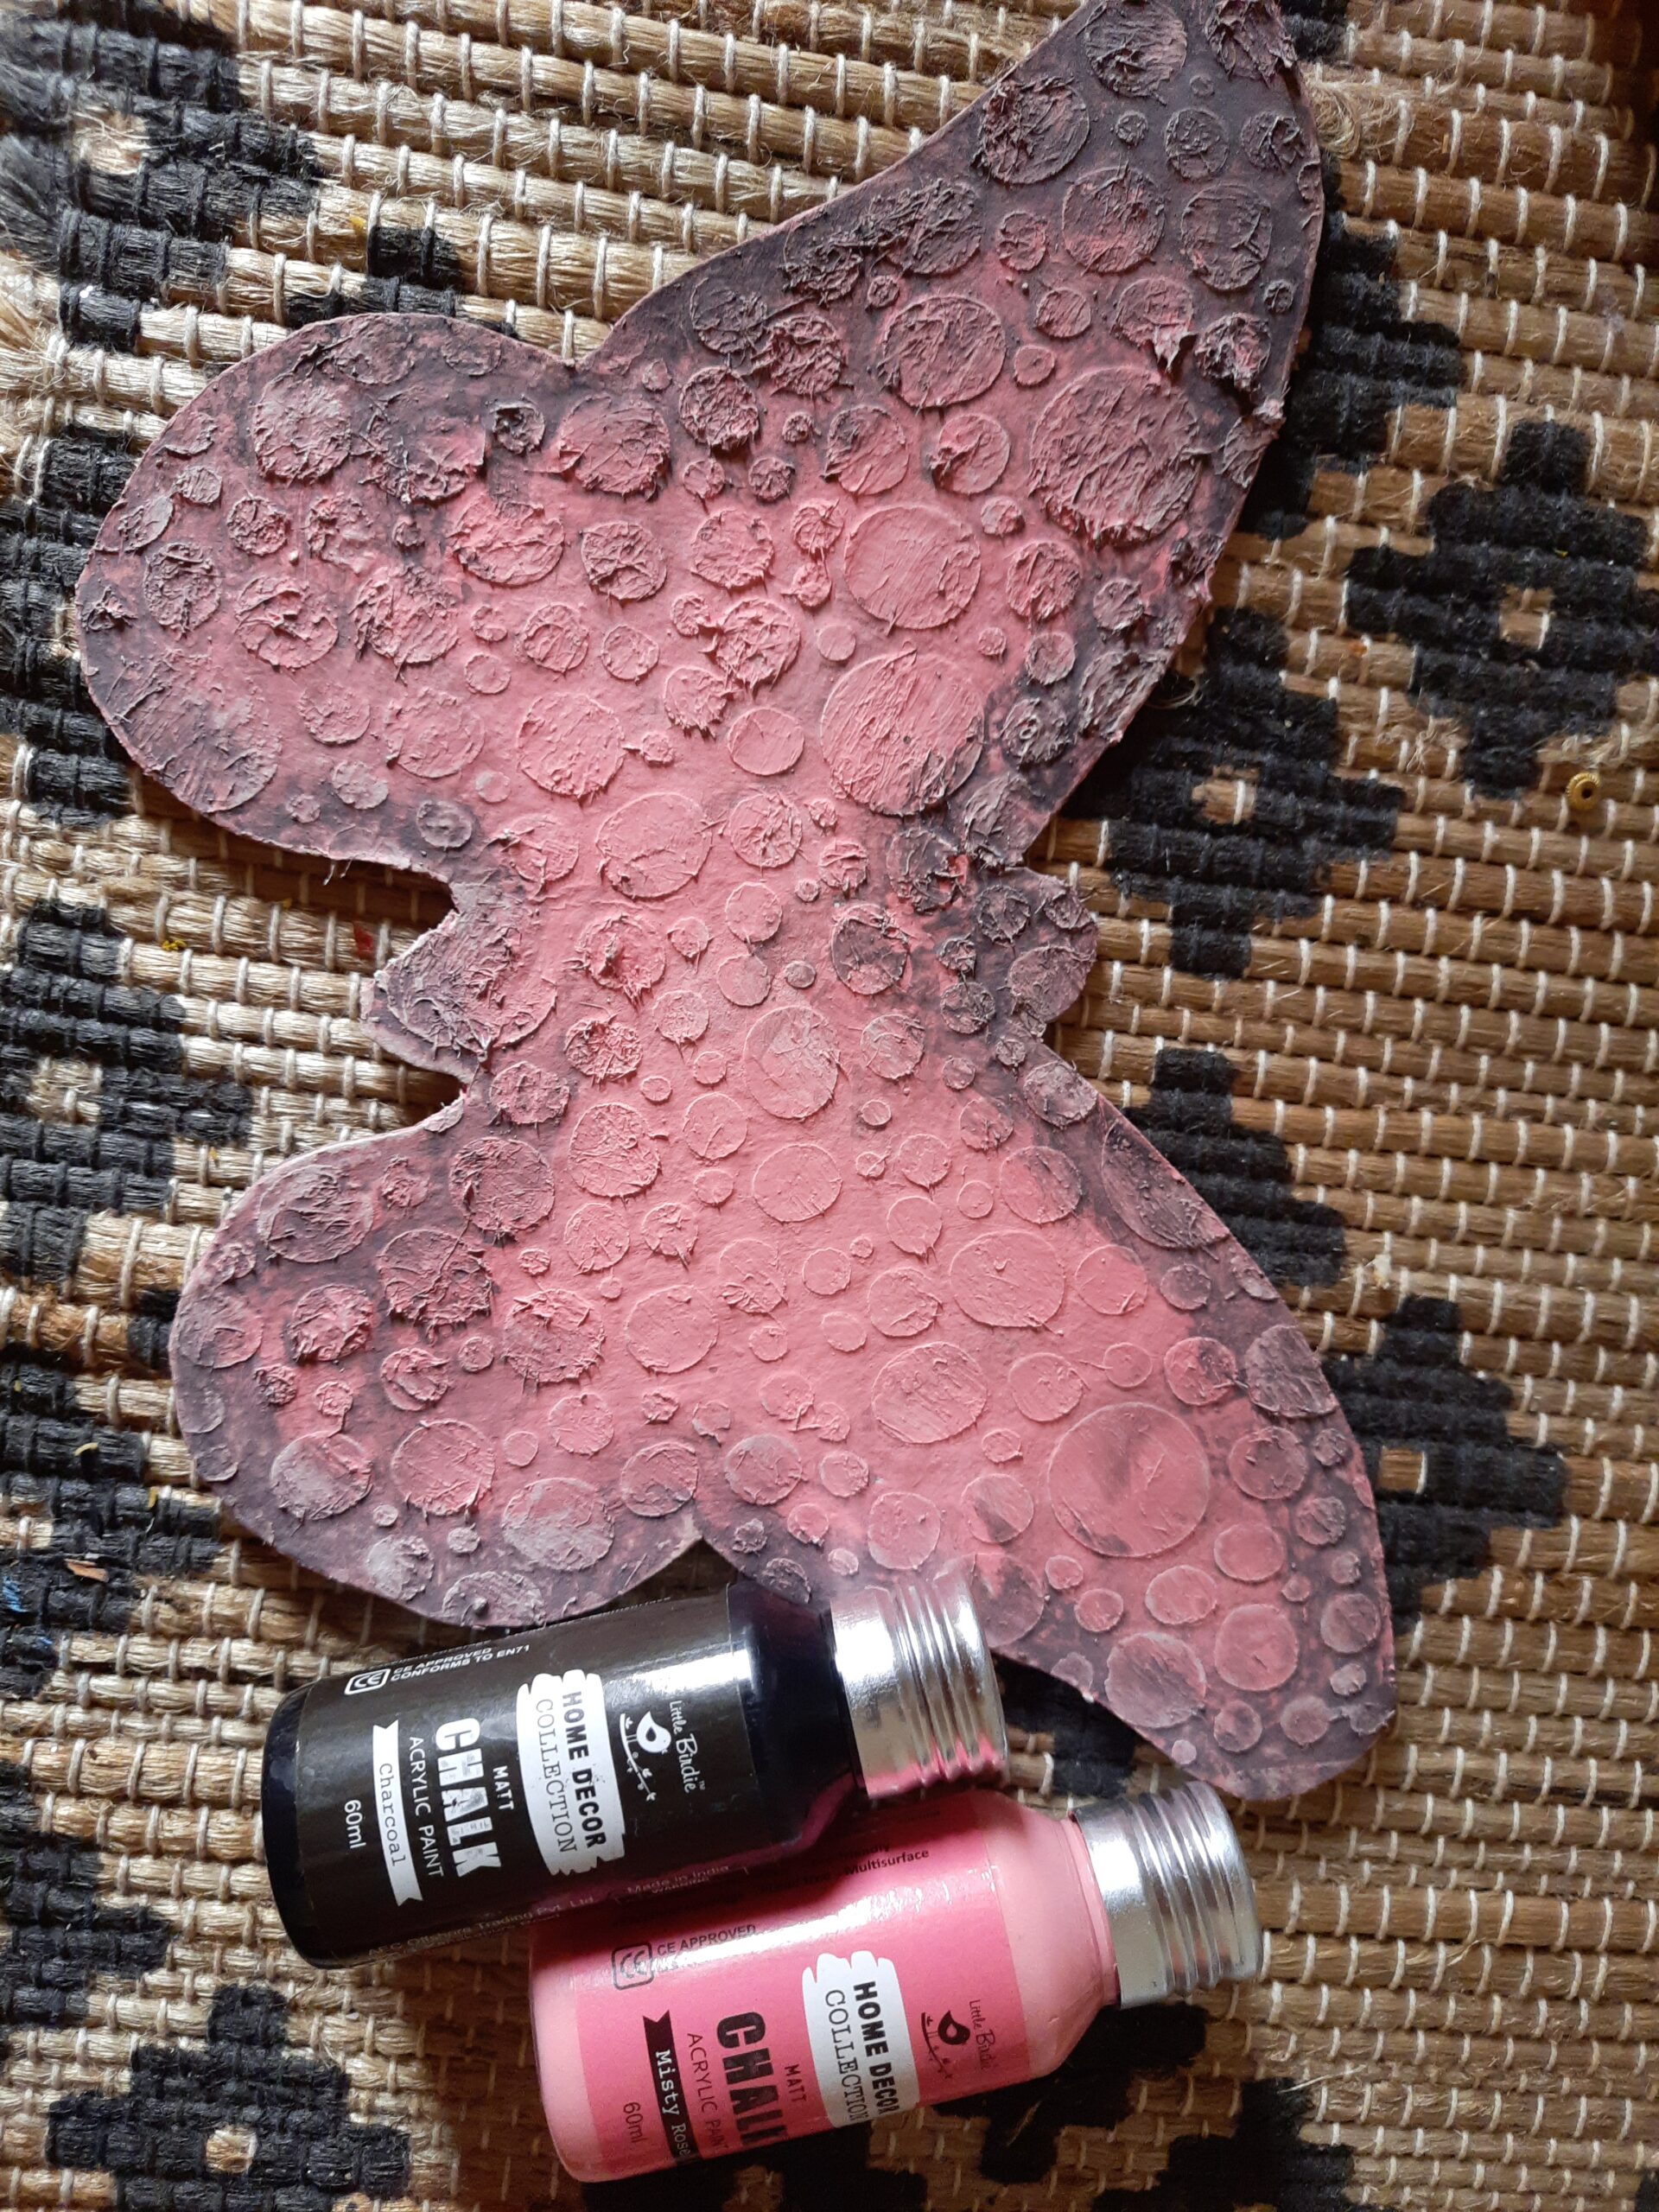
Step 3: After it dries, apply Little Birdie’s 2- in – 1 Mixed Media Paste using script stencil over it.


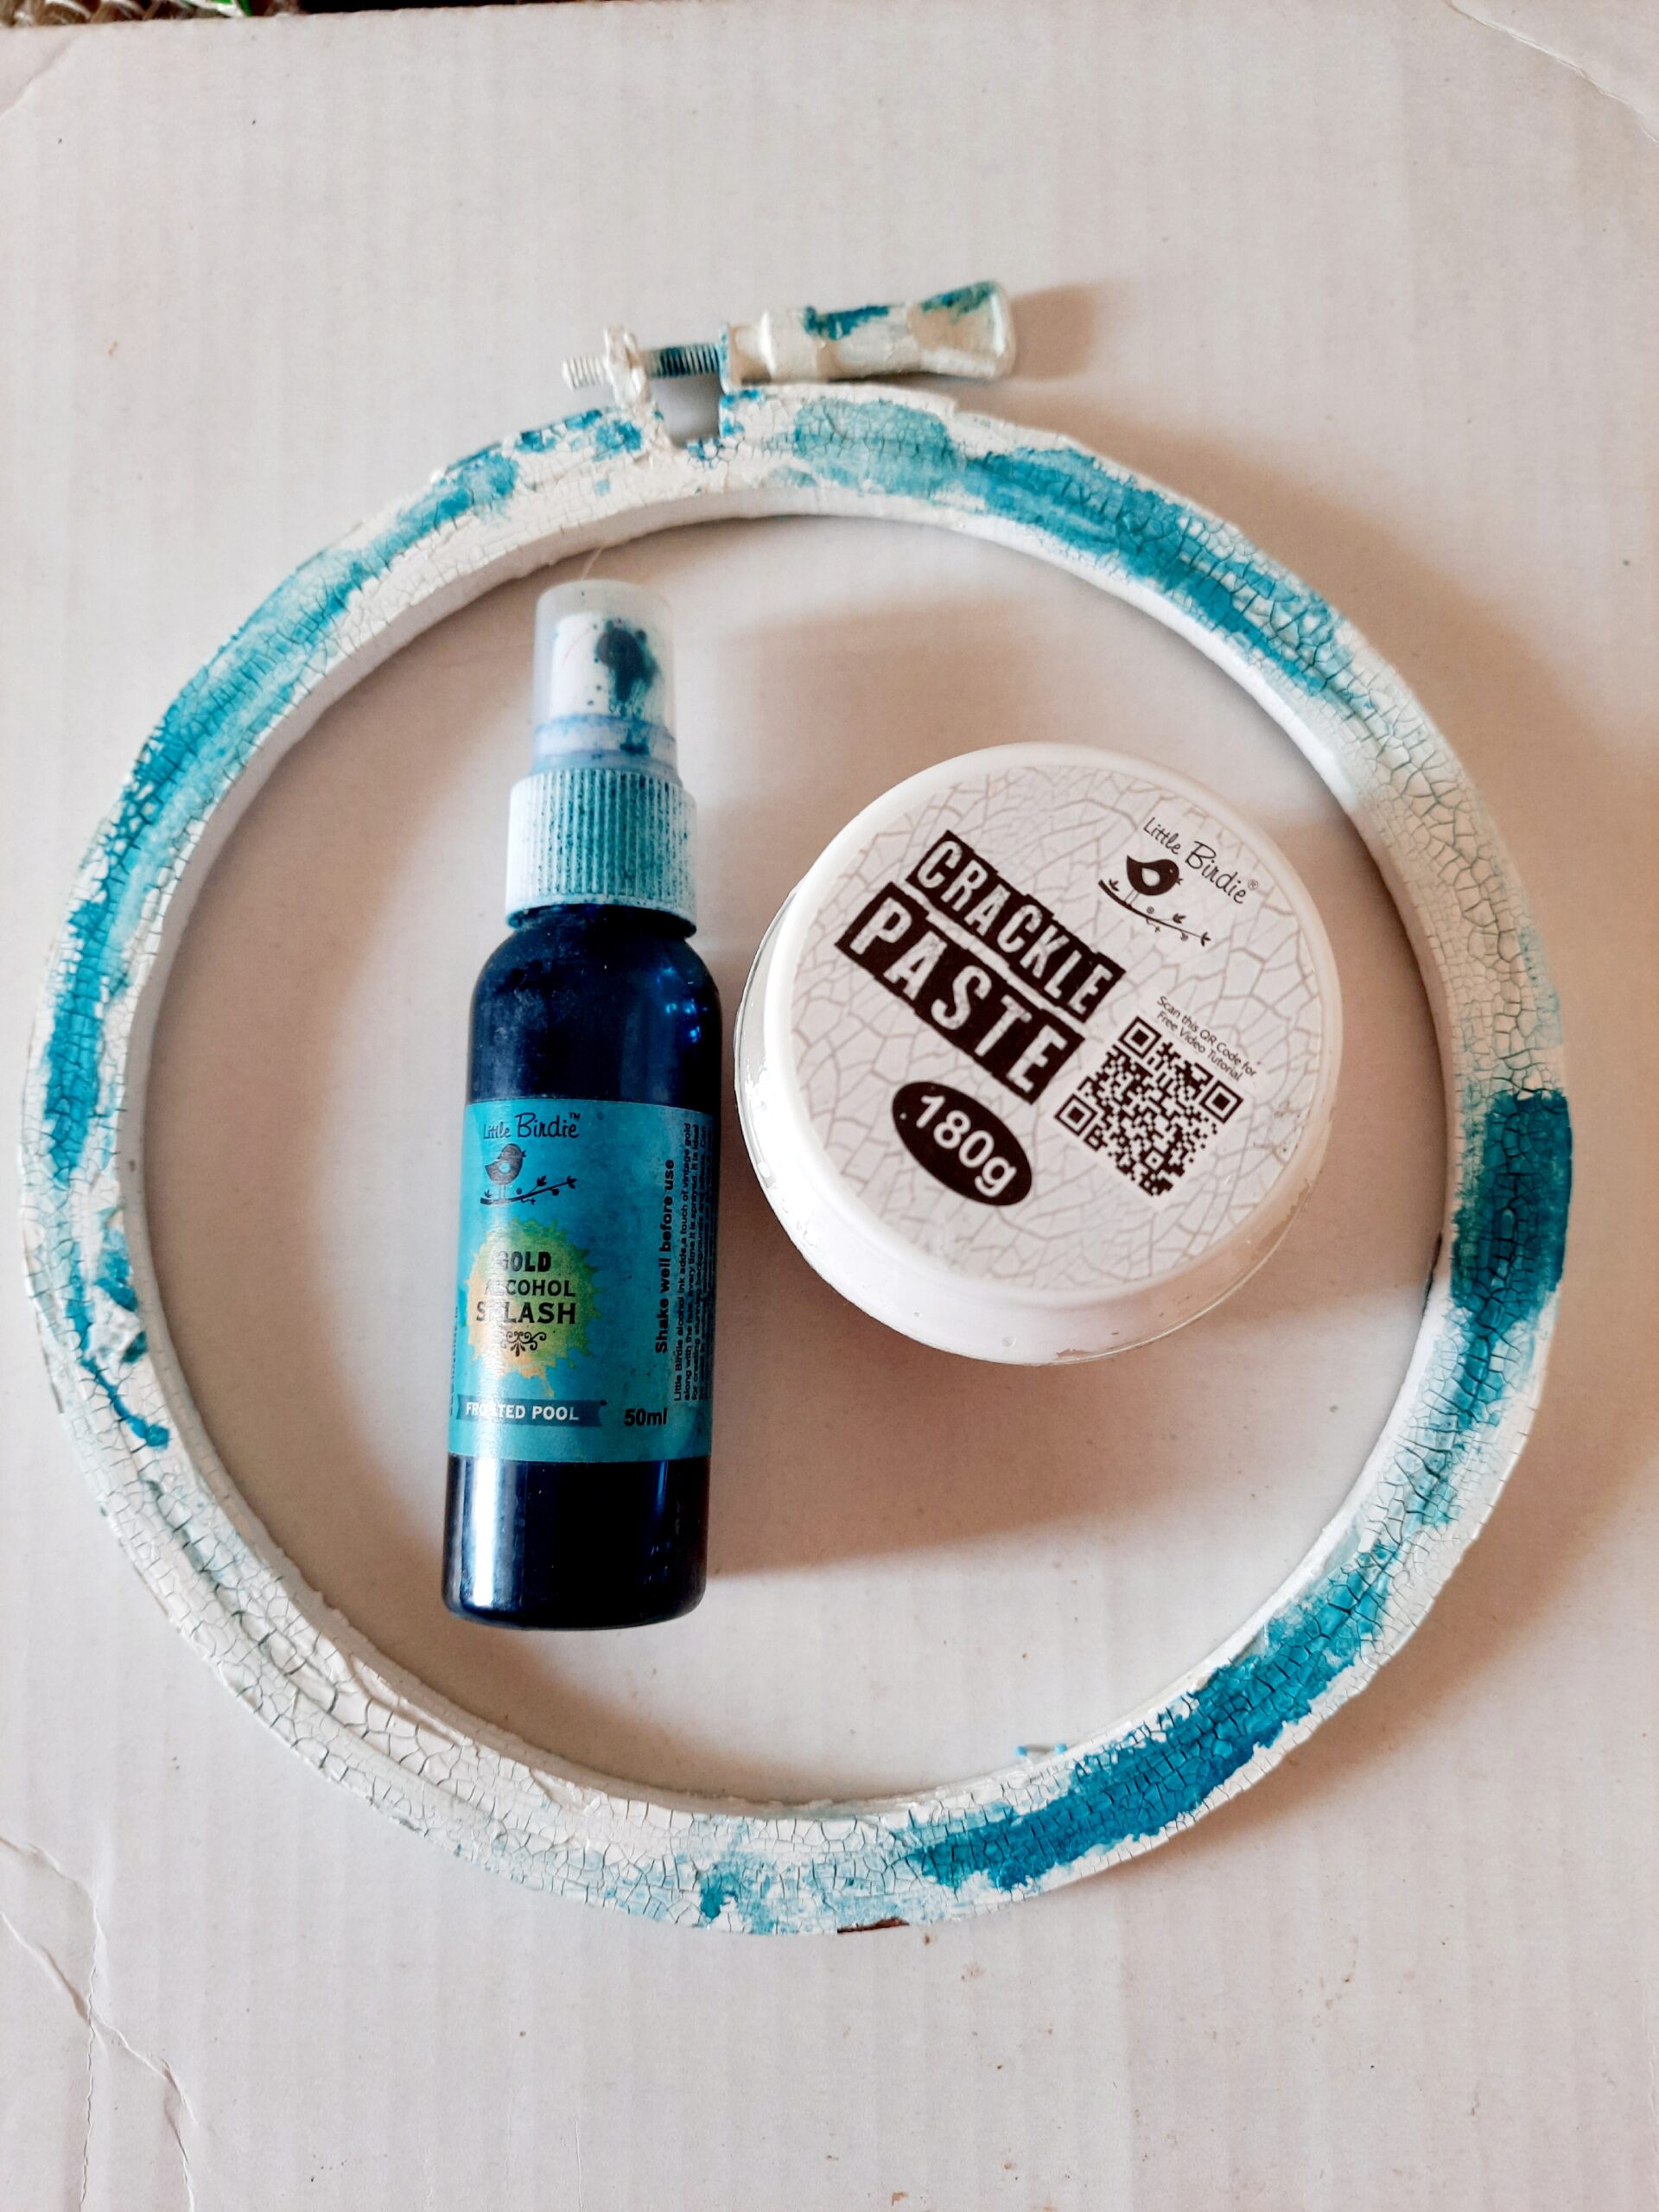
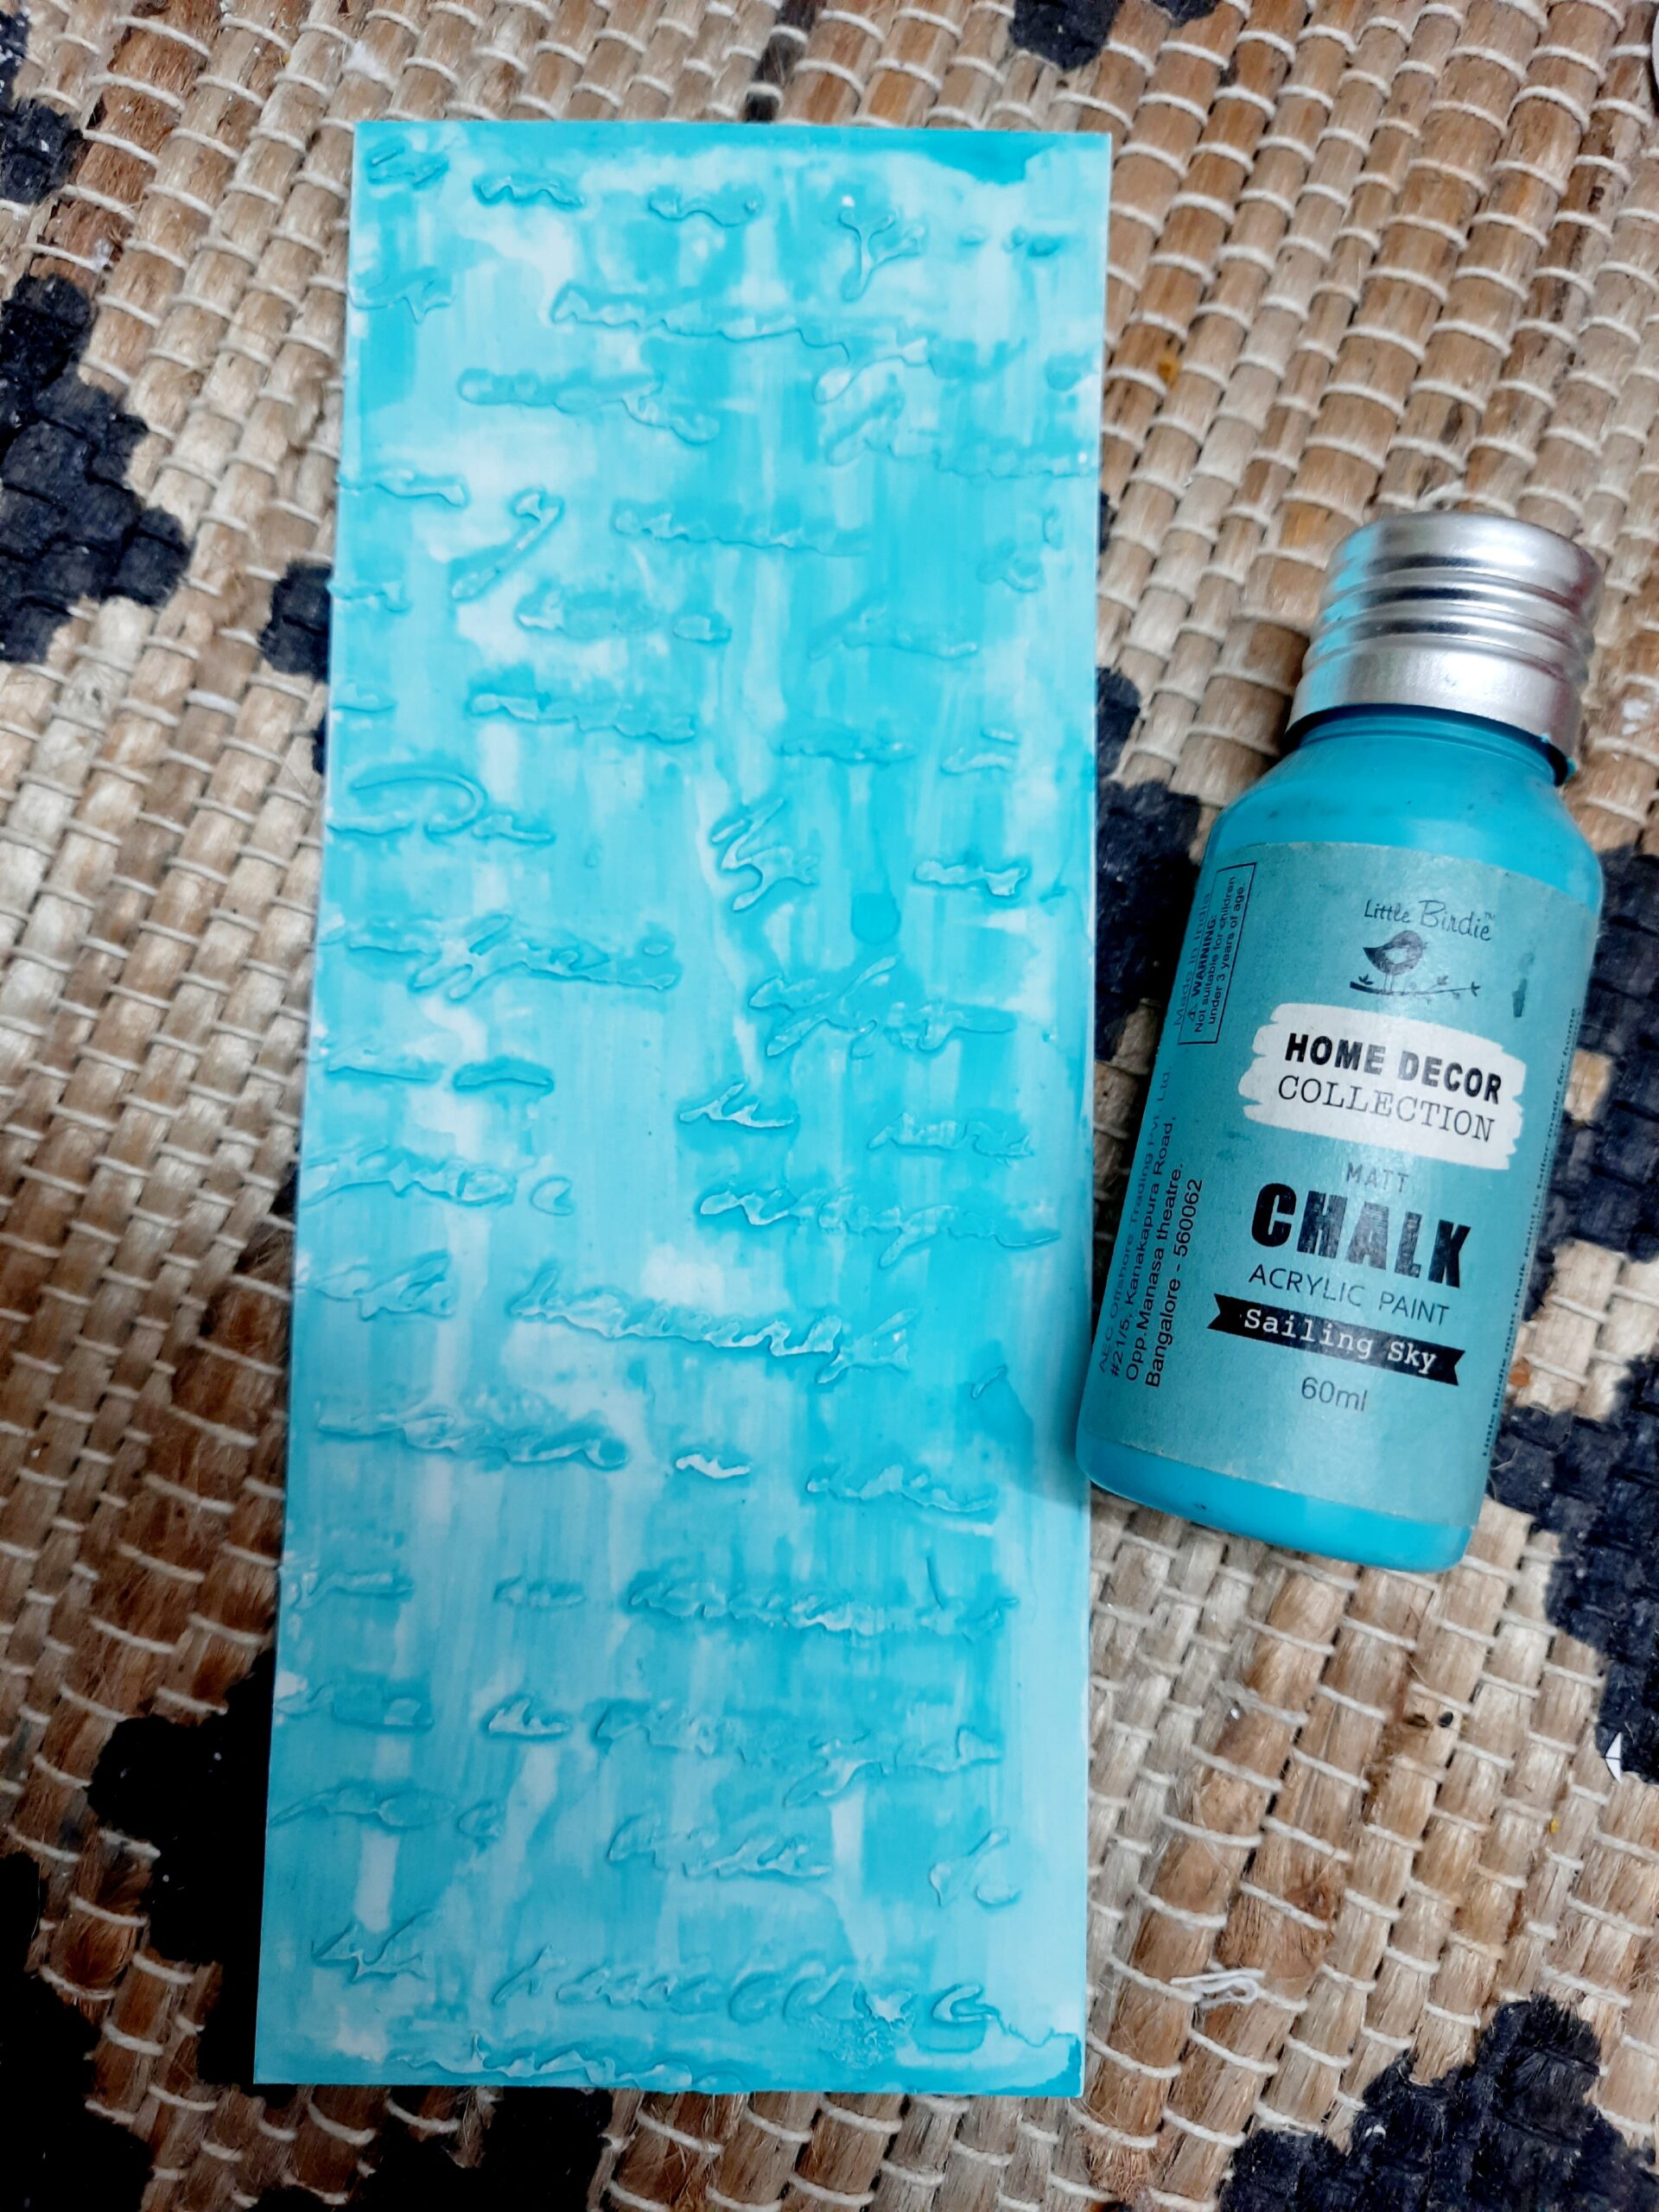
Step 4: Now its time to play with the colors….I have selected Little Birdie’s Sailing Sky Chalk Paint and applied over the card base in little amount and then sprayed some water. Let it dry and the base is ready to be adorn with the embellishments.


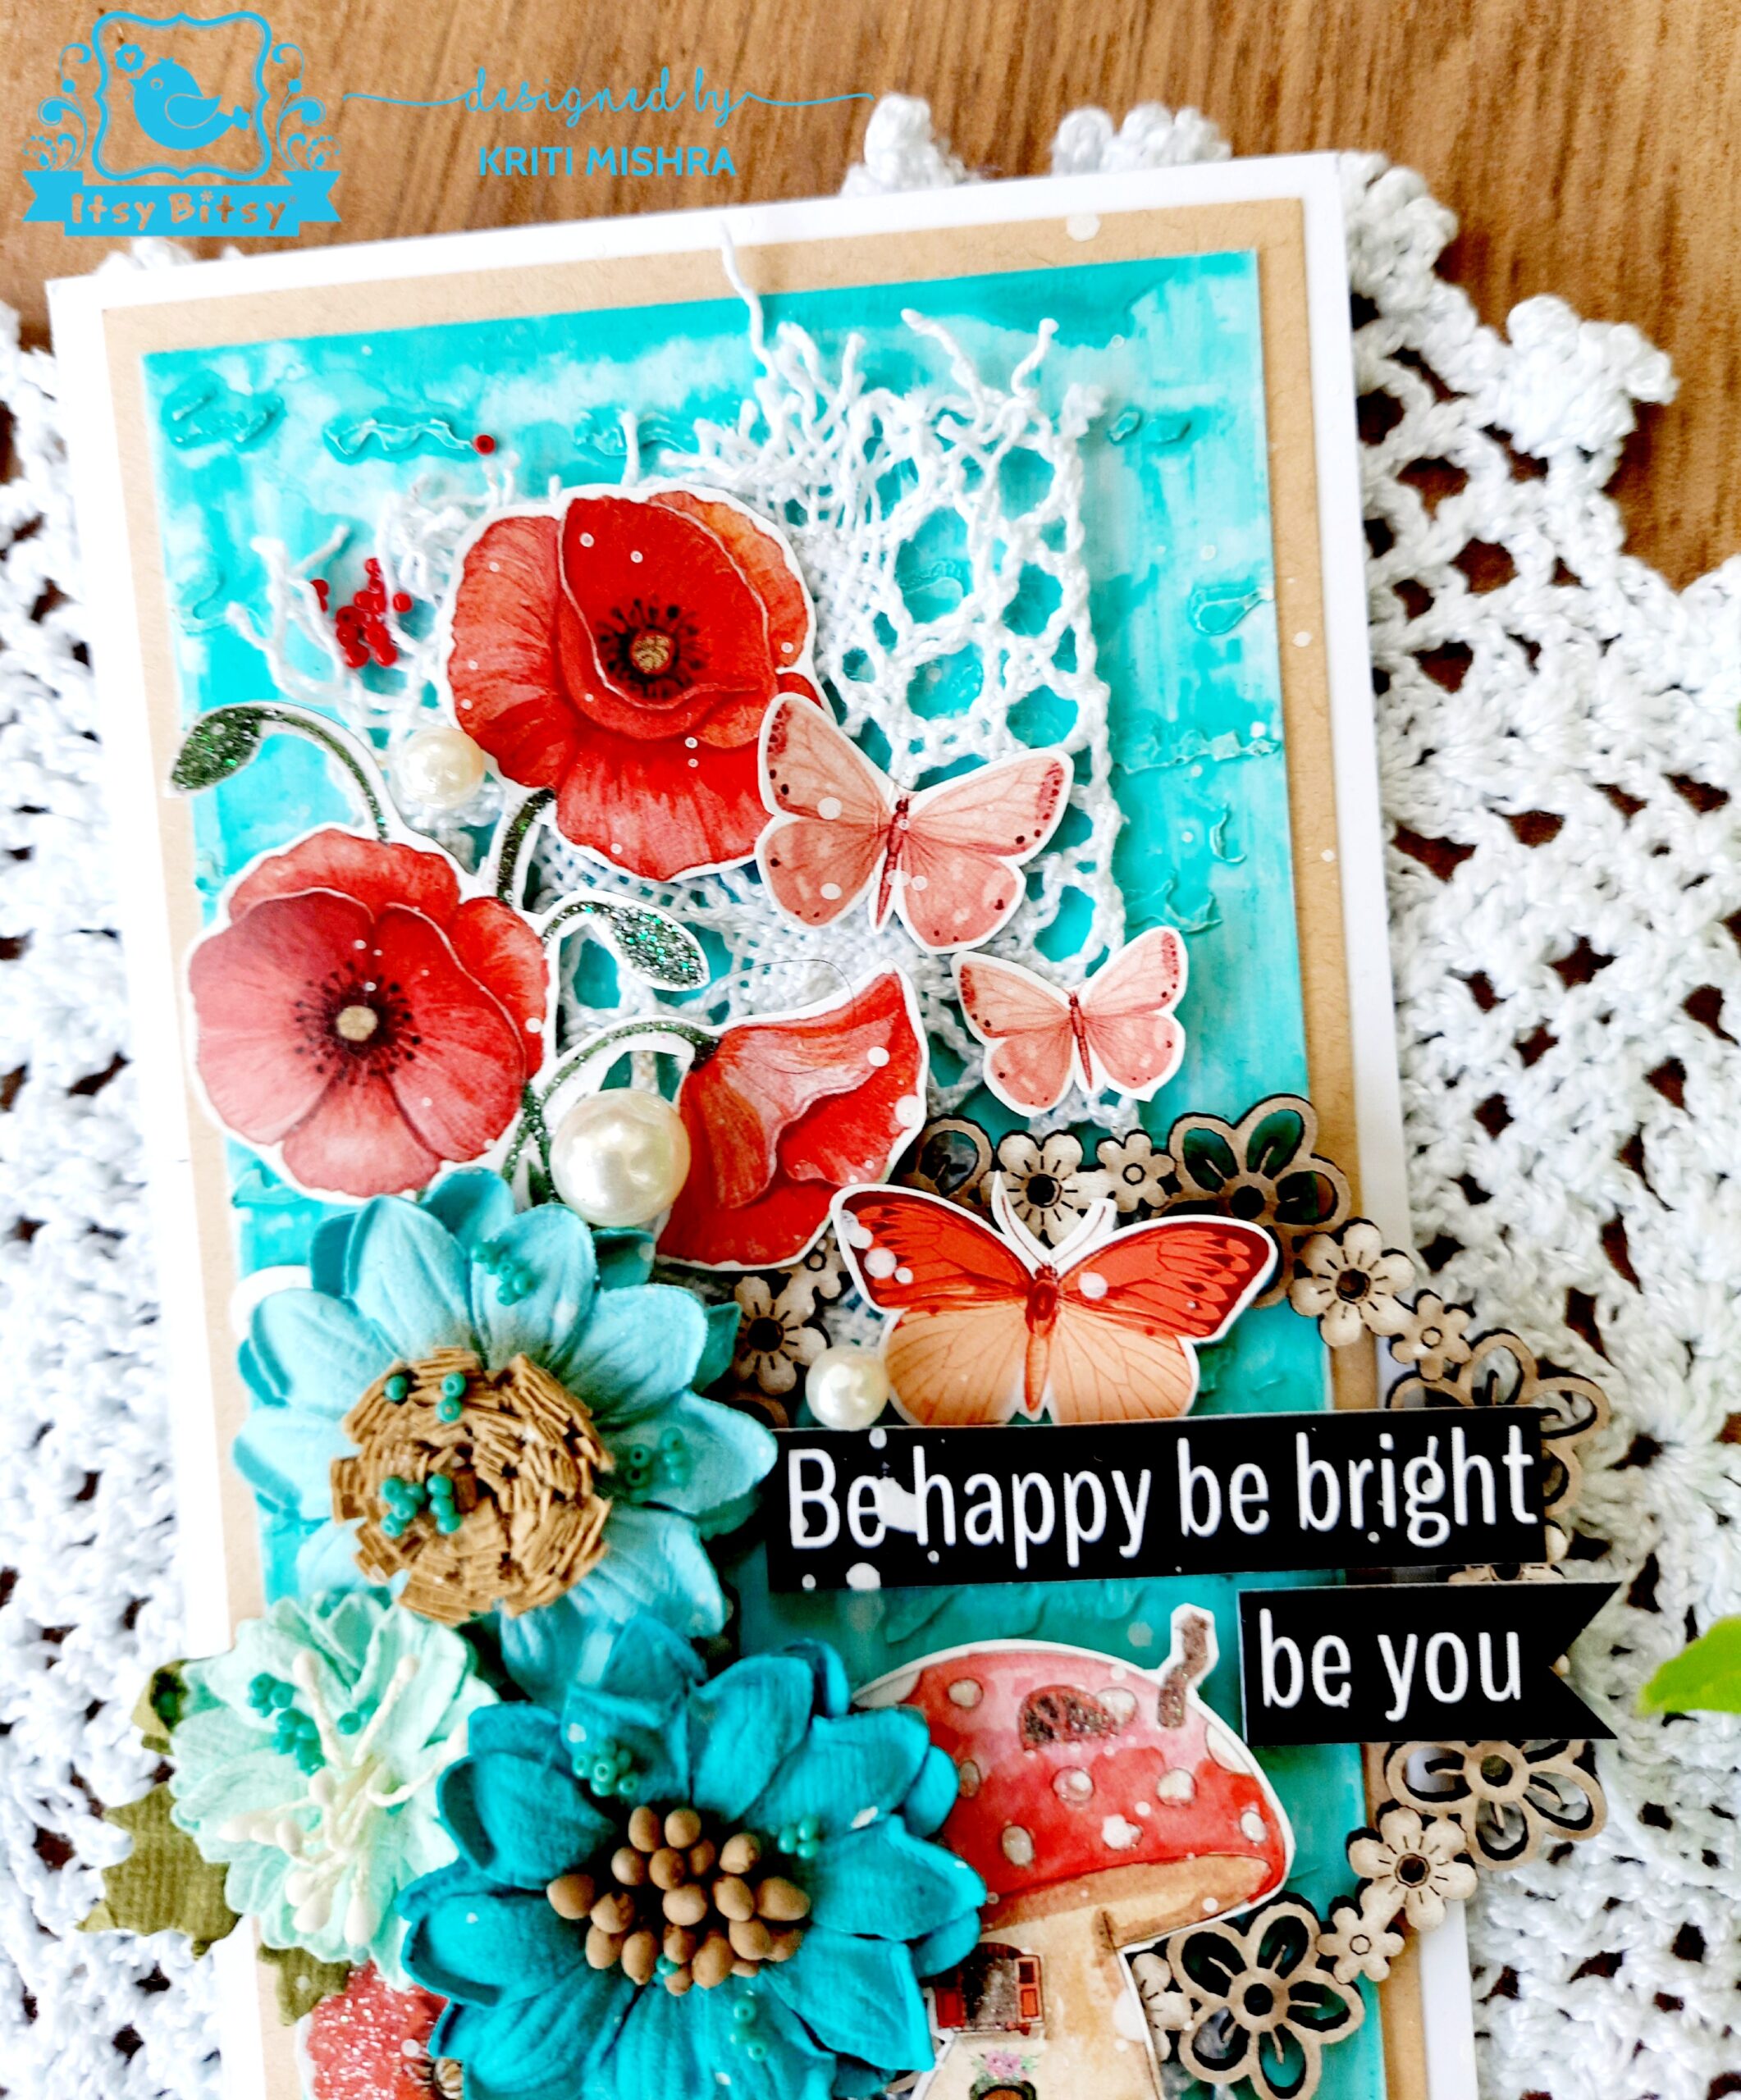
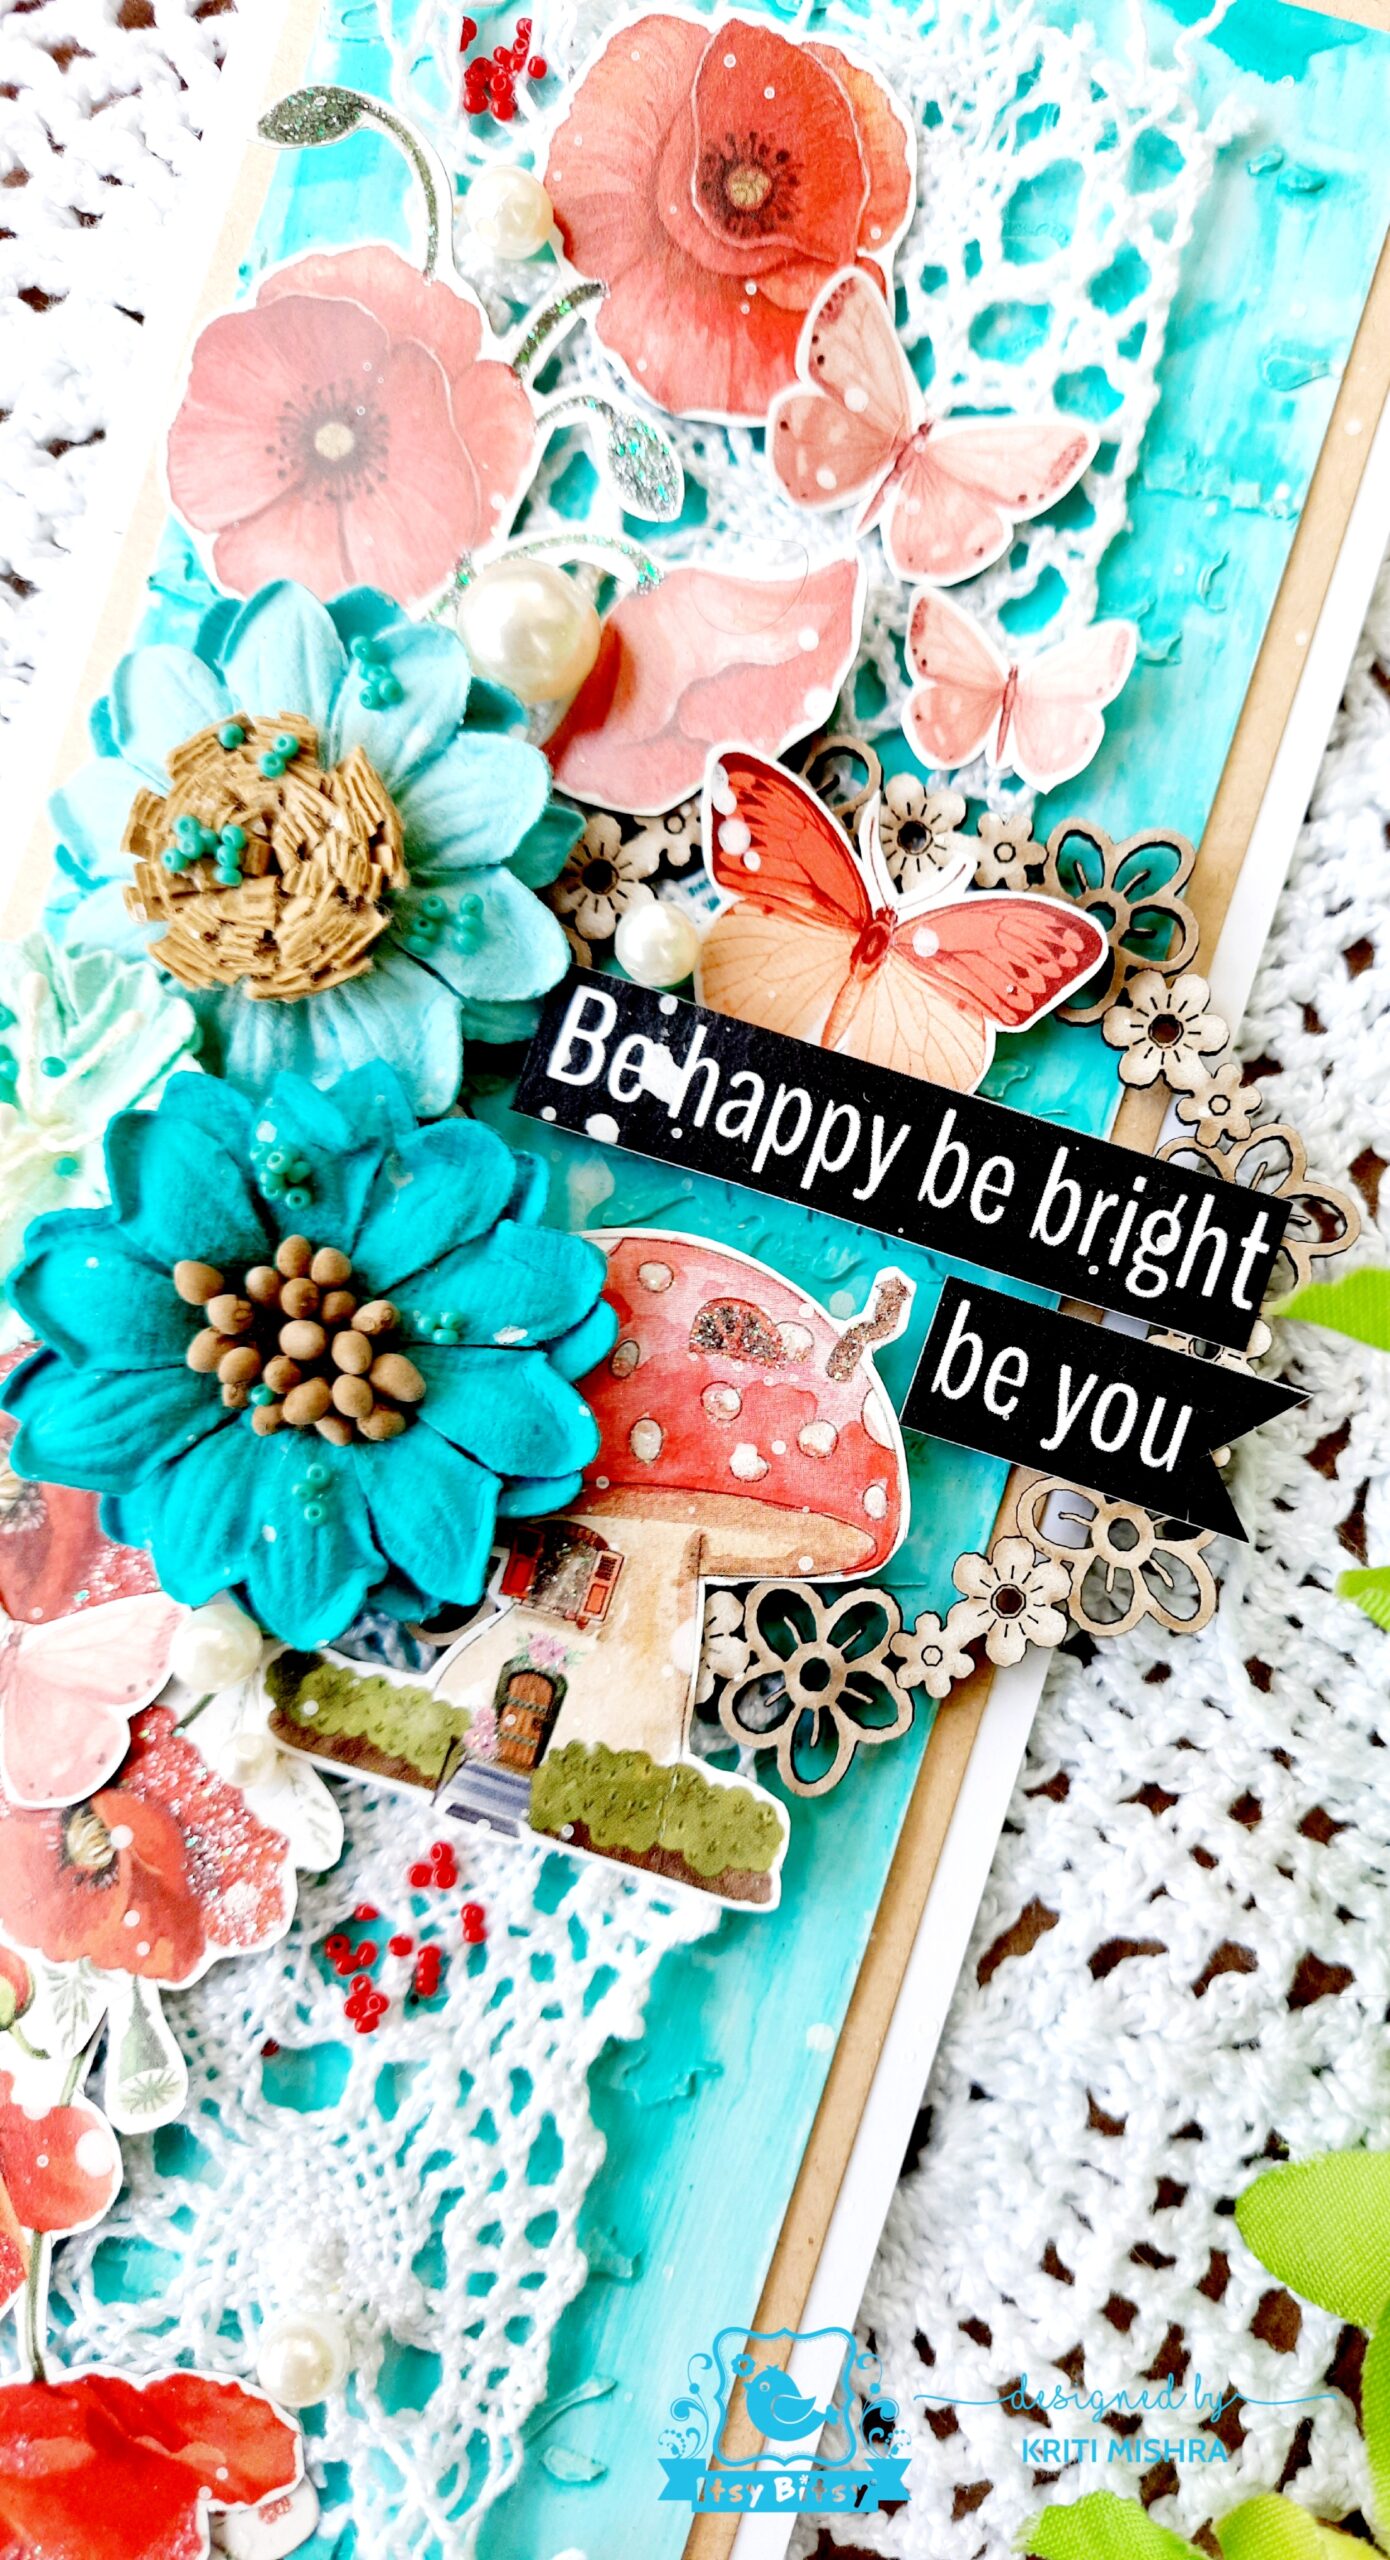
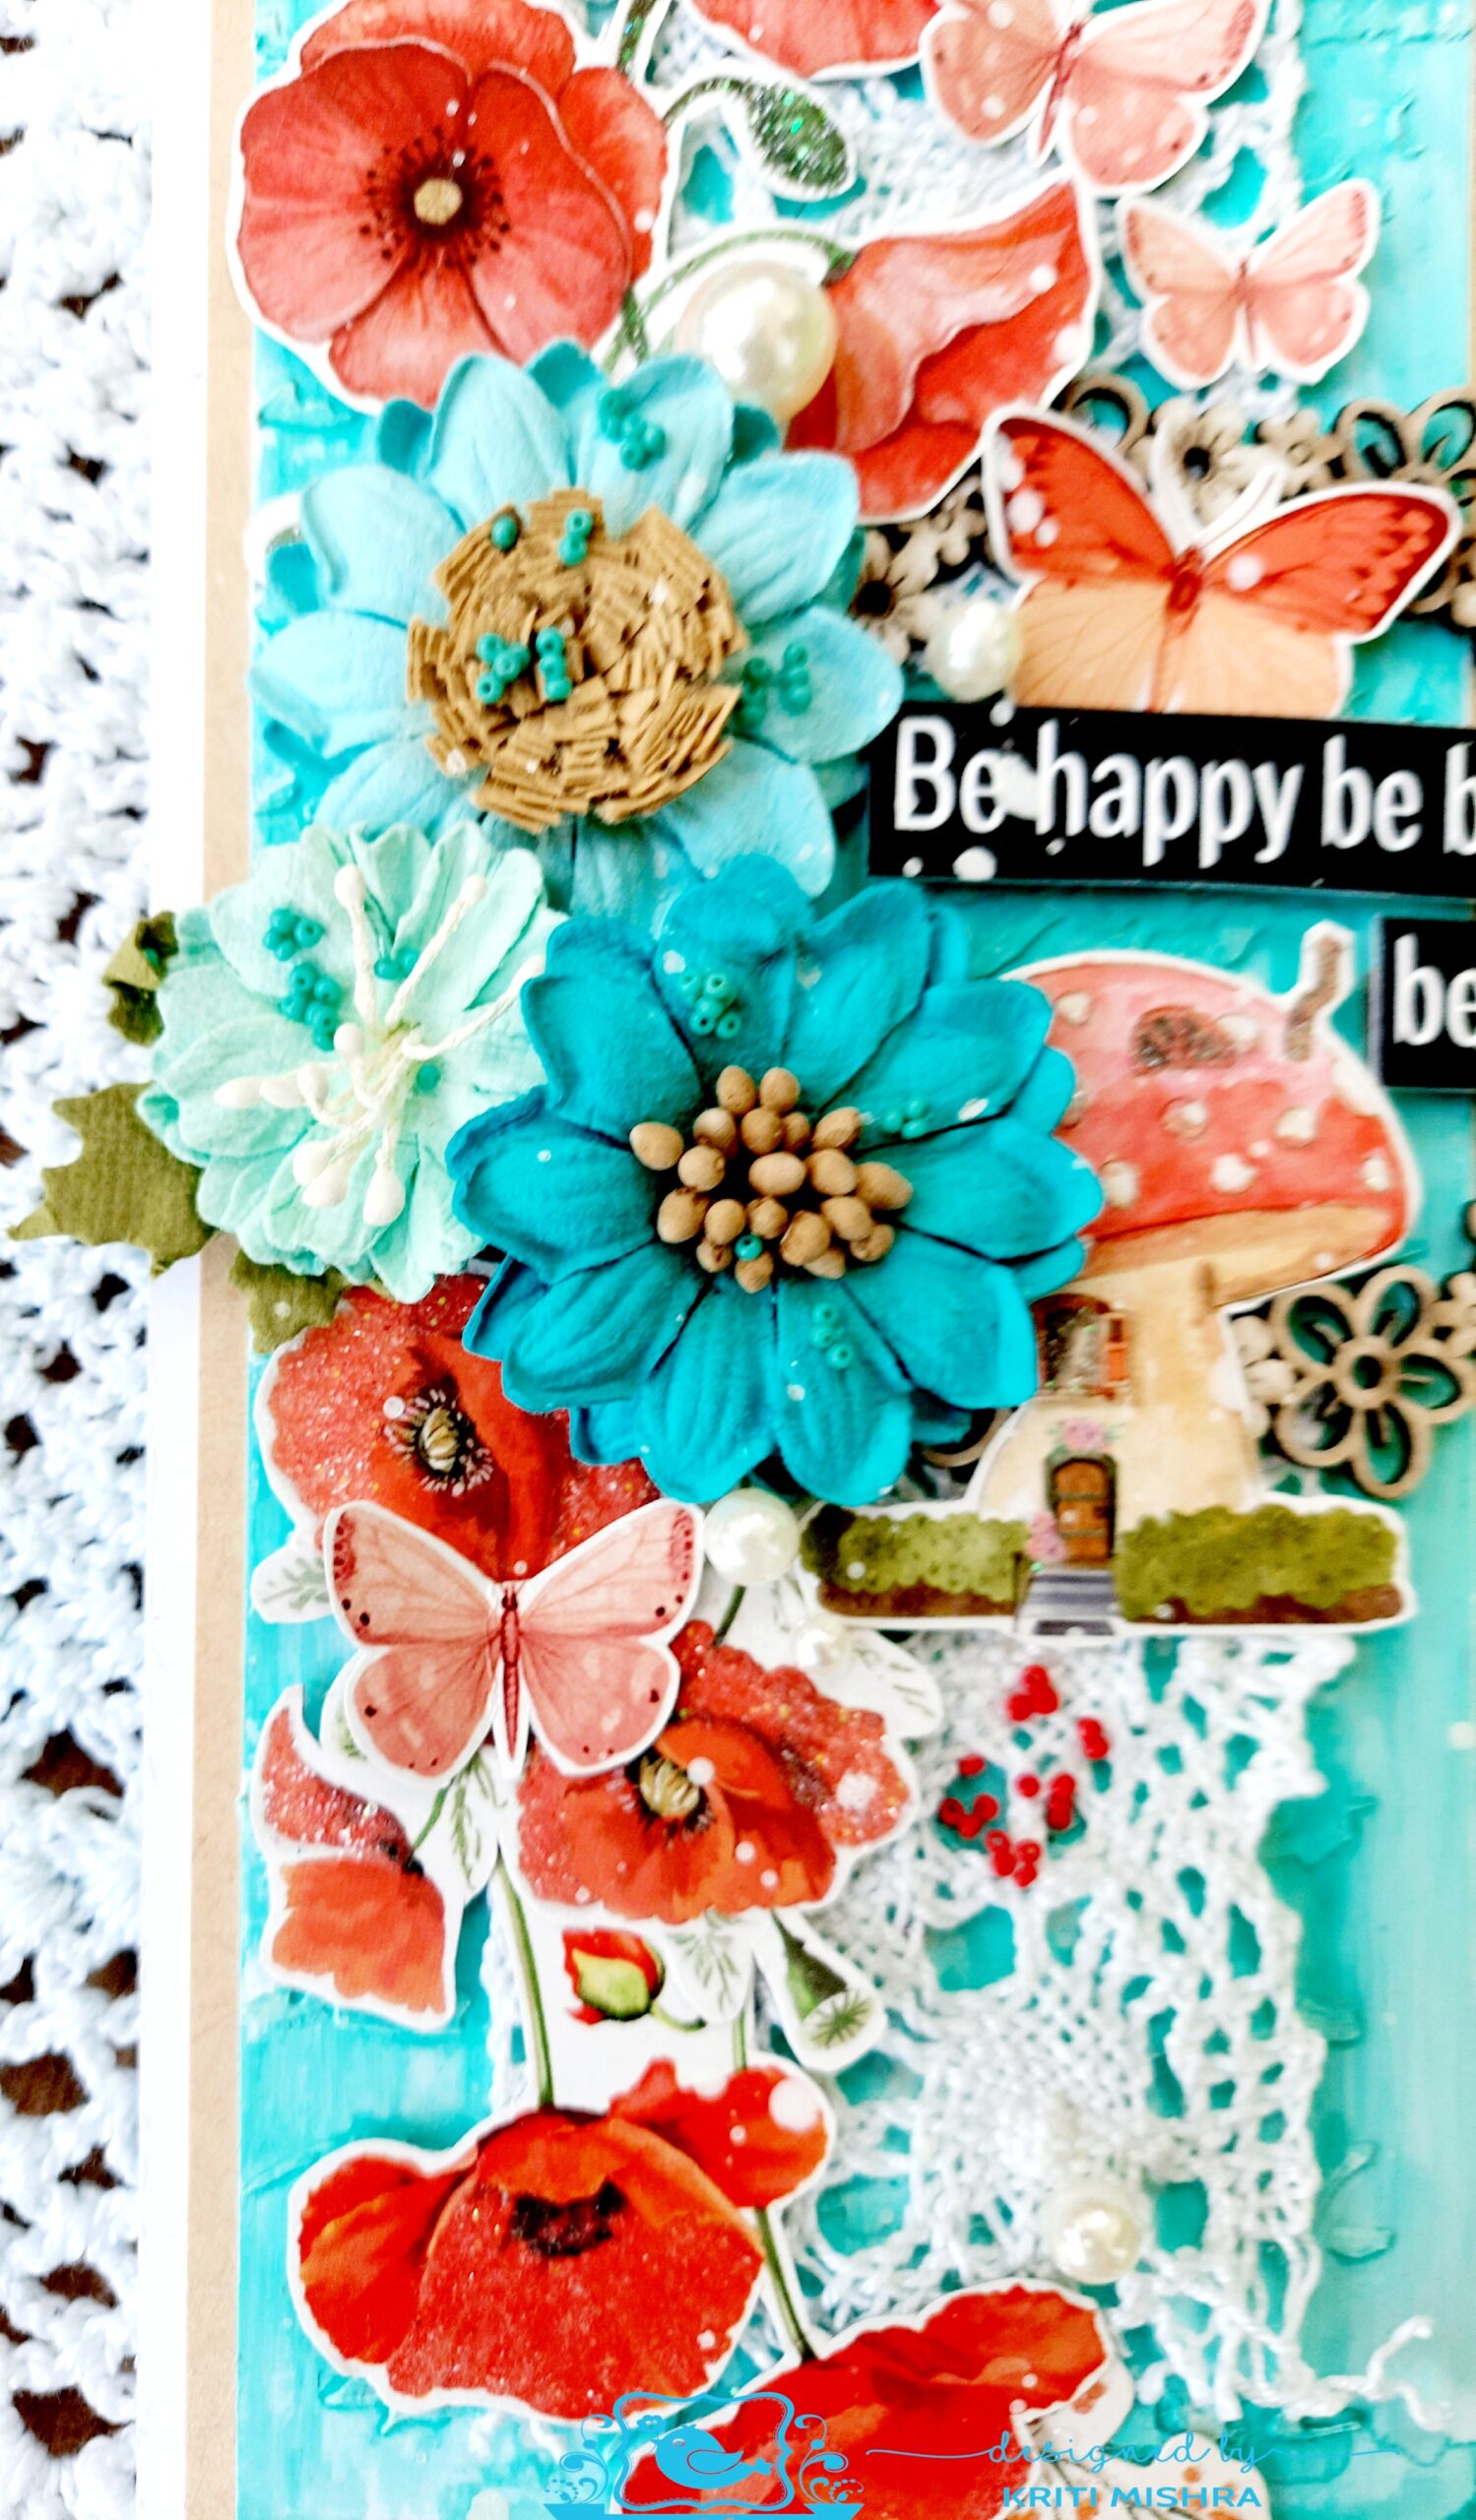
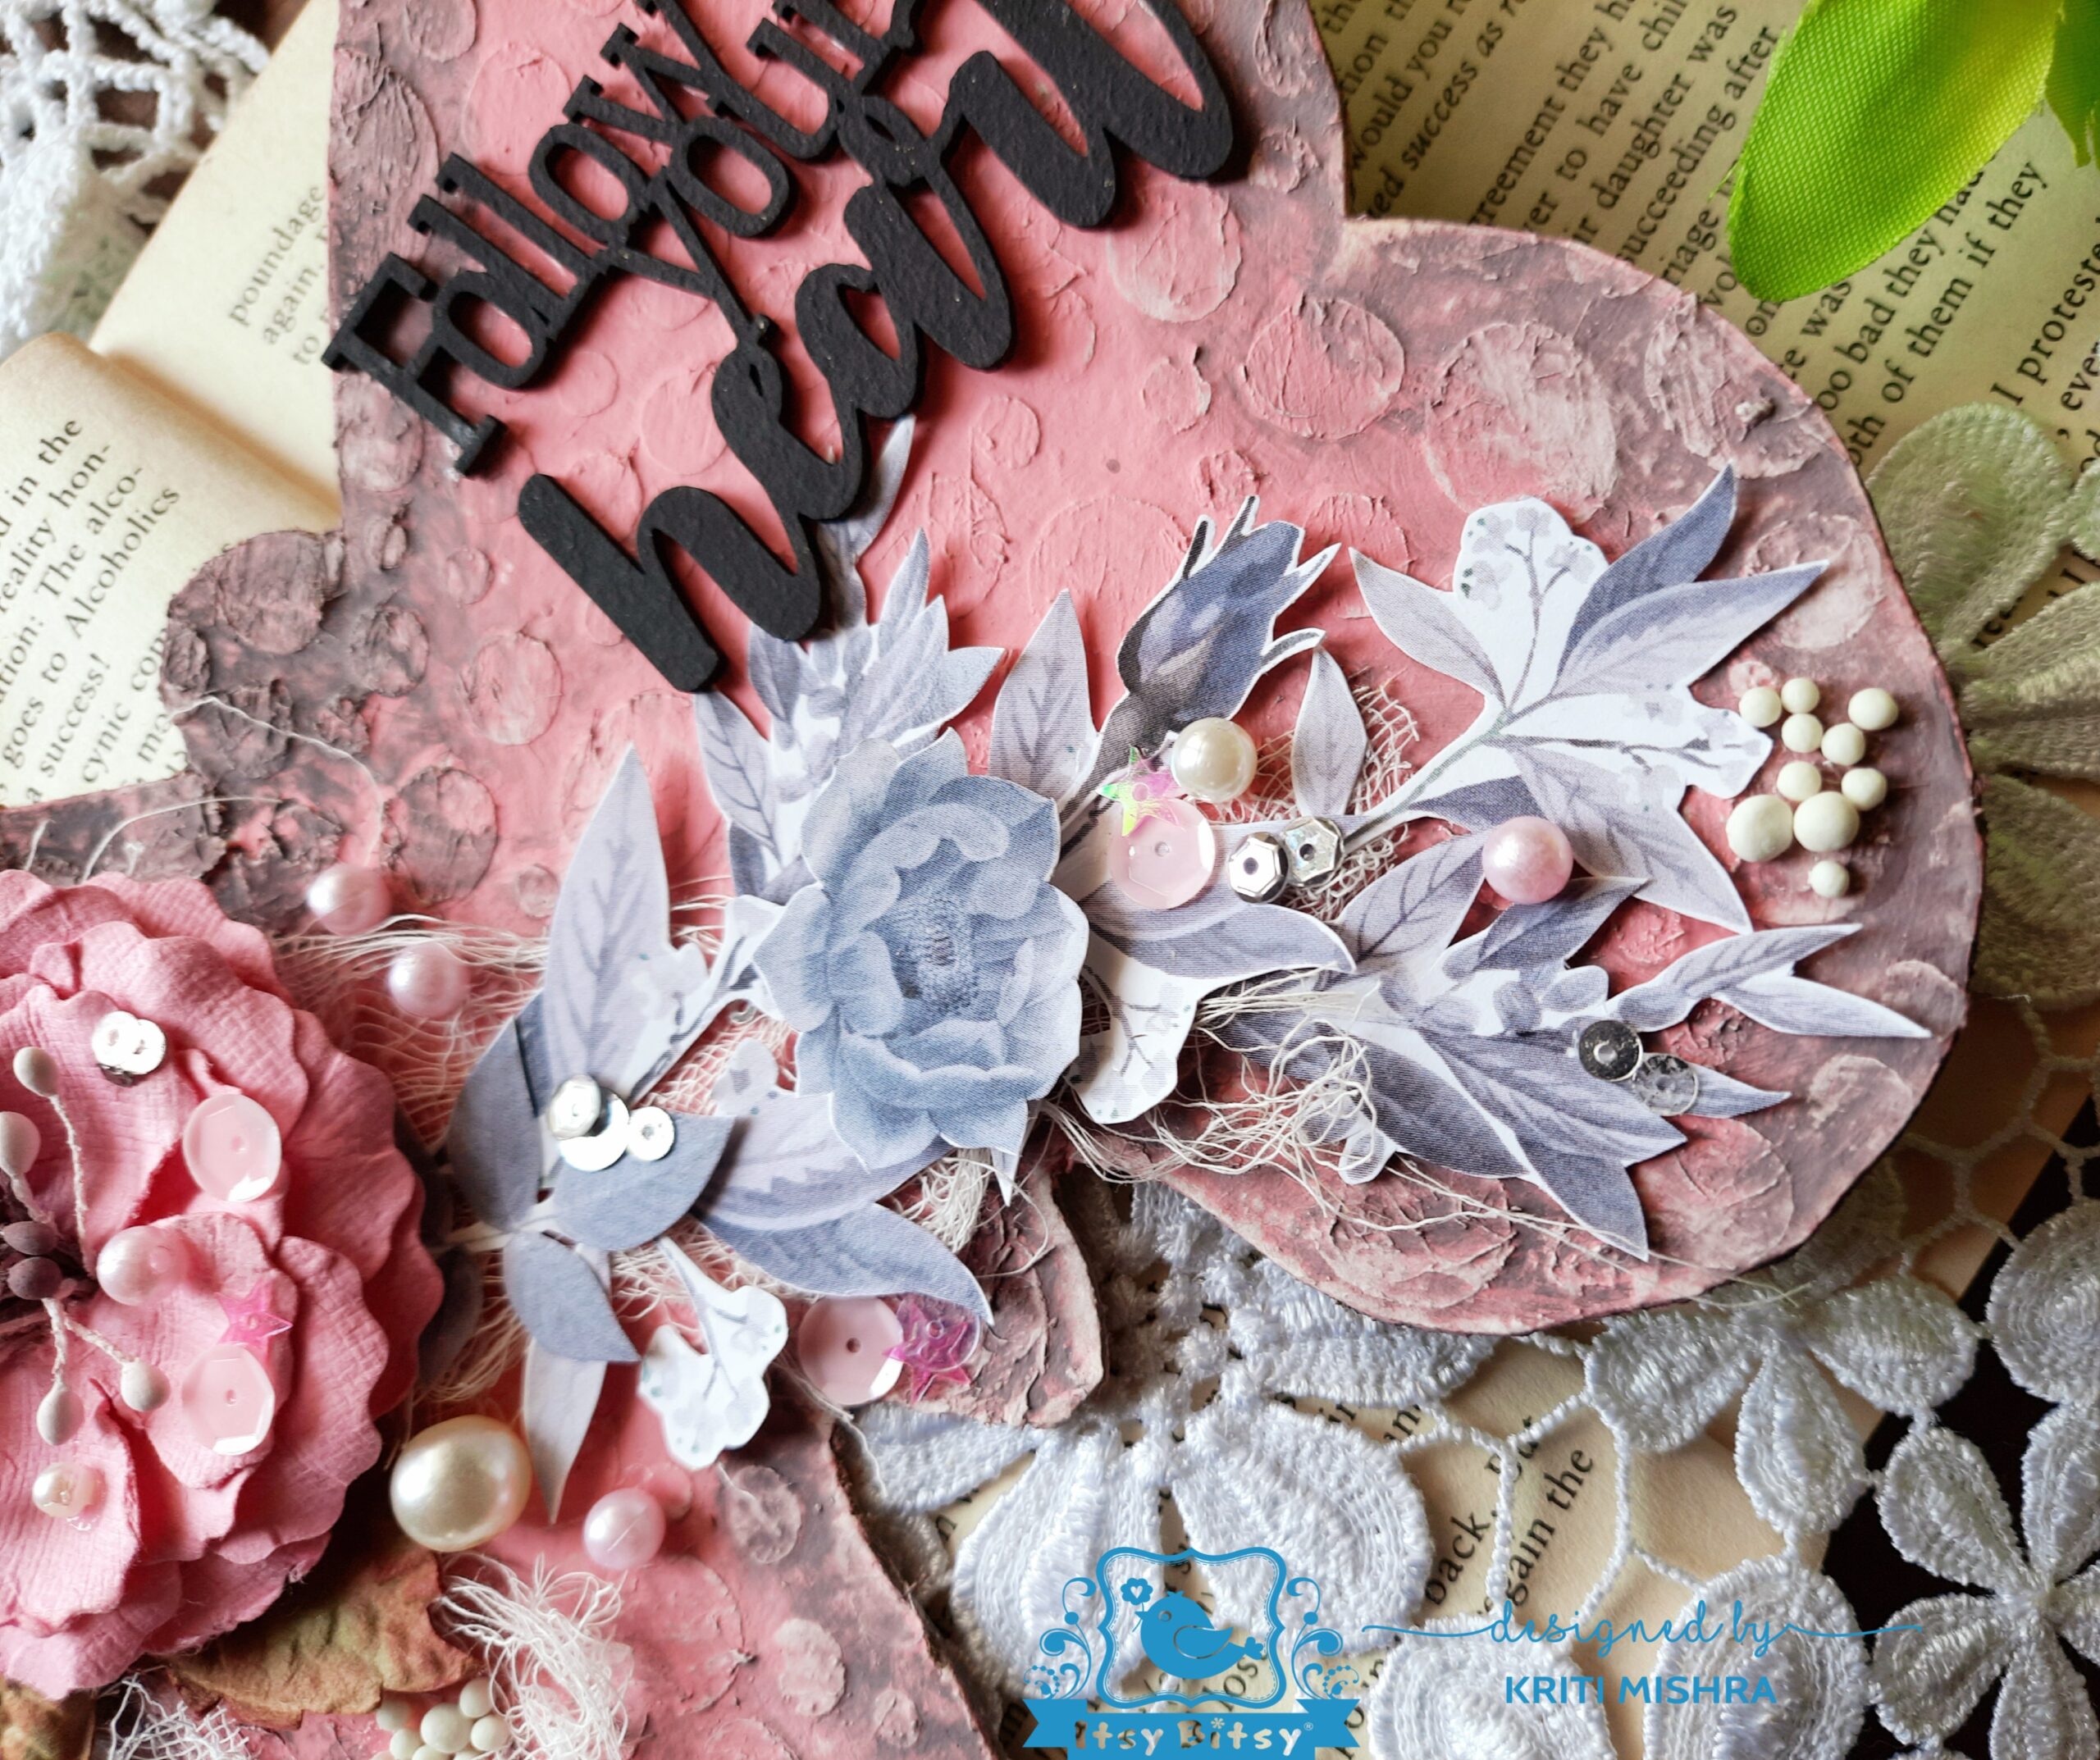
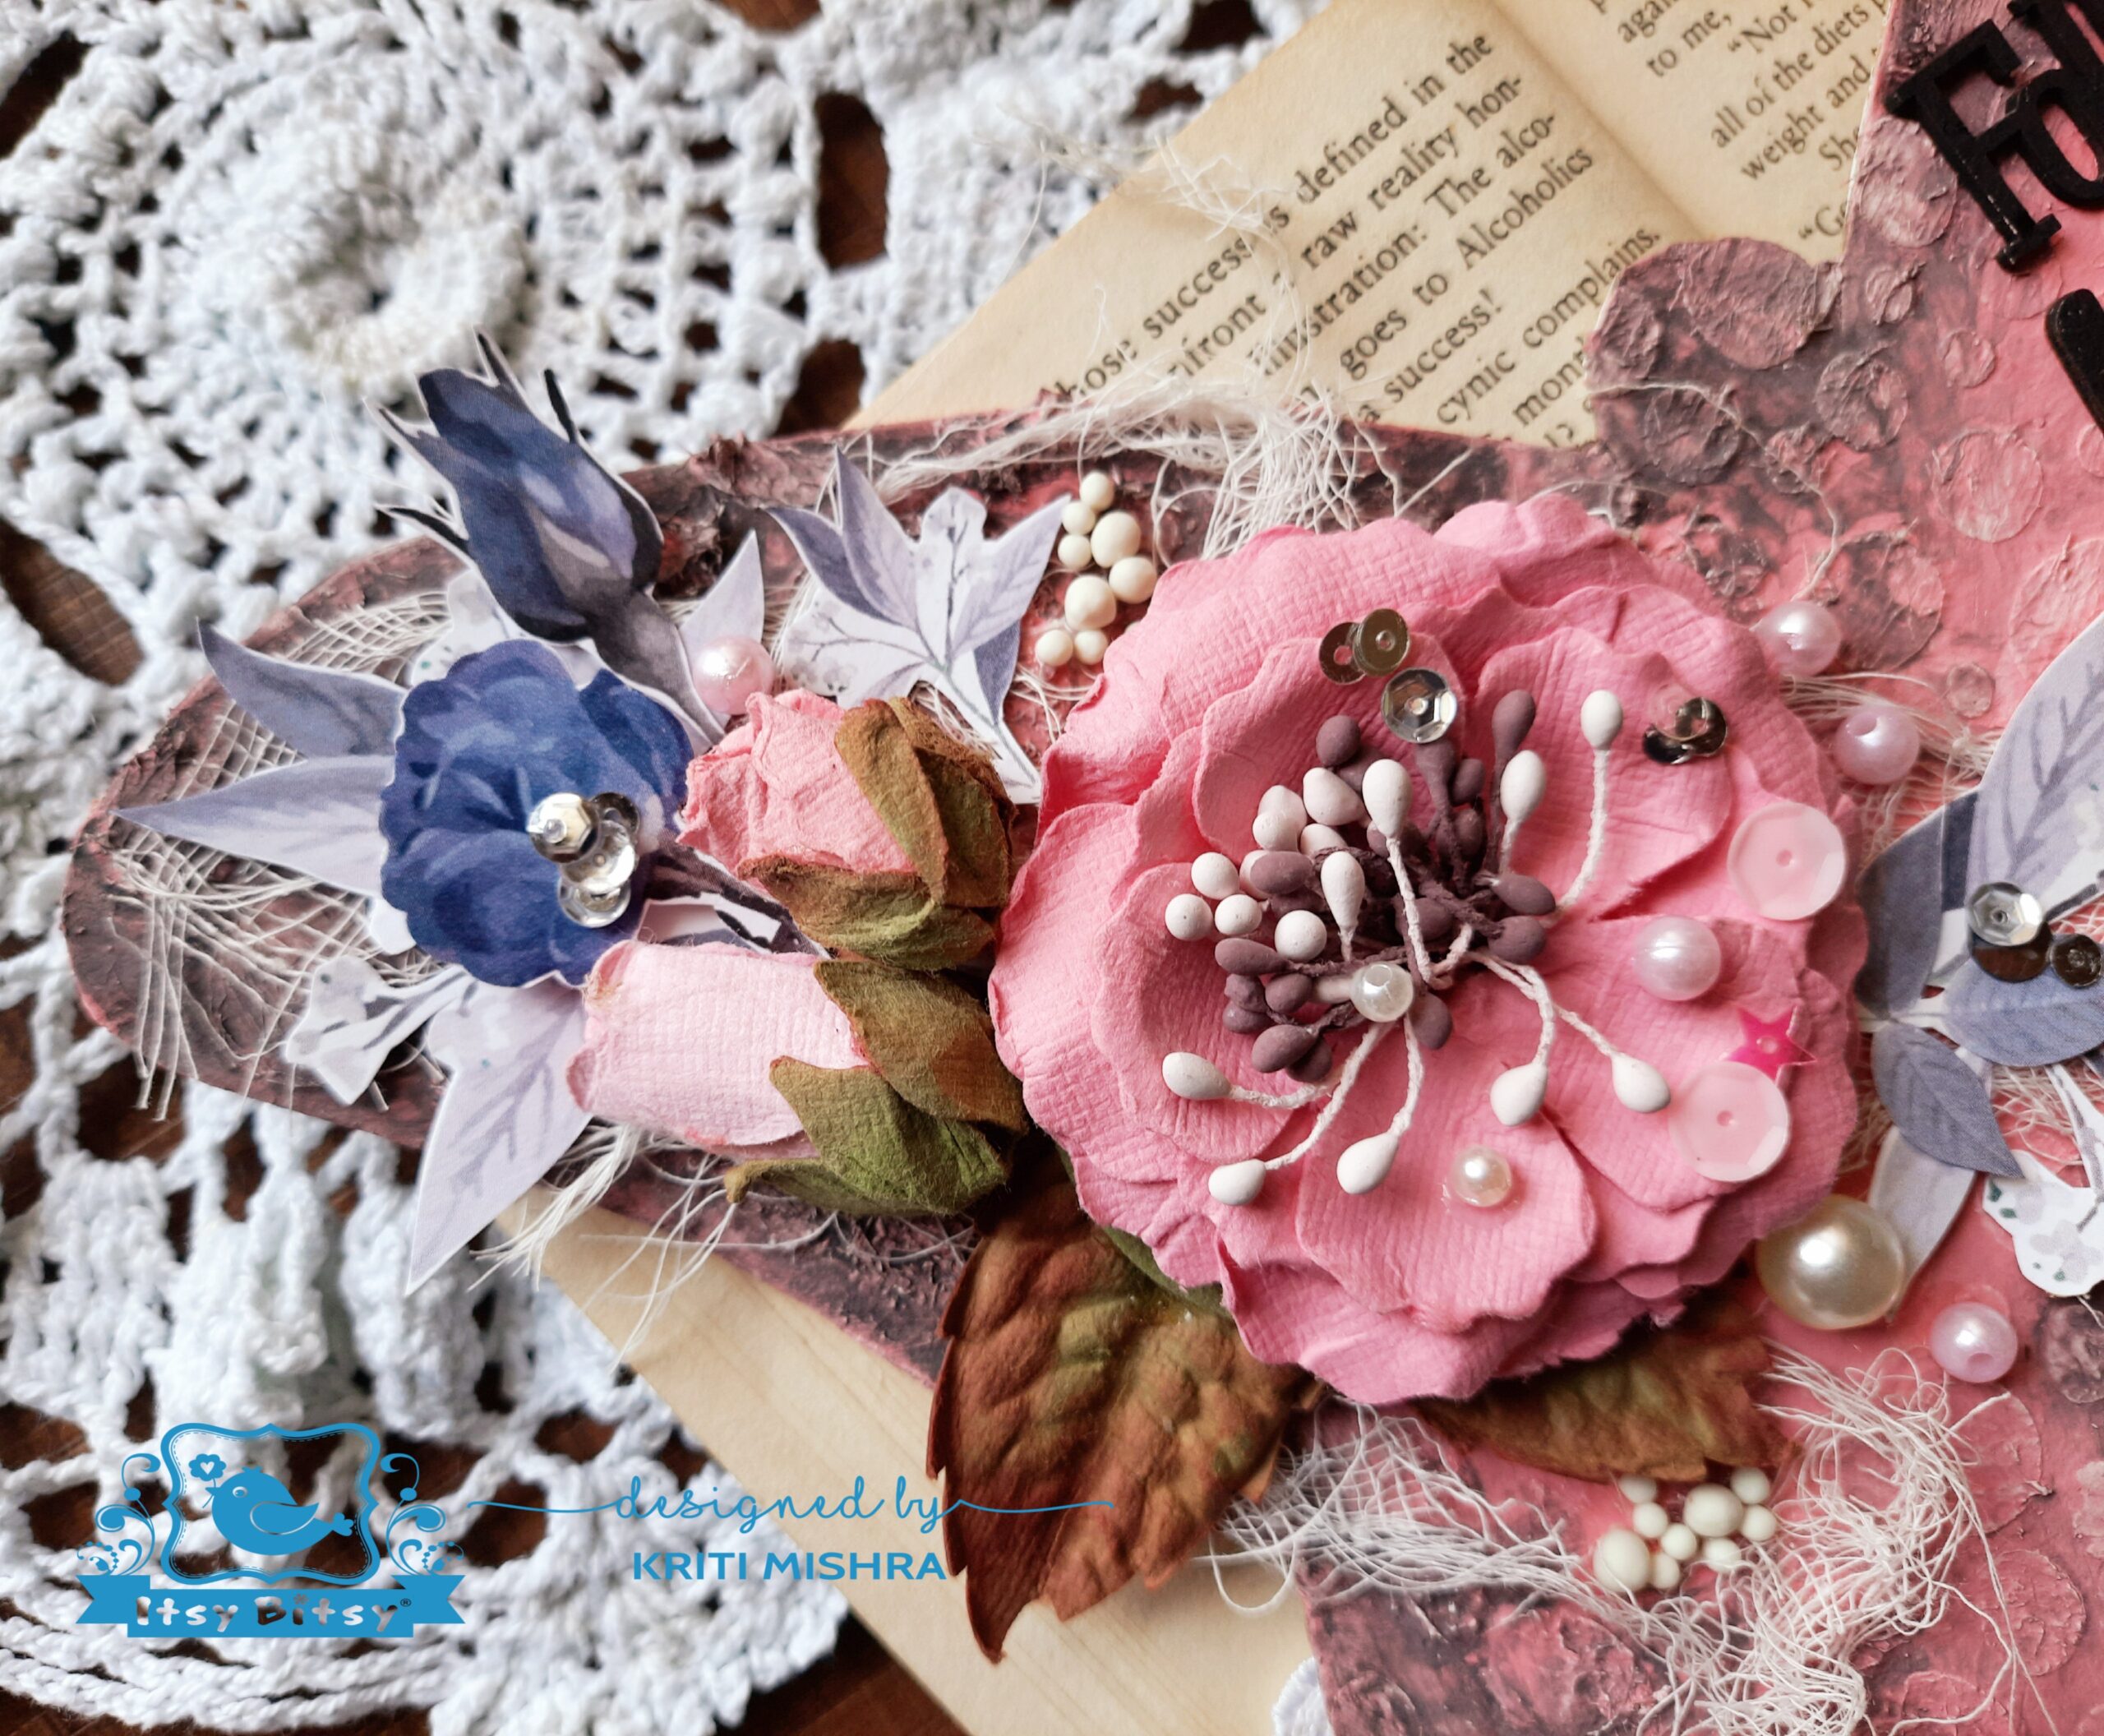
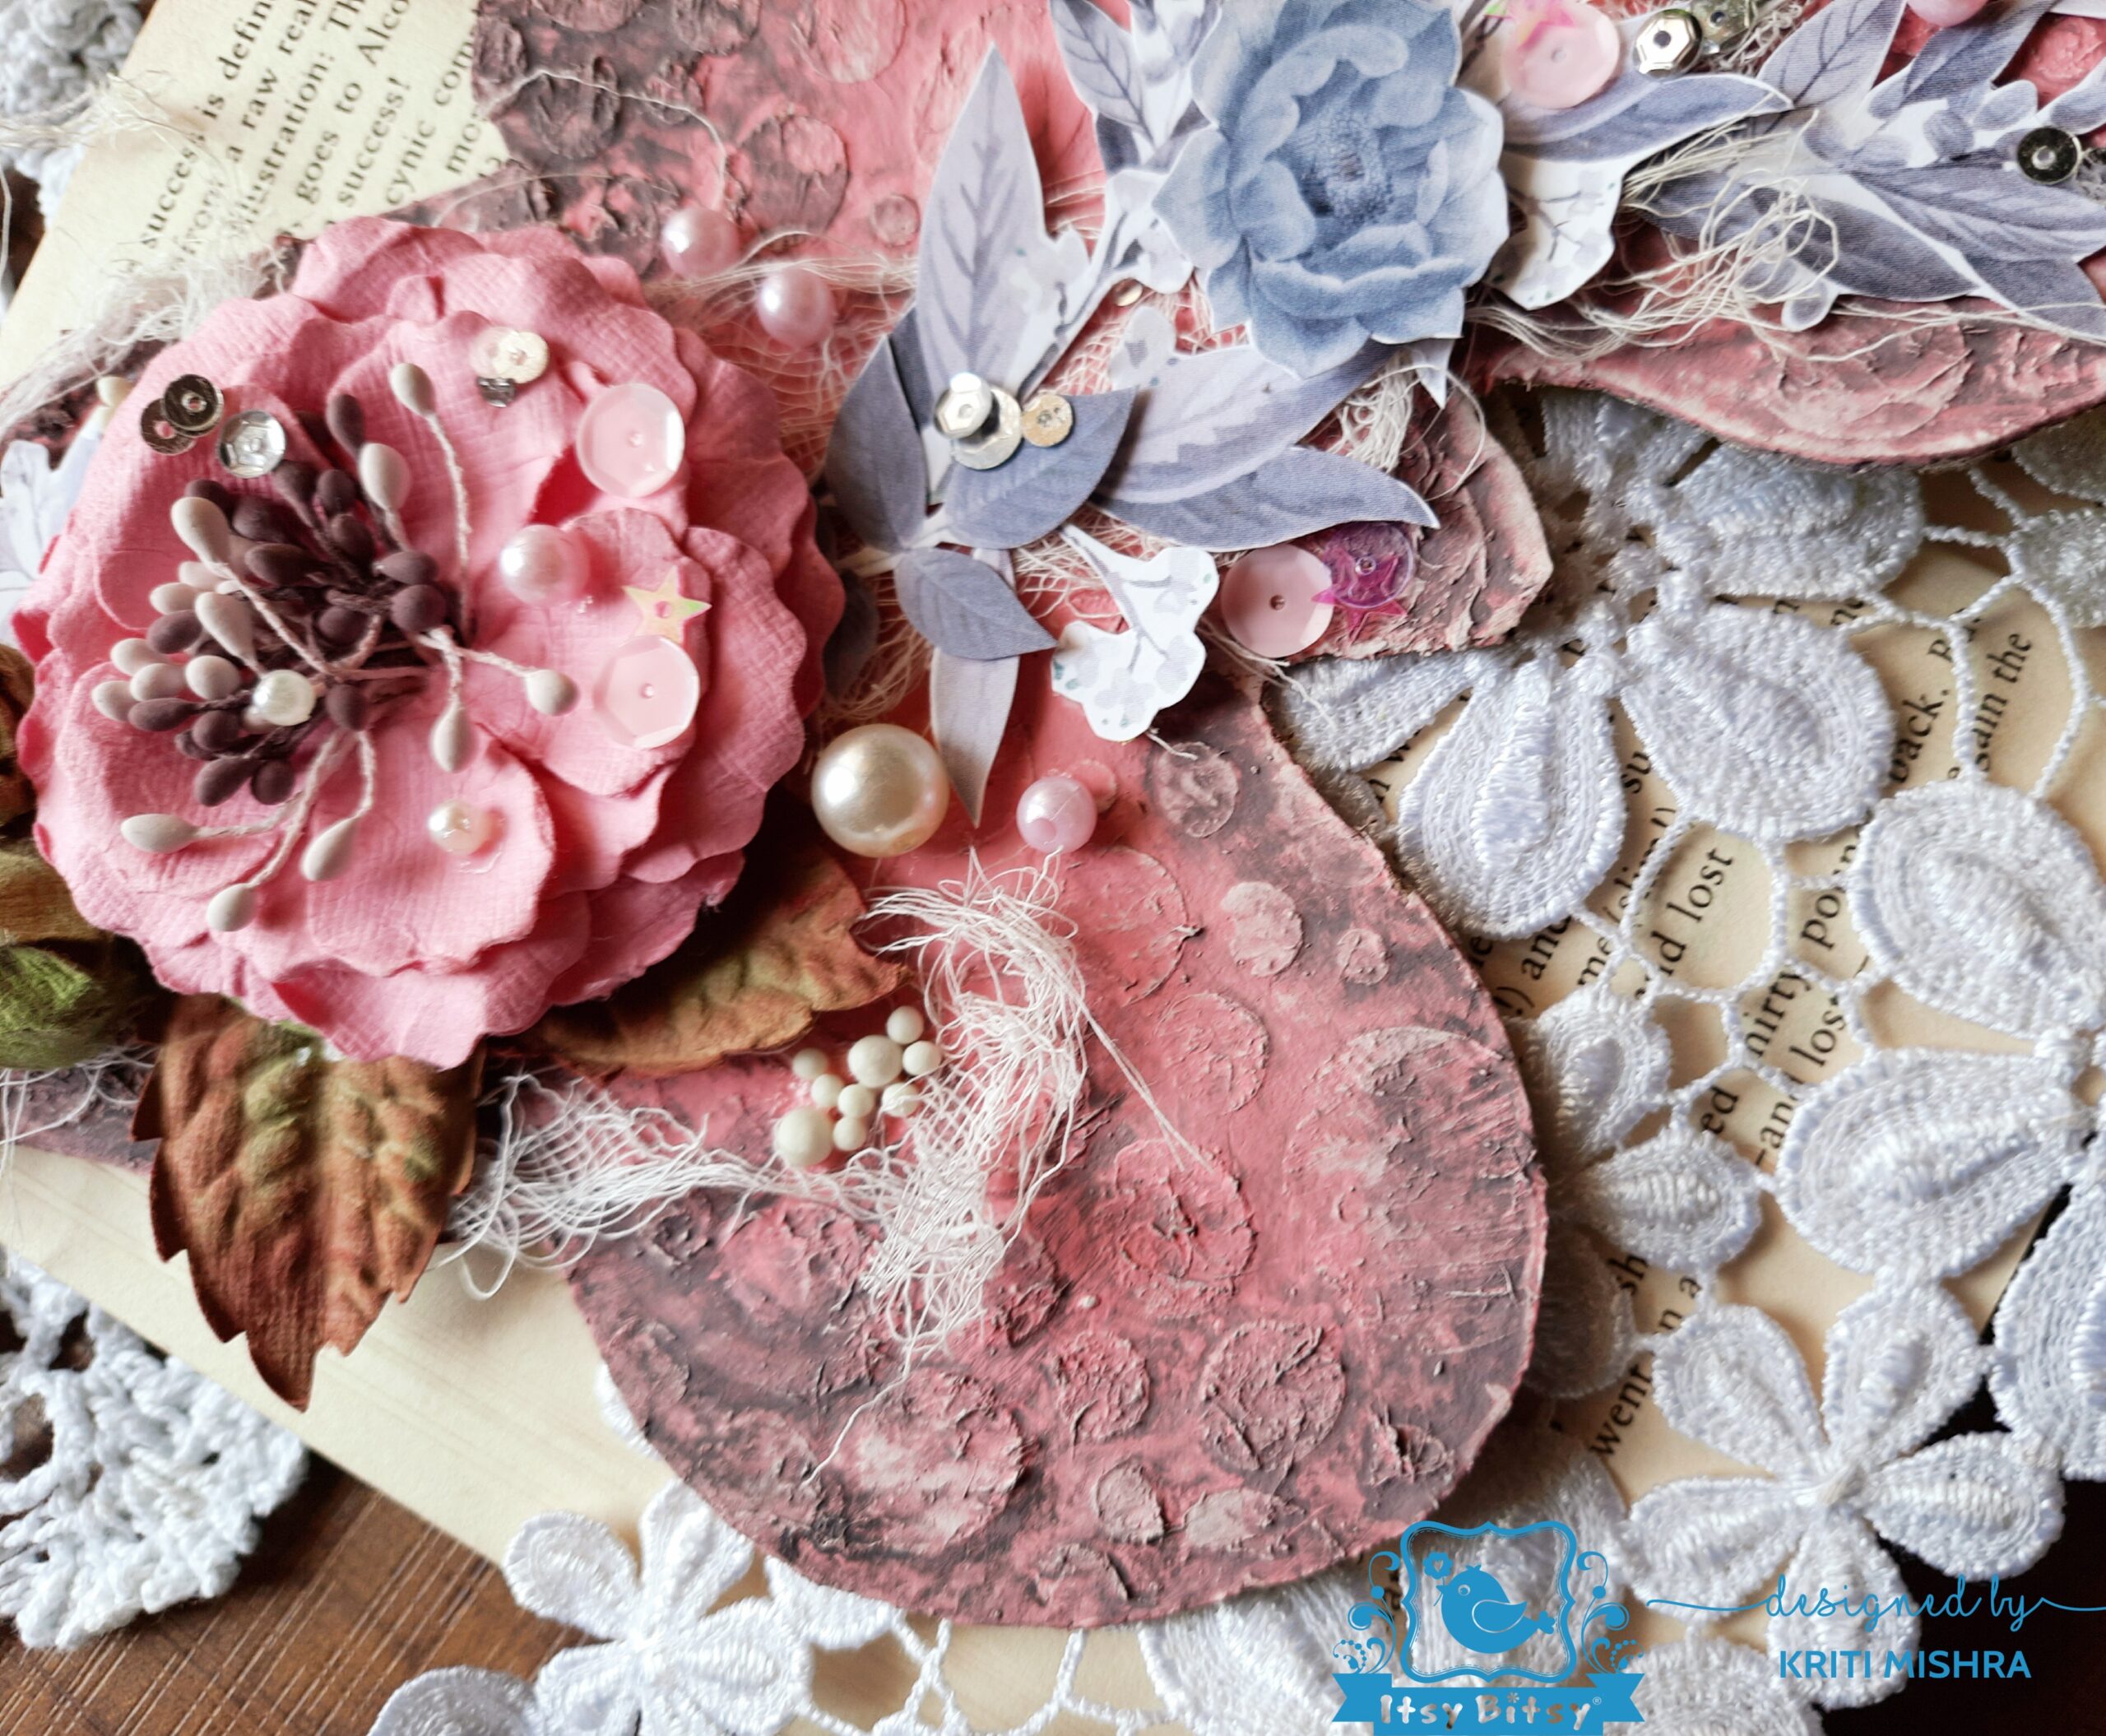
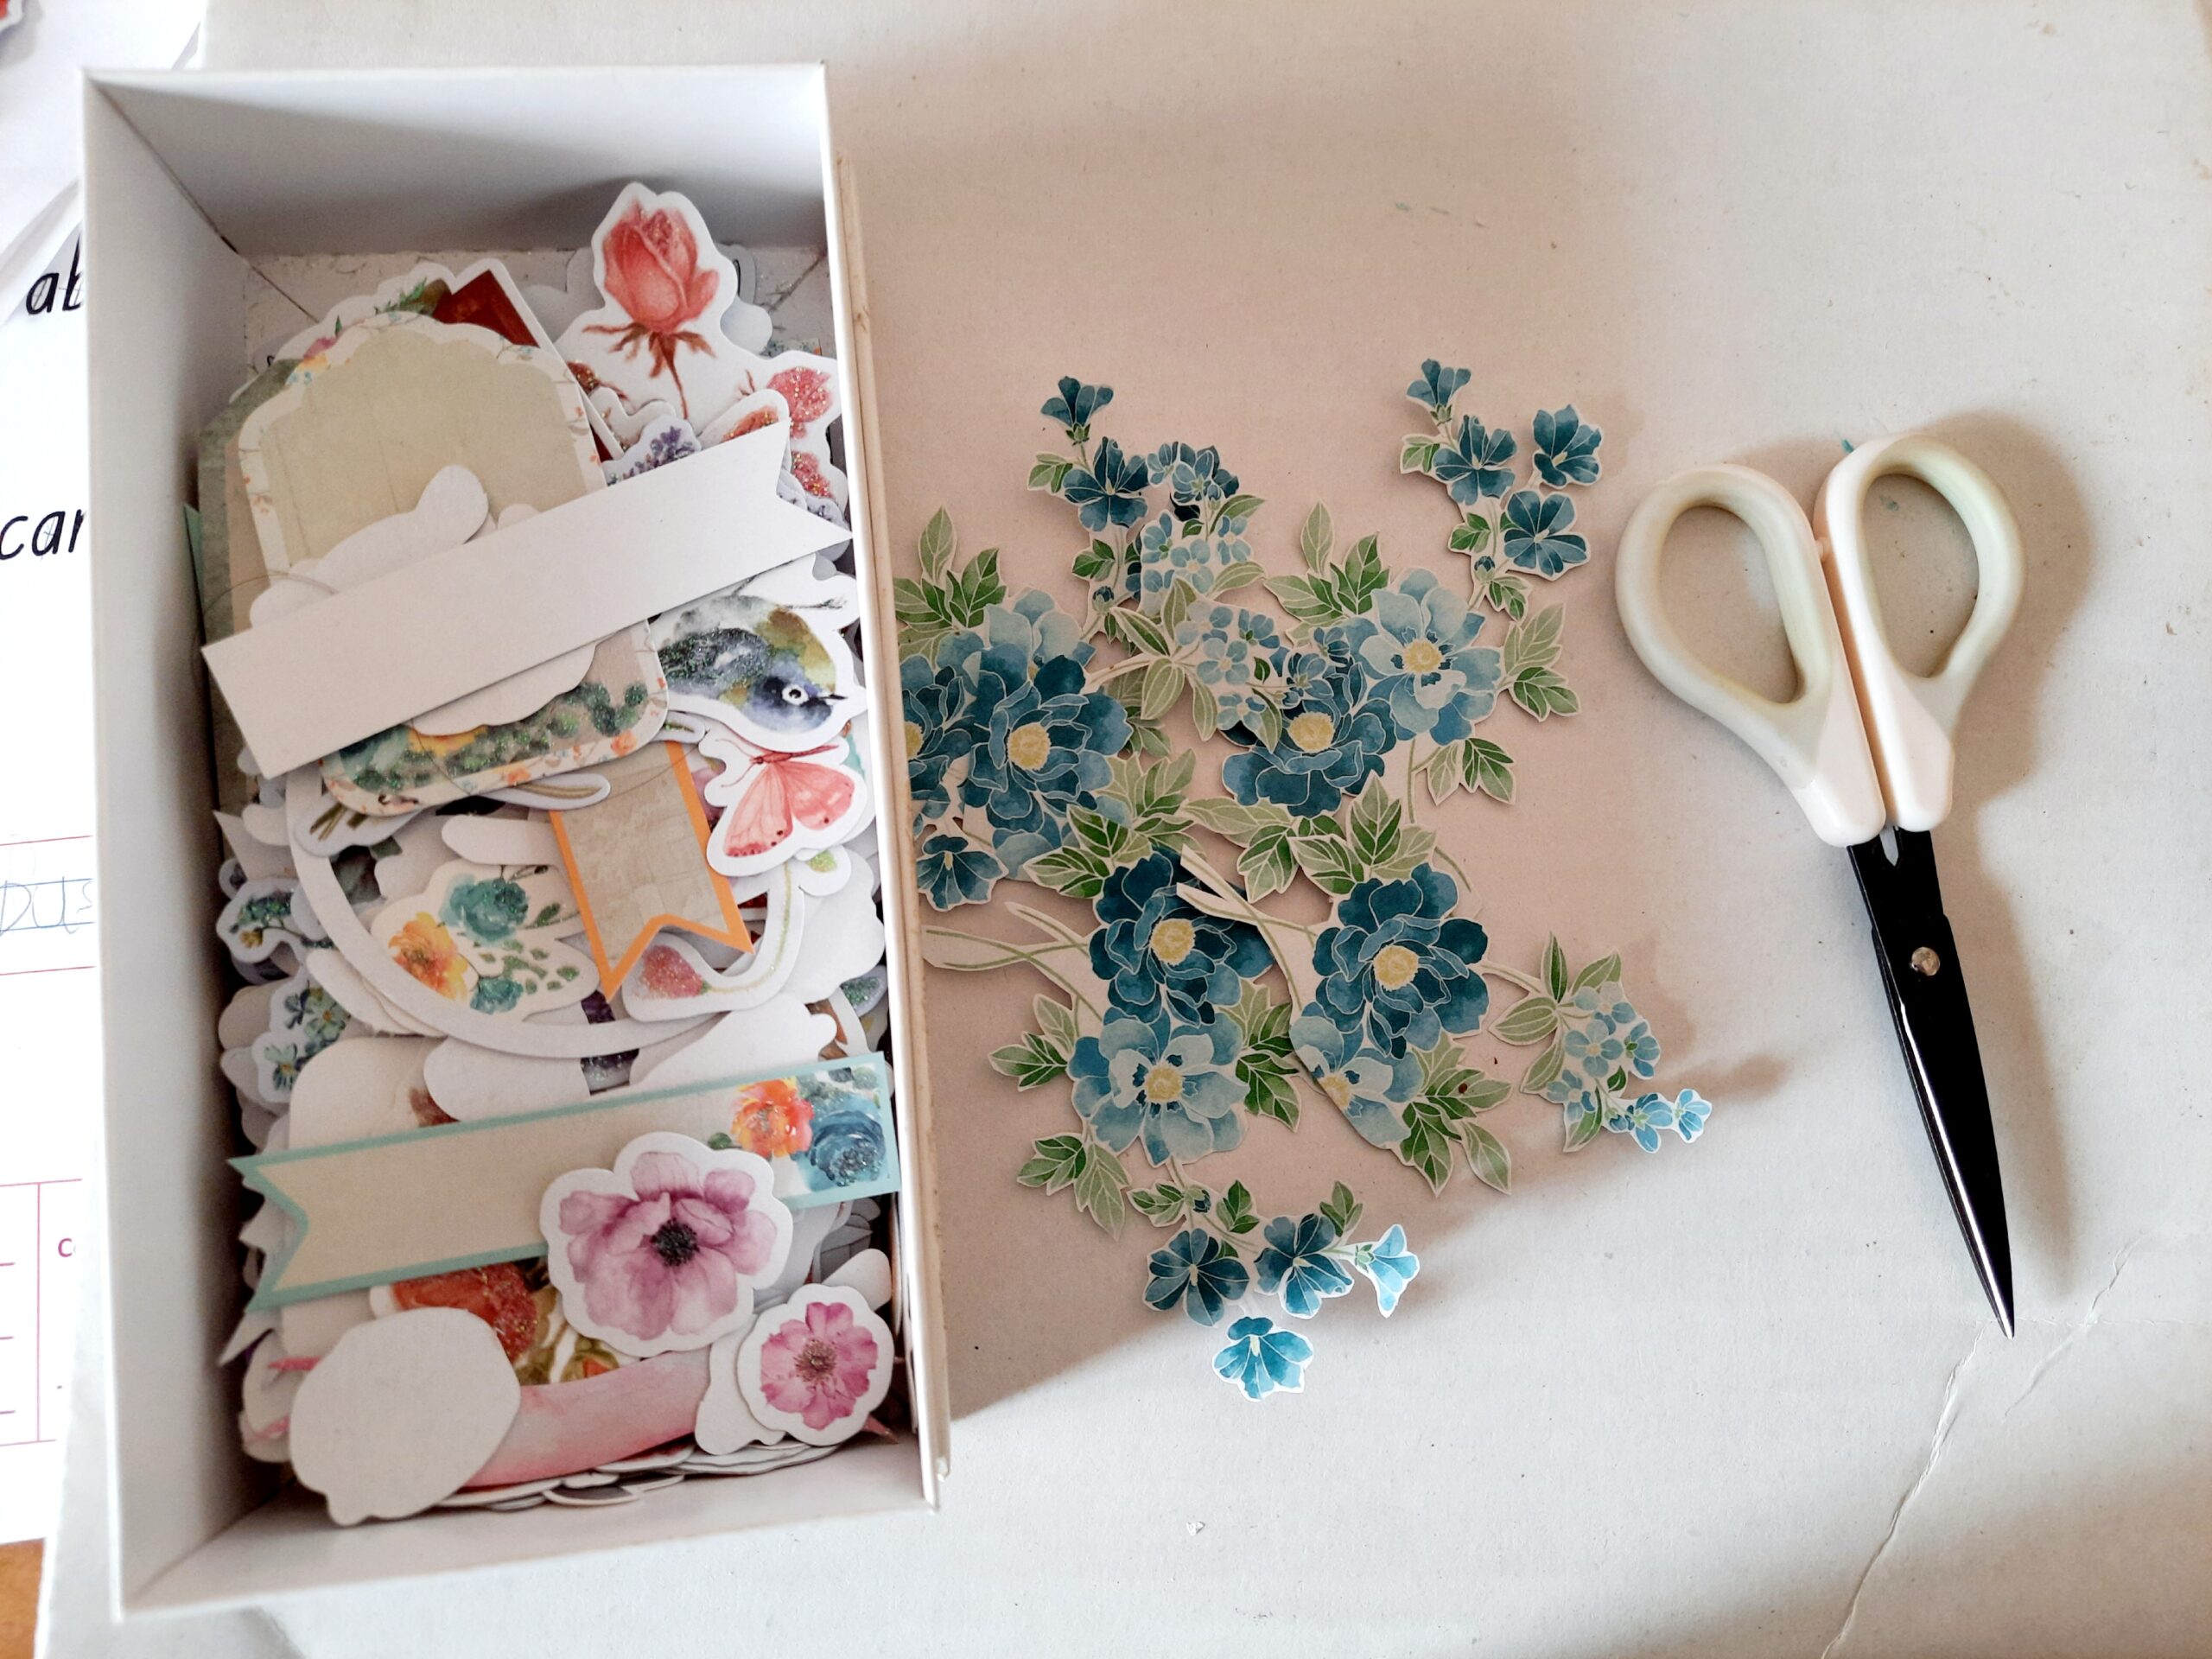
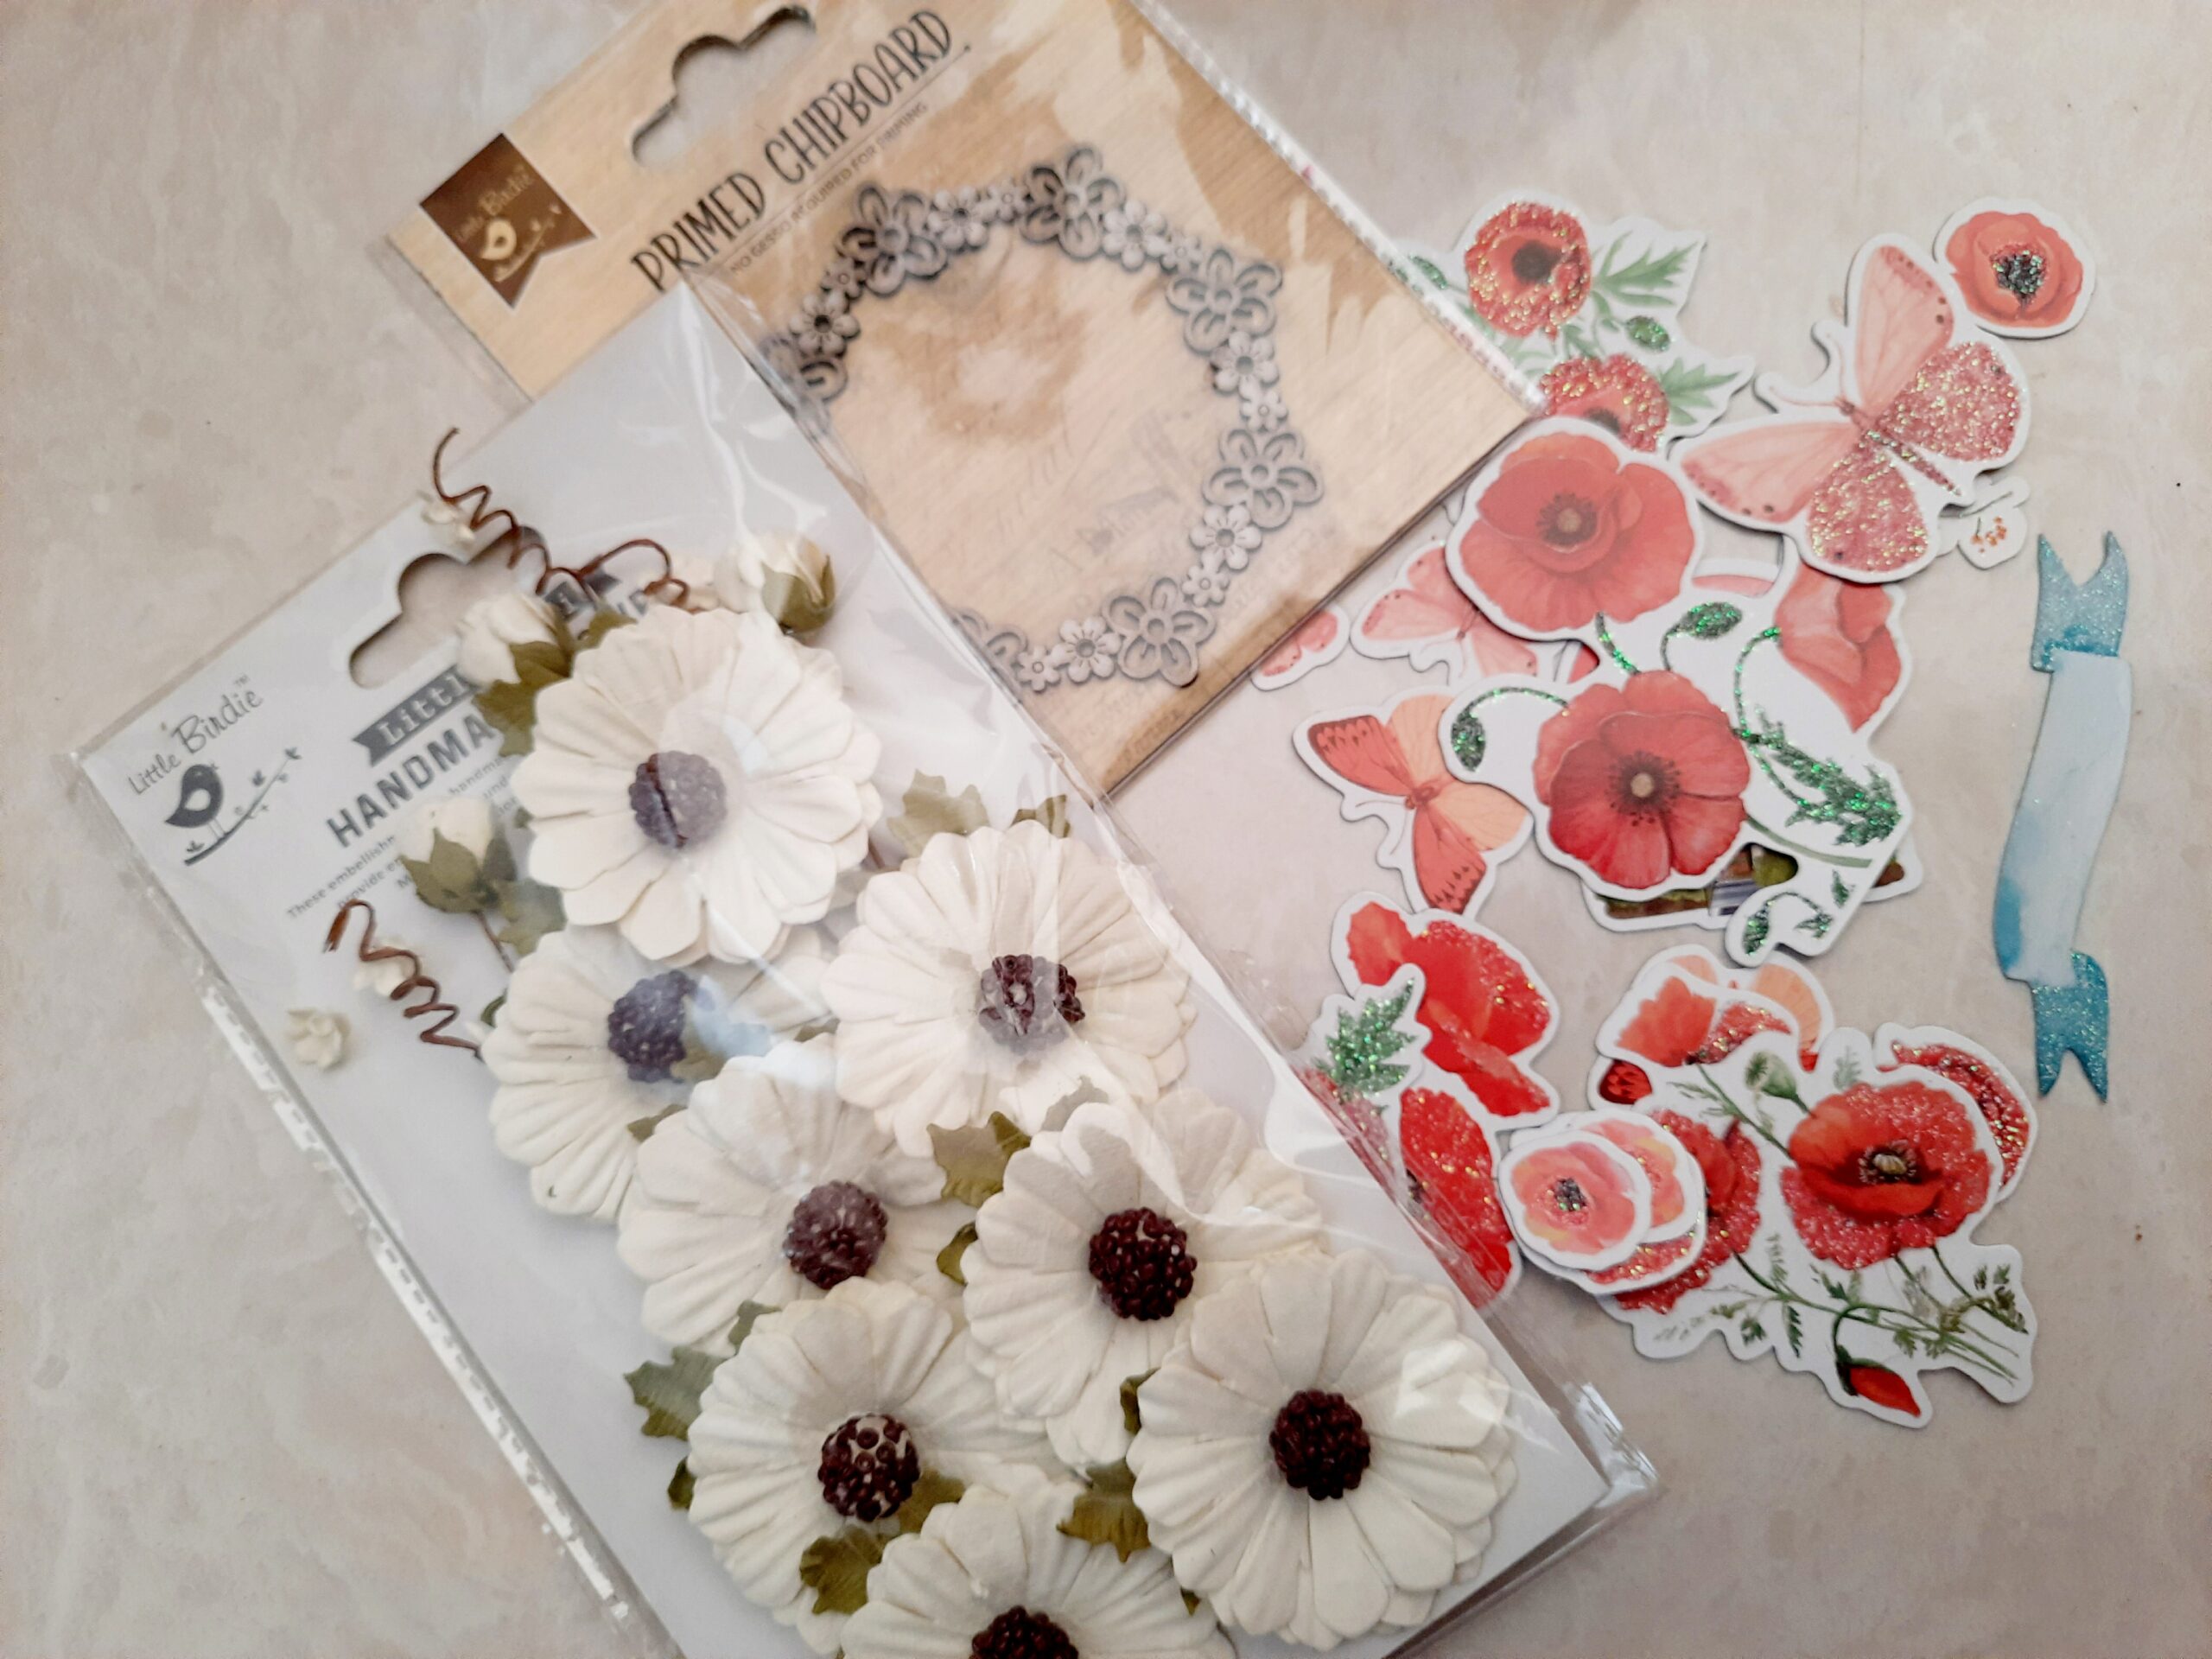
Step 5: I have selected ‘Poppy and Roses’ ephemera pack, chipboard, laces, pearls and  some beautiful handmade flowers(I have selected these flowers in the starting but ended up using the Aqua Medley collection of handmade flowers as they were going great with the card’s color scheme)  to embellish my card.


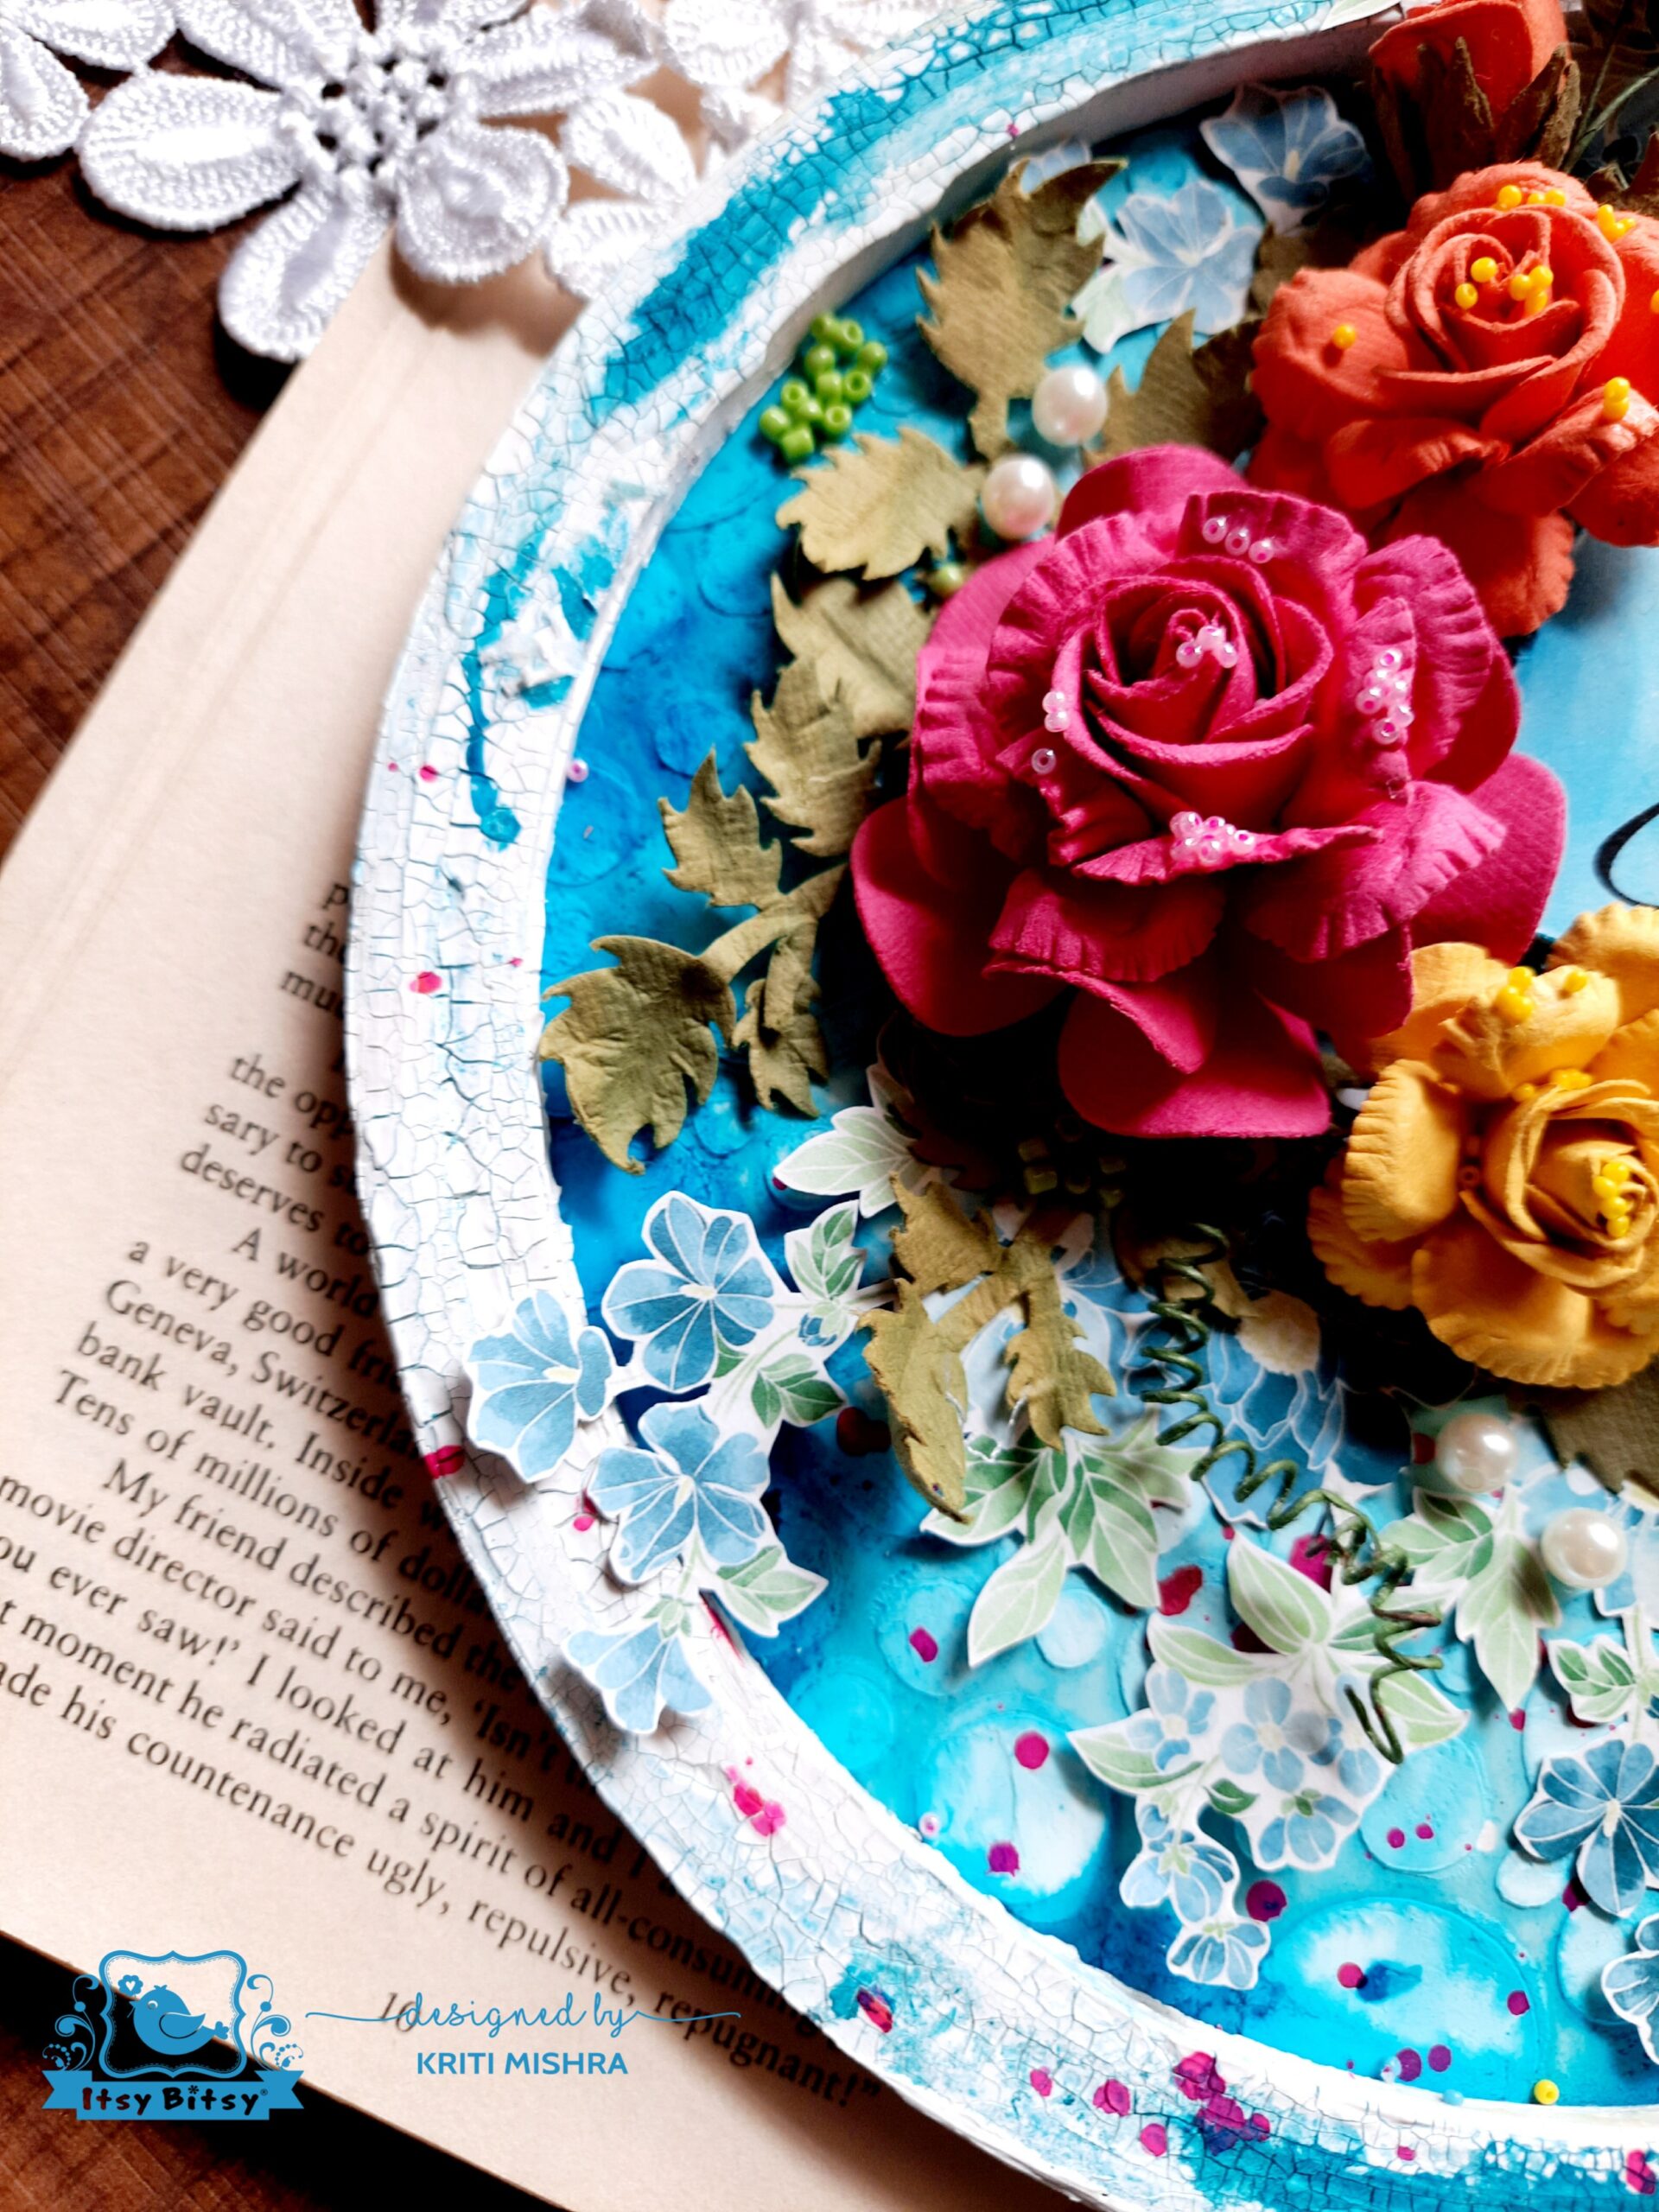
…And ta-da! Its ready…..


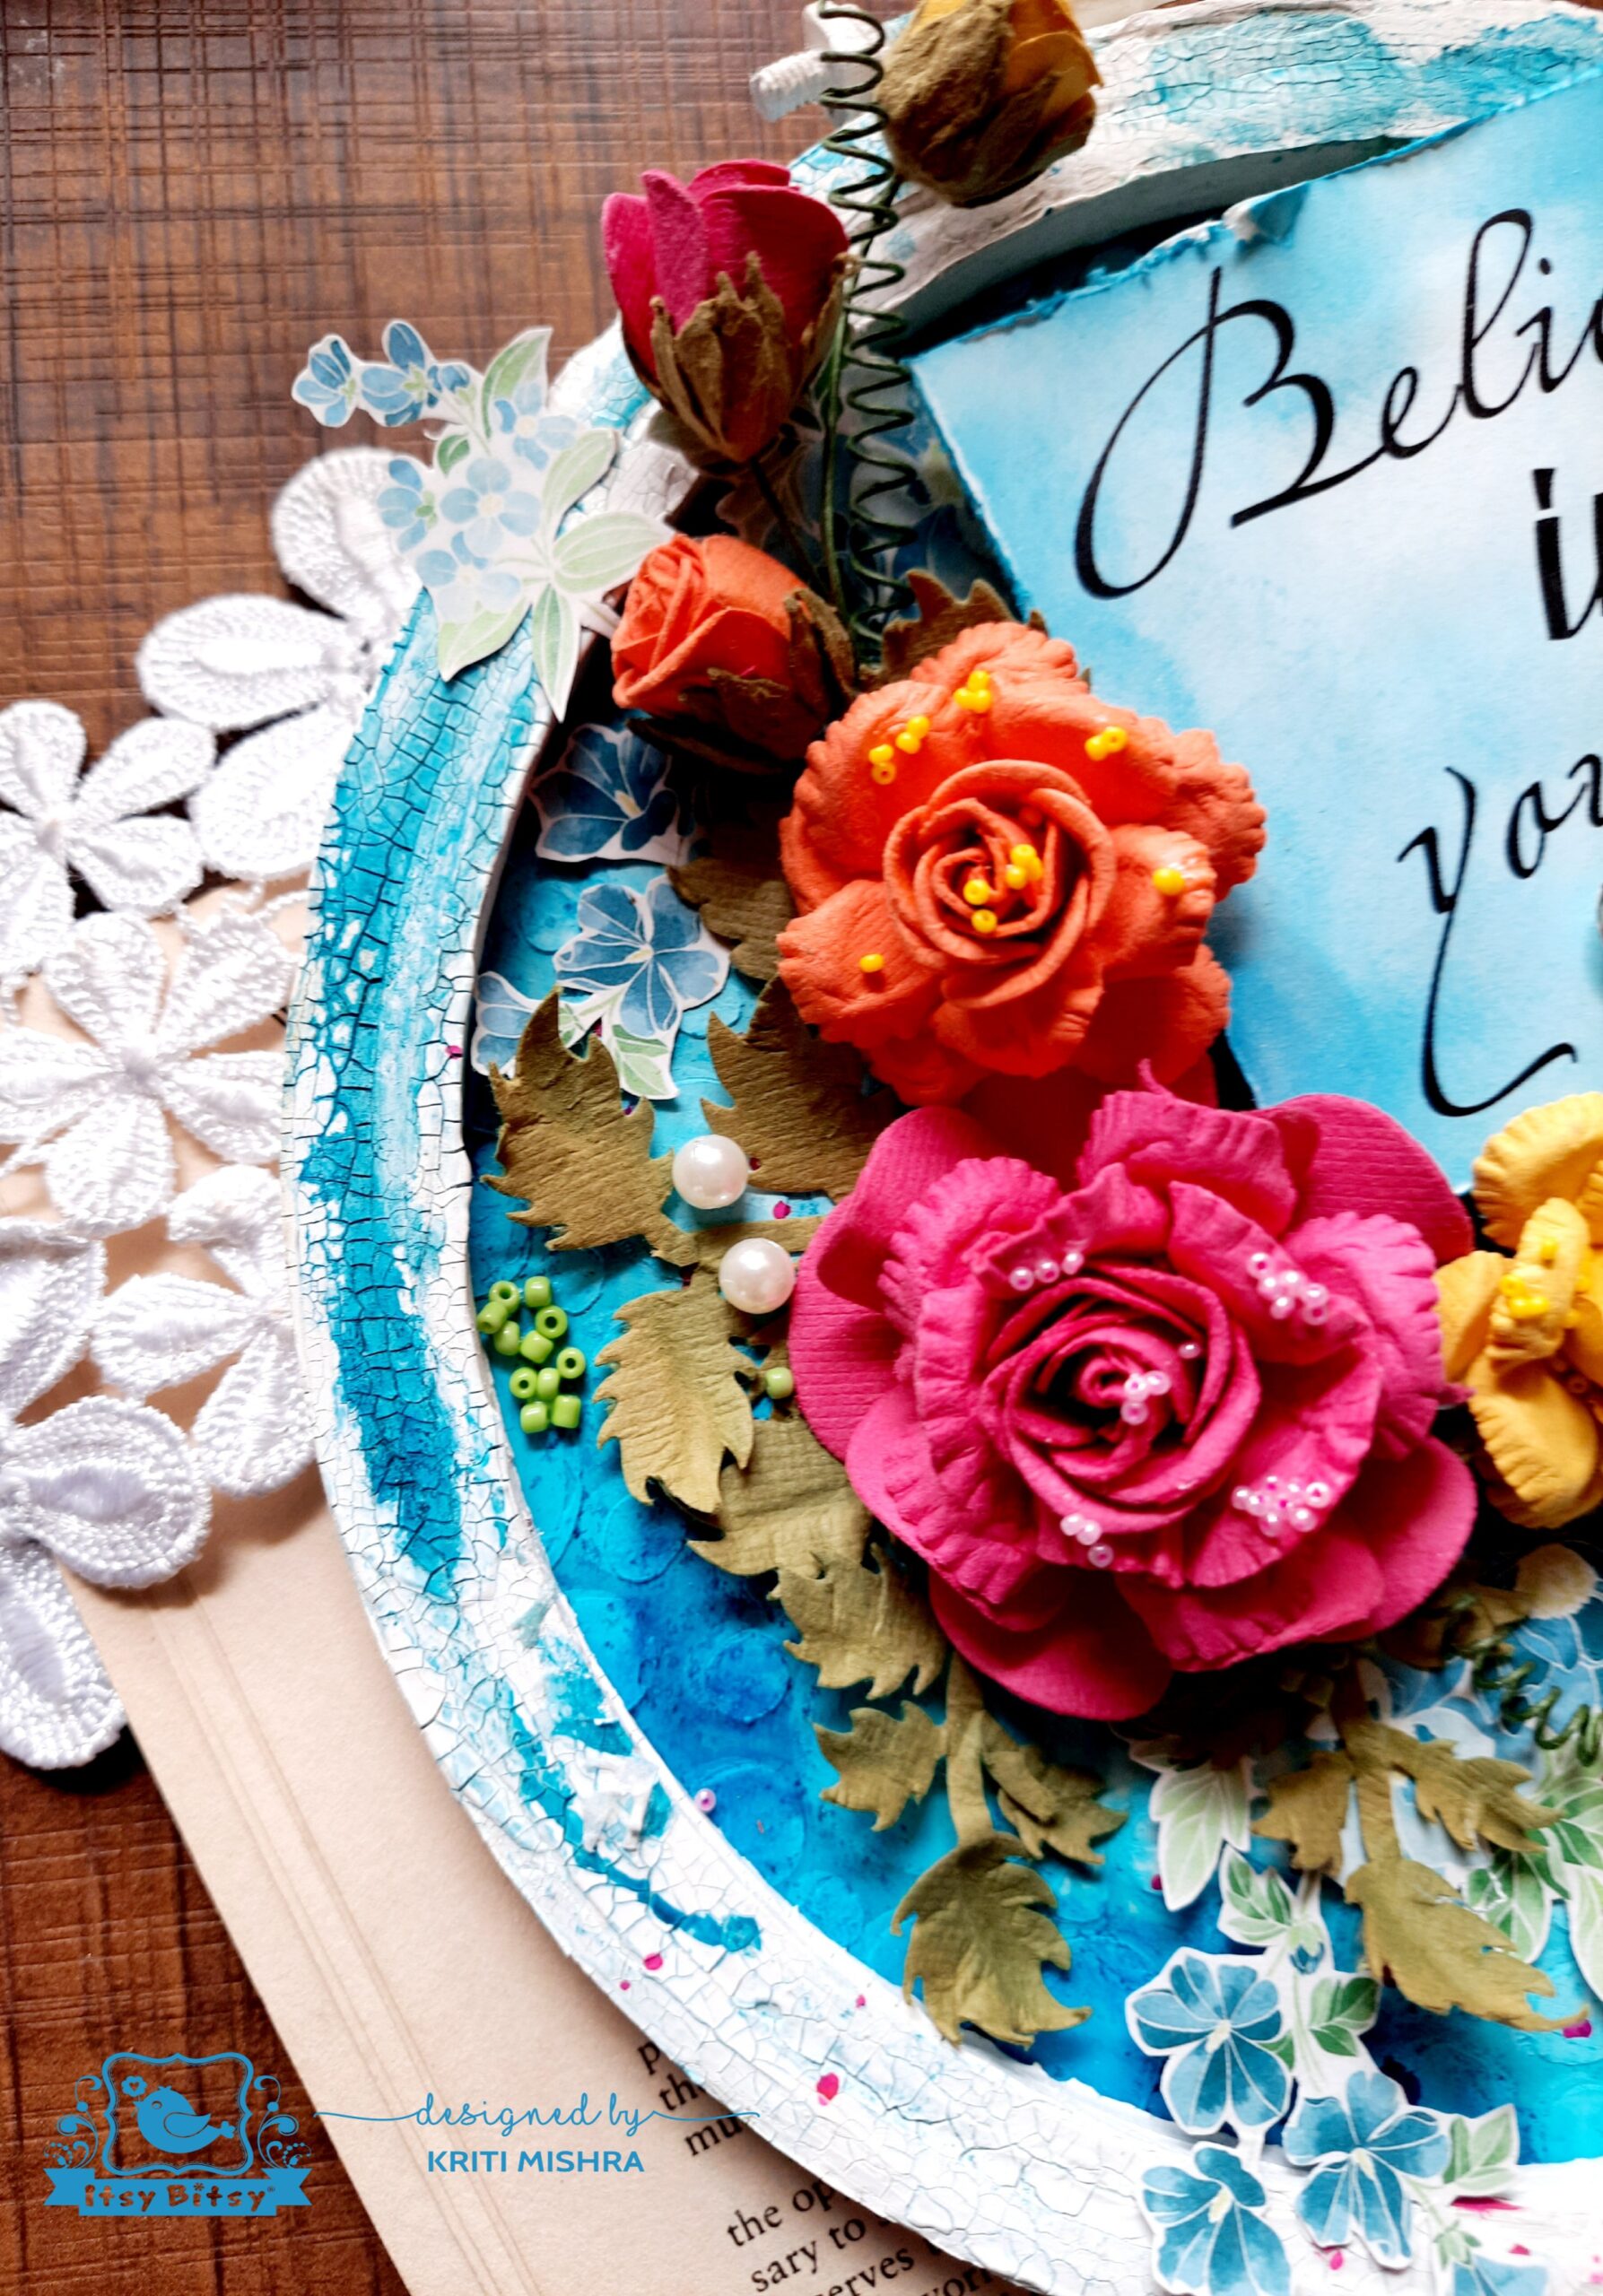
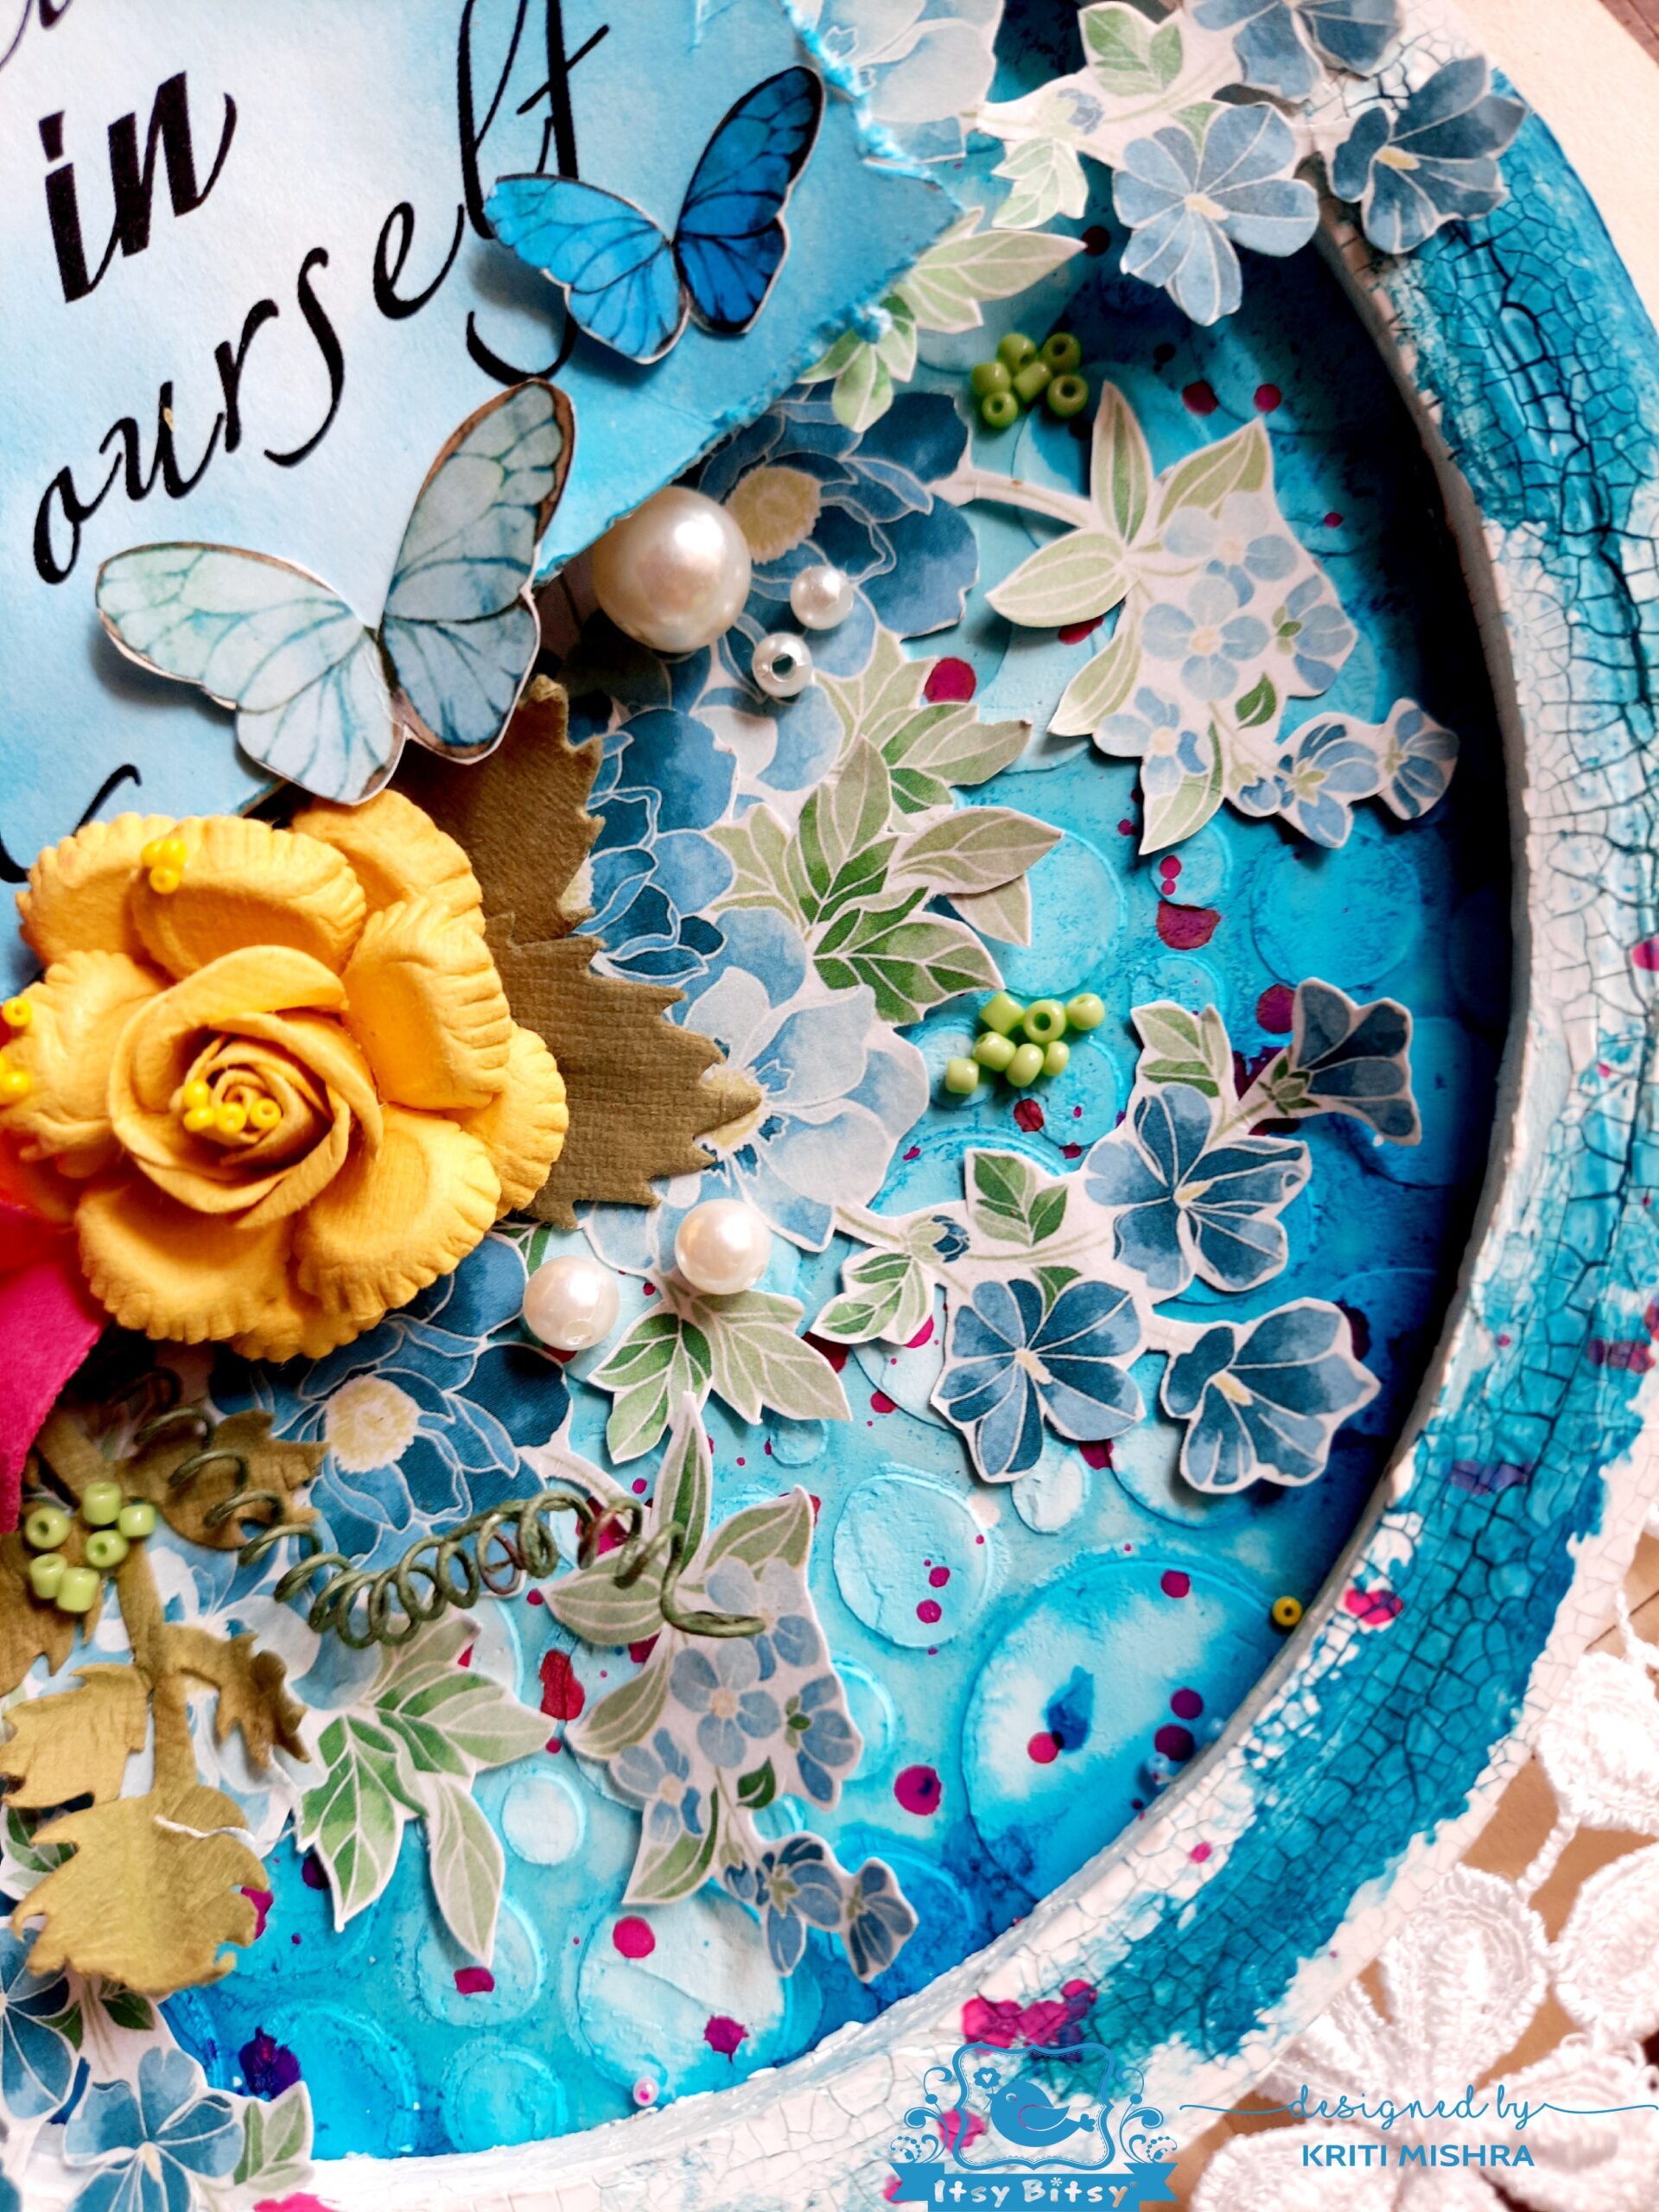
Some close – up pics….


Wednesday, 7 April 2021

Mixed Media Butterfly

 Namaste Friends!!

I am Kriti Mishra. Today I will share a pictorial of a mixed media butterfly with you.


Here is my  project….


Tutorial


Step 1: First I took a piece of a thin cardboard and drew a big butterfly. I have use a printed template from the internet to cut this butterfly. Then, I cut that using sharp scissors.


Step 2: Next, It was time to prepare the base. For that, firstly, I applied Little Birdie’s Clear Gesso to the  base (It makes the base non-porous, plus the colour of the base remains intact . When it dried, I applied Little Birdie Fiber Paste through the ‘Irregular Dots’ stencil.


Step 3: Now, the fun part begins! It’s the time to play with the colours. I have selected chalk paints this time to get my desired shades.

I have used mostly Little Birdie Misty Rose Chalk Paint and to highlight the edges, I have used Little Birdie Charcoal Chalk Paint.


Step 4: When the base was ready, I decided to do the final part which is to assemble the other components to finalize the composition. I have selected one focal point and decided to let the elements flow.


For this, I have used some die-cut leaves and flowers, Little Birdie handmade flower, “Follow Your Heart” chipboard ( which was coloured using Little Birdie Charcoal Chalk Paint), Little Birdie Sequins Medley – Angel Wings, Sequins assorted pink mix, cheesecloth, craft pellets and pearls.


Few close-up pics…


I hope you liked my project…


Kriti Mishra

Wednesday, 24 March 2021

Altered Embroidery Hoop – Believe In Yourself

 Namaste Friends!!

I am Kriti Mishra…..and today I will share a photo tutorial with you, for an altered embroidery hoop.


Here is my altered project….


Tutorial

Step 1: First I took an embroidery hoop and covered its upper edges with Little Birdie’s Crackle Paste. I put a generous amount of crackle paste to get thick cracks. After it dried, I sprayed Little Birdie’s Frosted Pool – Alcohol Splash in a  few areas.


Step 2: I cut a circle from a cardboard using the outer circumference of the hoop as measurement (this is to make its background) Here we can use paper also, but to make it sturdier, I used a cardboard.


Step 3: Now, it is time to prepare the base. For that, firstly, I applied white gesso to the circular base. When it dried, I applied mixed media paste through the – Irregular Dots stencil..


When it dried completely, I sprayed Frosted pool – Alcohol Splash over it. I coloured it darker at the edges and made it lighter as I went towards the centre of the circle.


Finally, I pasted it to the back of the embroidery hoop.


Step 4: To give a more interesting look to the base……or to pop up the base, I sprayed few drops of Little Birdie’s  Hot Pink Color Splash.


Step 5: Now the final part….that is the focal point and the composition. For focal point, I printed a quote and distressed it with archival ink – Blue bird. And for the composition, I cut out few elements from a paper pack and few elements from Little Birdie ephemera packs.


To complete the look, I adhered some handmade flowers from the store and few beads and pearls too.


Here, is the final and some close-up pics…..


I hope you all liked my project.

Kriti Mishra

Semi- finalist at Heartfelt Creations Design Team 2022(Please vote for me)

  Namaste Friends!! I am ve ry excited to a nnounce that I made it to the semi- finals of prestigious Heartfelt Creations Design Team 2022. ...