Namaste friends!!
Kriti this side…
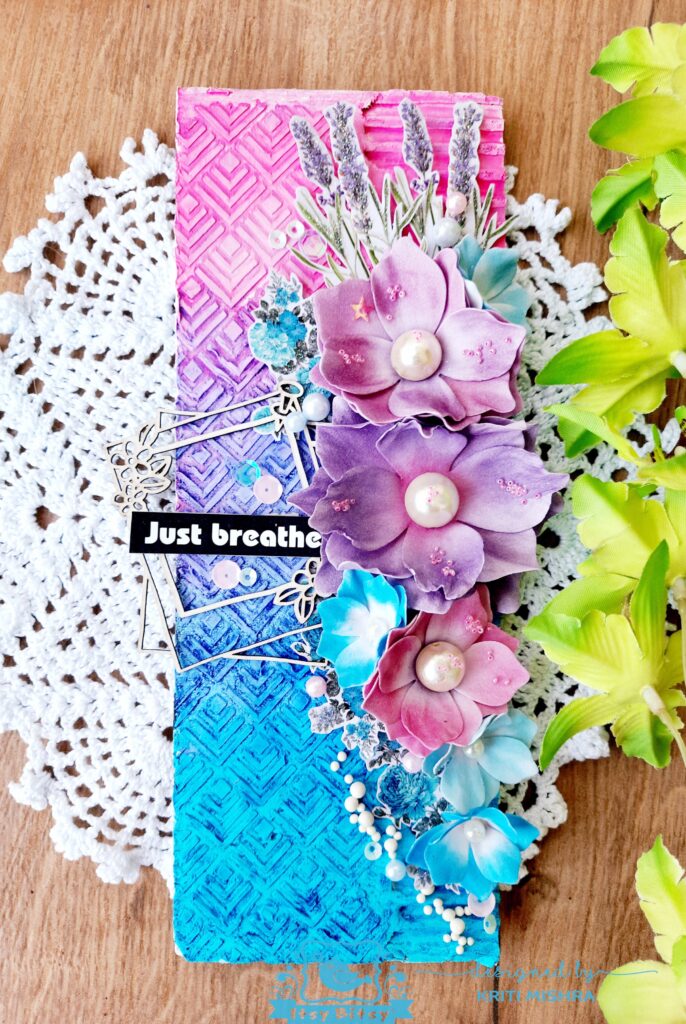
Today I have a mixed media canvas for you all with some handmade foam flowers made with Little Birdie’s ‘Bloom Foam’.
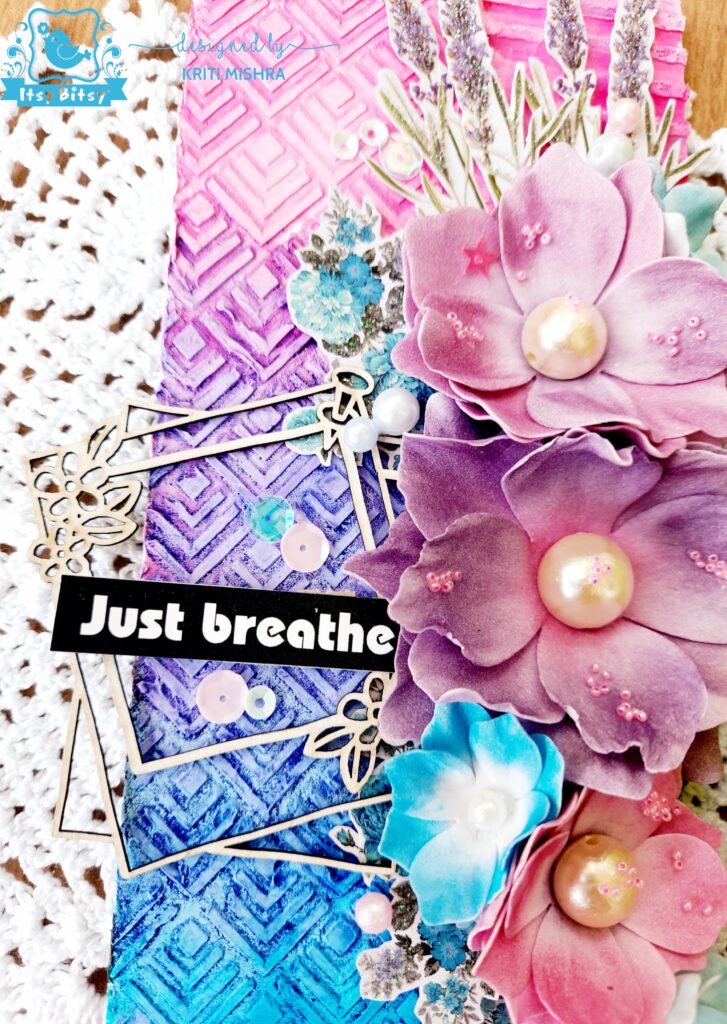
This is what I made….
Tutorial for foam flower:-
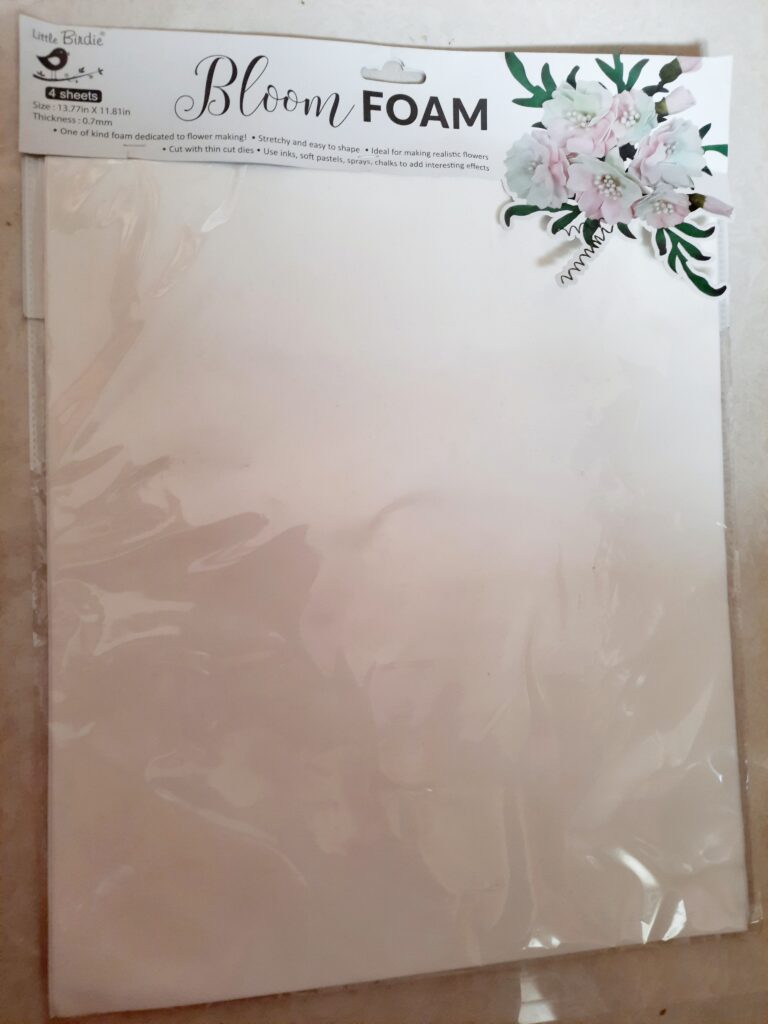
Step 1: Take a bloom foam flower making sheet. The thickness of these foams is 0.7 mm, just perfect for making realistic flowers. .
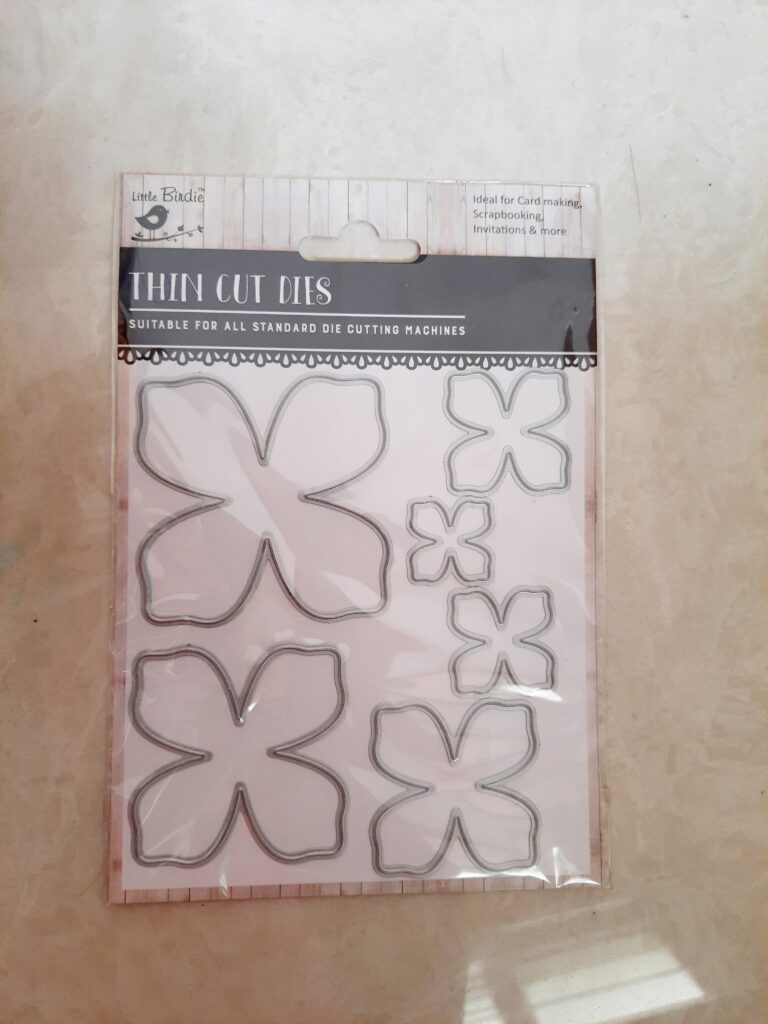
Step 2: Now, take Little Birdie’s Thin Cut Flower Die Flossie to cut out die cuts out of foam.
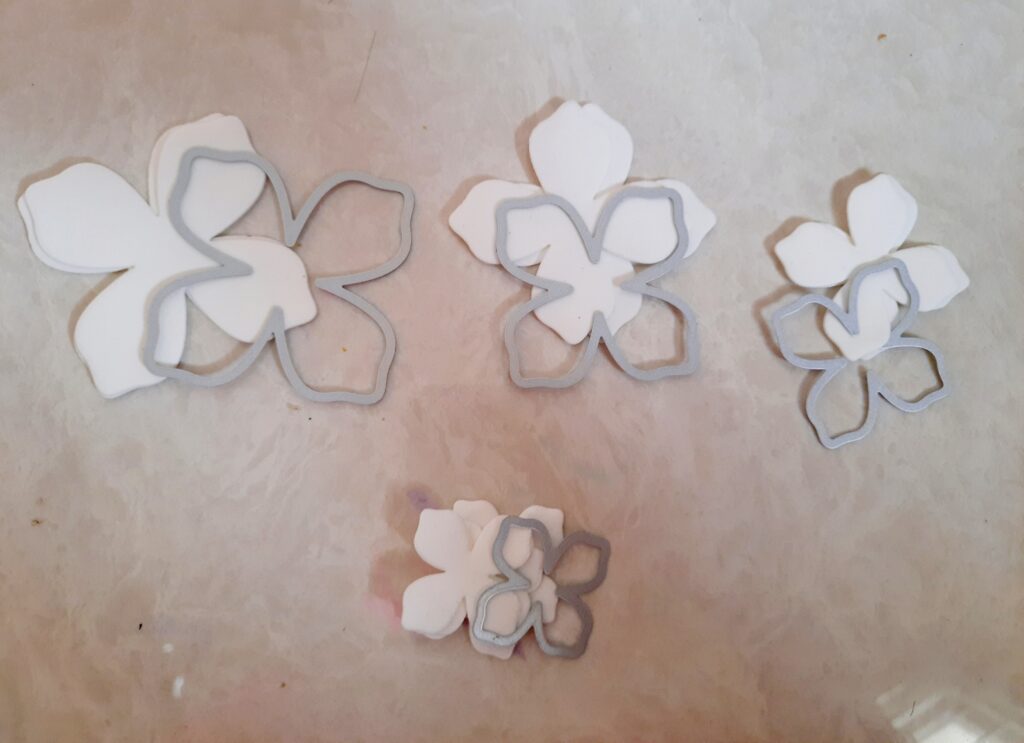
Step 3: Next, fold the foam piece into two layers. Put the die above it and pass it through the die cutting machine to get the four pieces of die- cuts at once of each flower size.
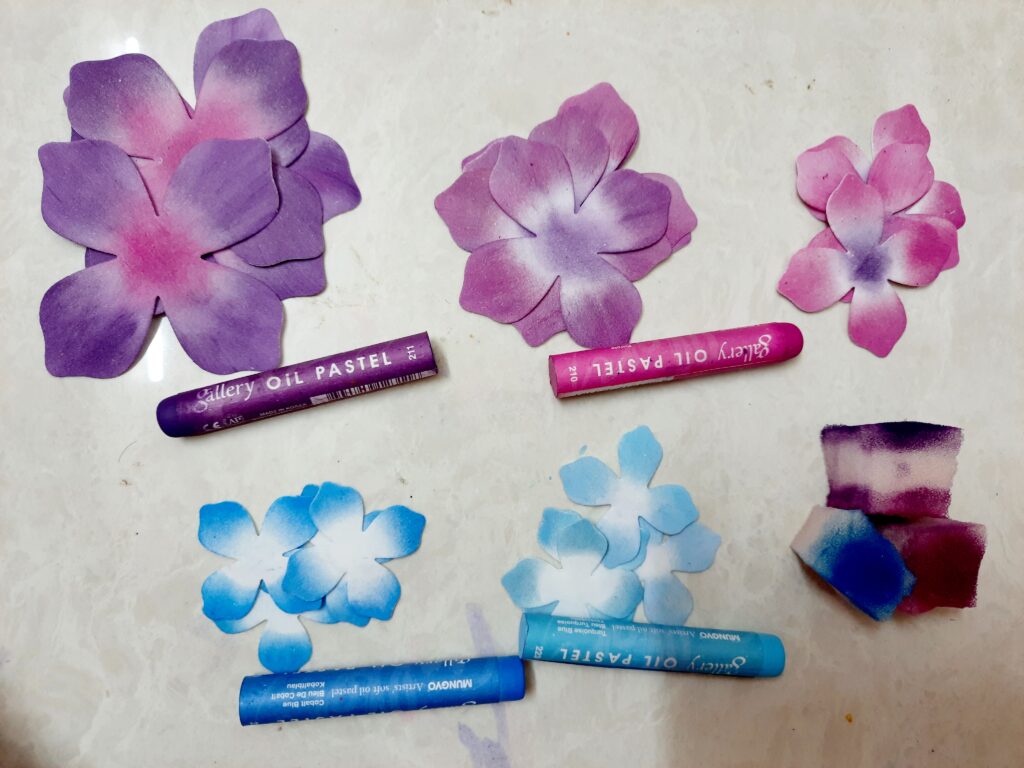
Step 4: Color the petals using oil pastels. You can color the foams using Archival inks, distress inks, Color Splash, or markers also.
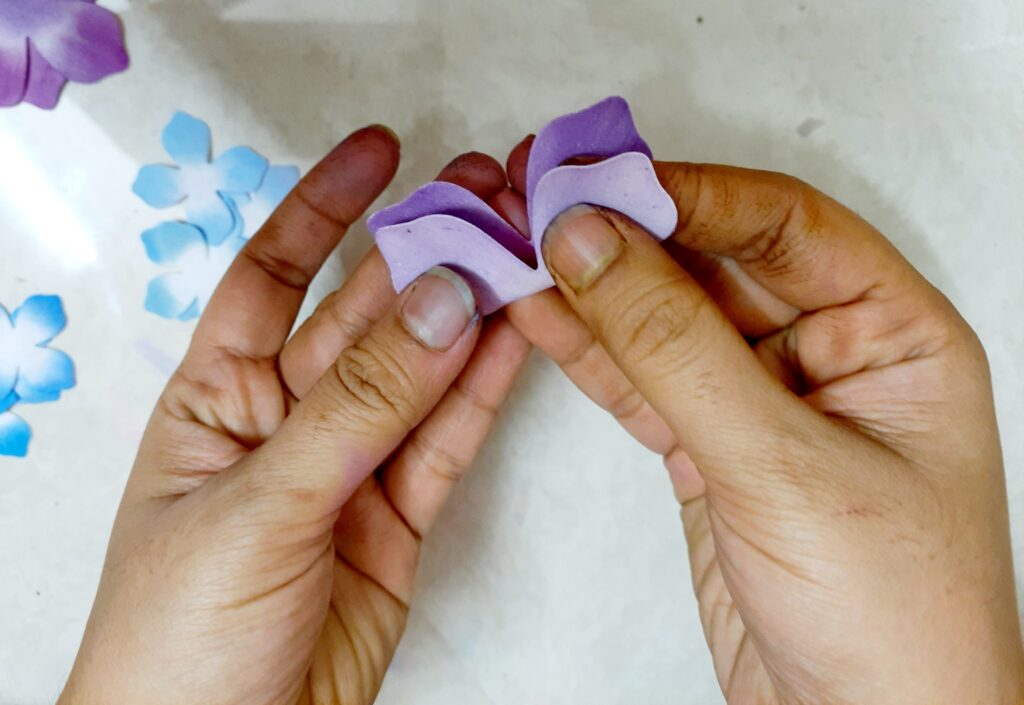
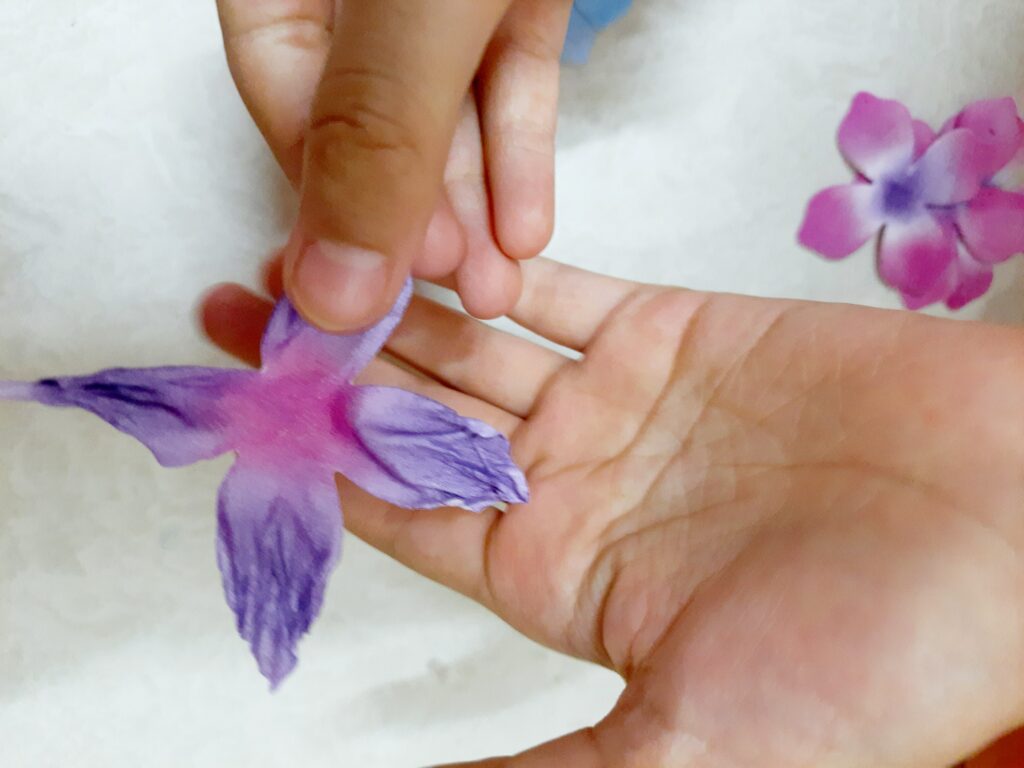
Step 5: Take one die cut in your palm and fold like this.
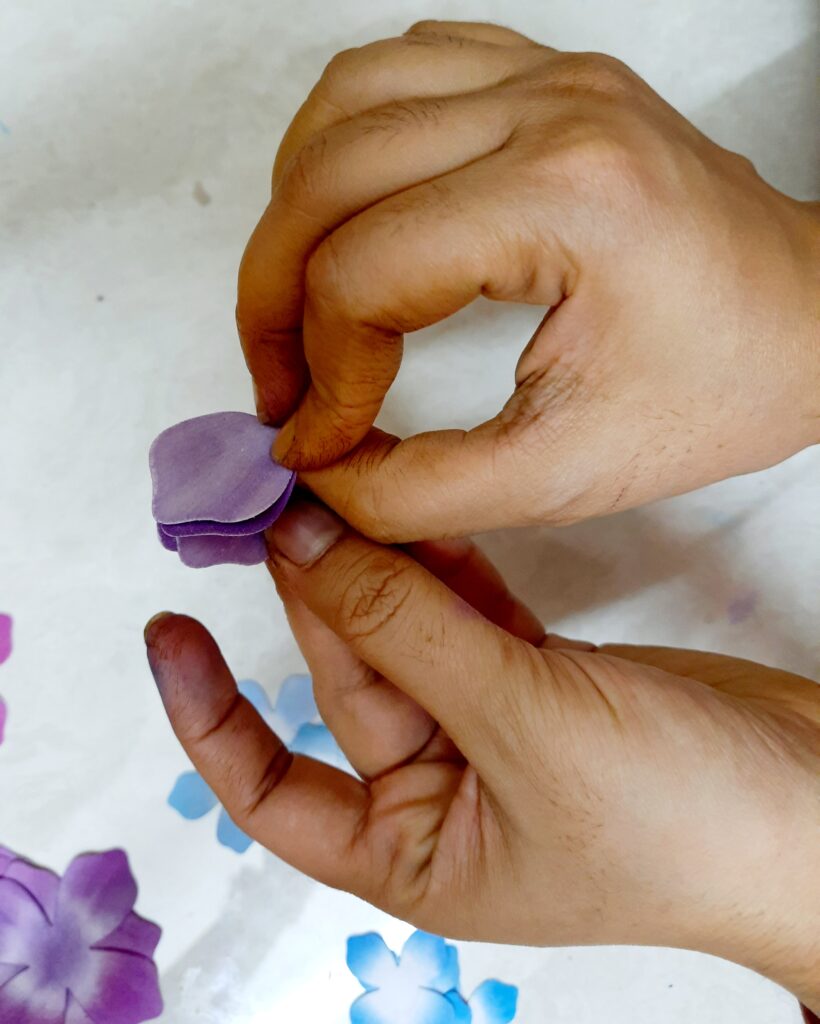
Step 6: Fold it once again like this.
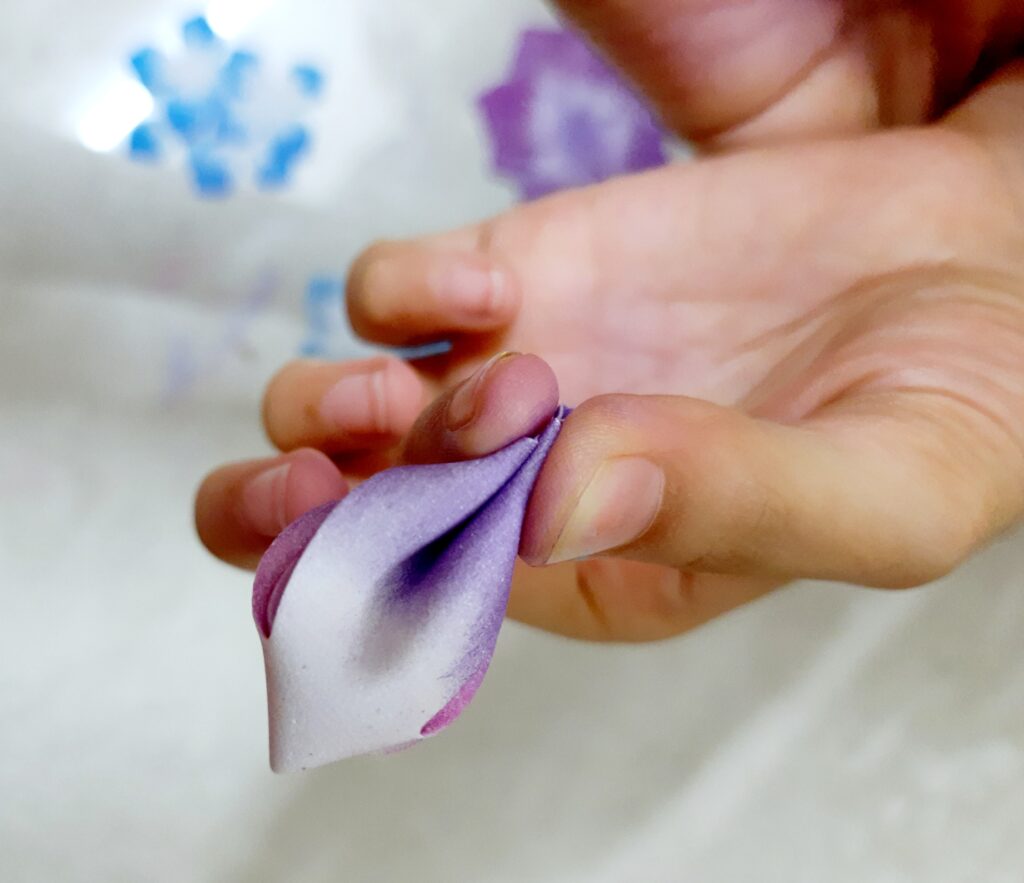
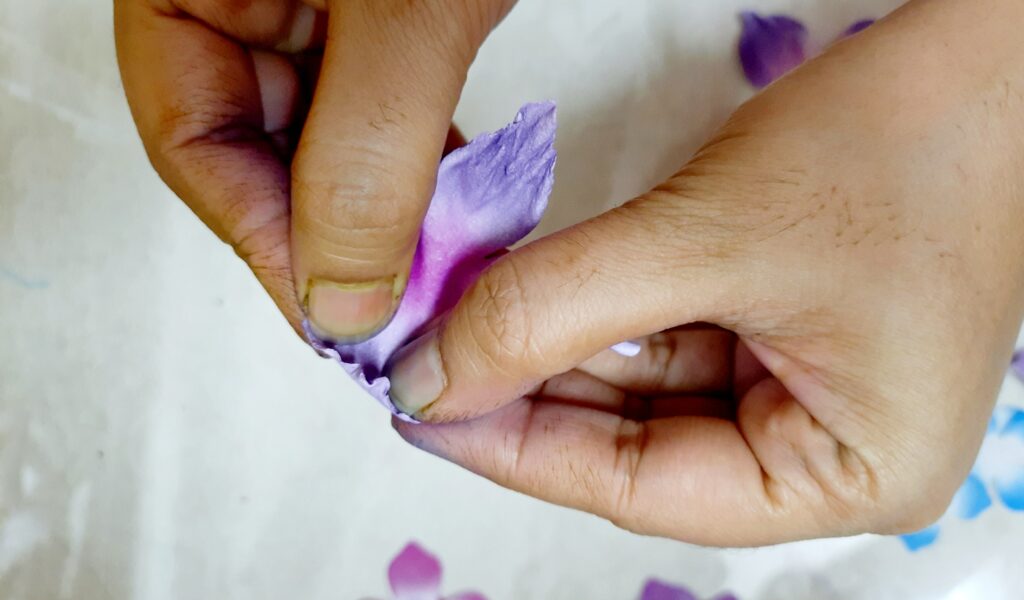
Step 7: Now, twist the tip like this….and rub it between your palms or between two fingers.
Step 8: After twisting and rubbing….open it up…
Step 9: After that, stretch the petal with your fingers to shape it.
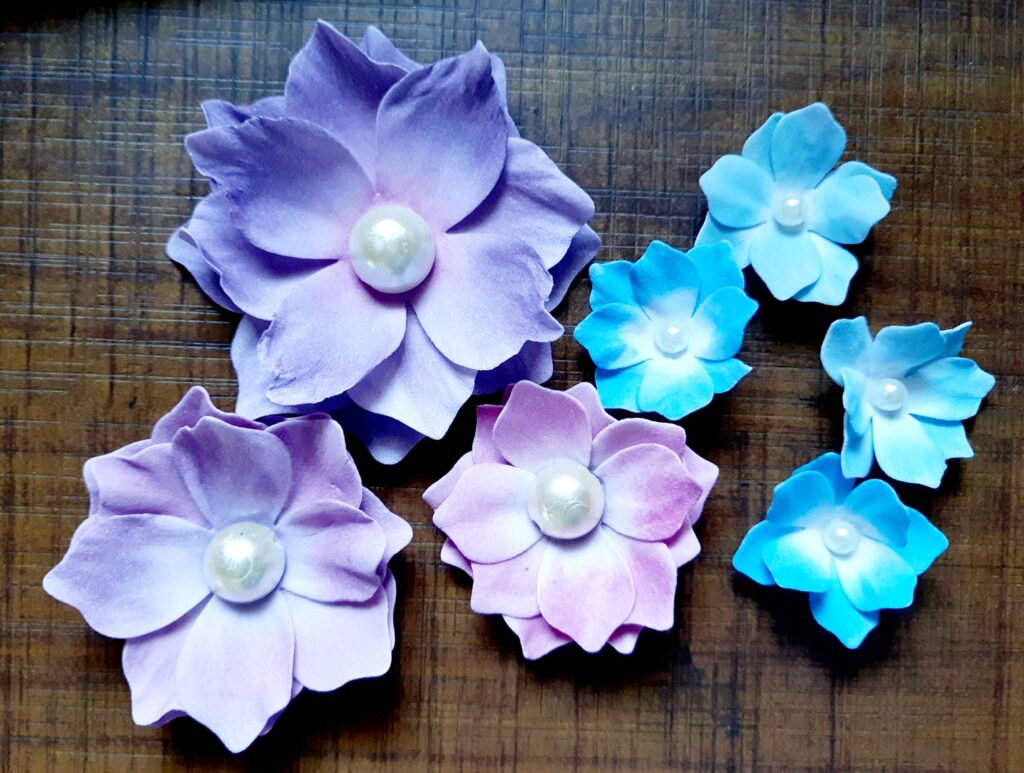
Step 10: Now, paste all the four layers of each flower one above the other by off setting the petals so that all the layers can be seen.
Now the tutorial for creating the mixed media base.
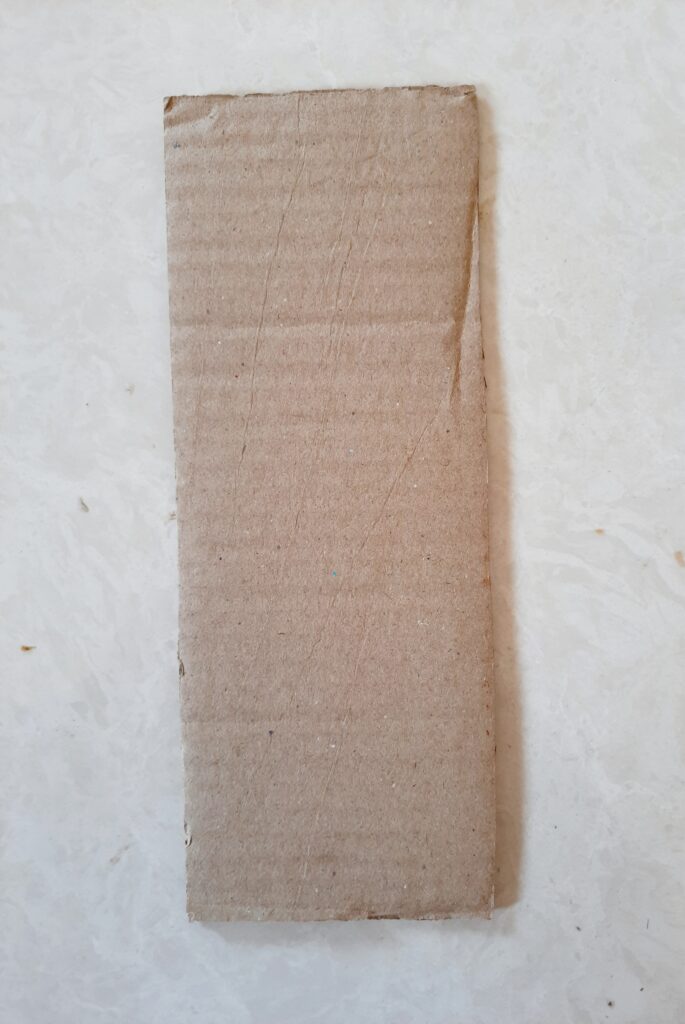
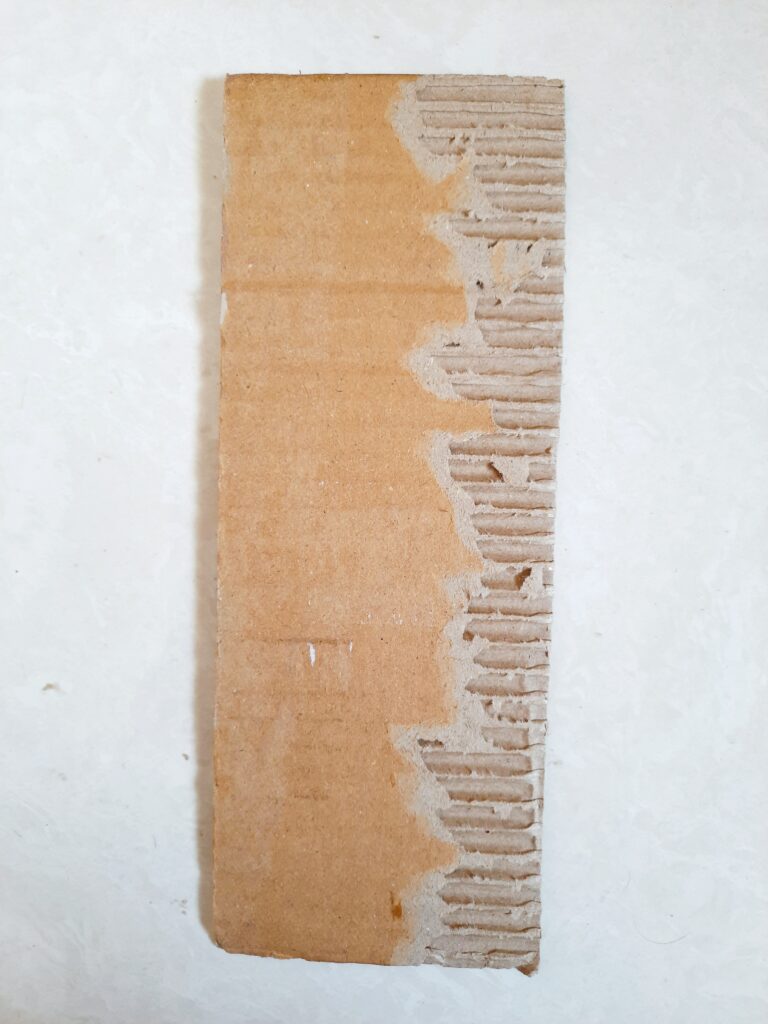
Step 1: Take a piece of cardboard of size 3″ x 8″.
Step 2: Tear the first layer of the cardboard from one side so that the corrugated board can be seen. It will give an amazing texture to the base.
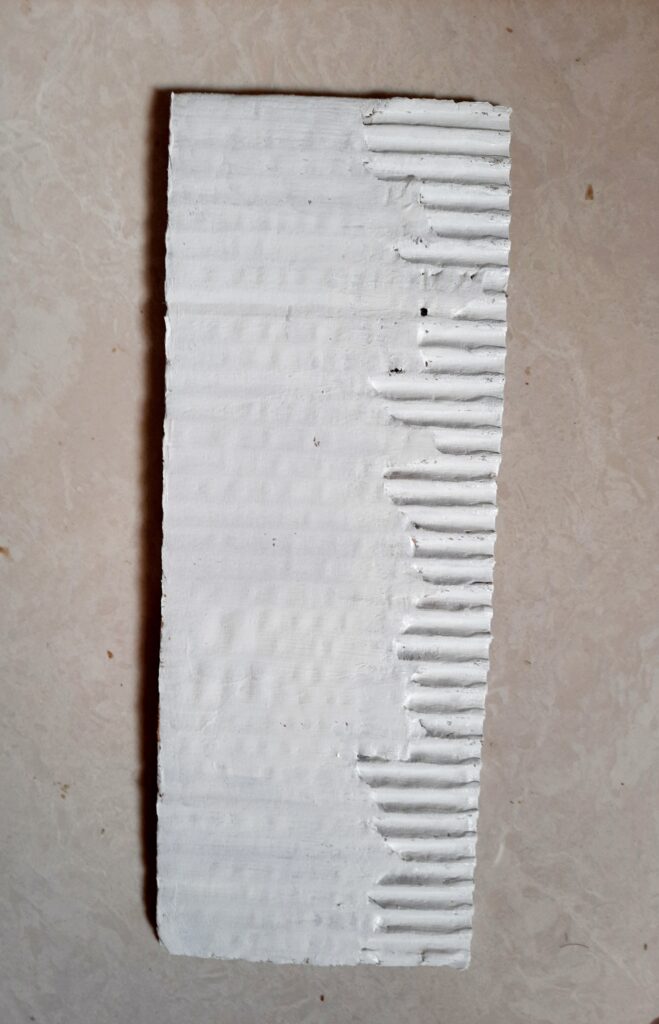
Step 3: Now apply Little Birdie’s white Gesso all over it to prime it.
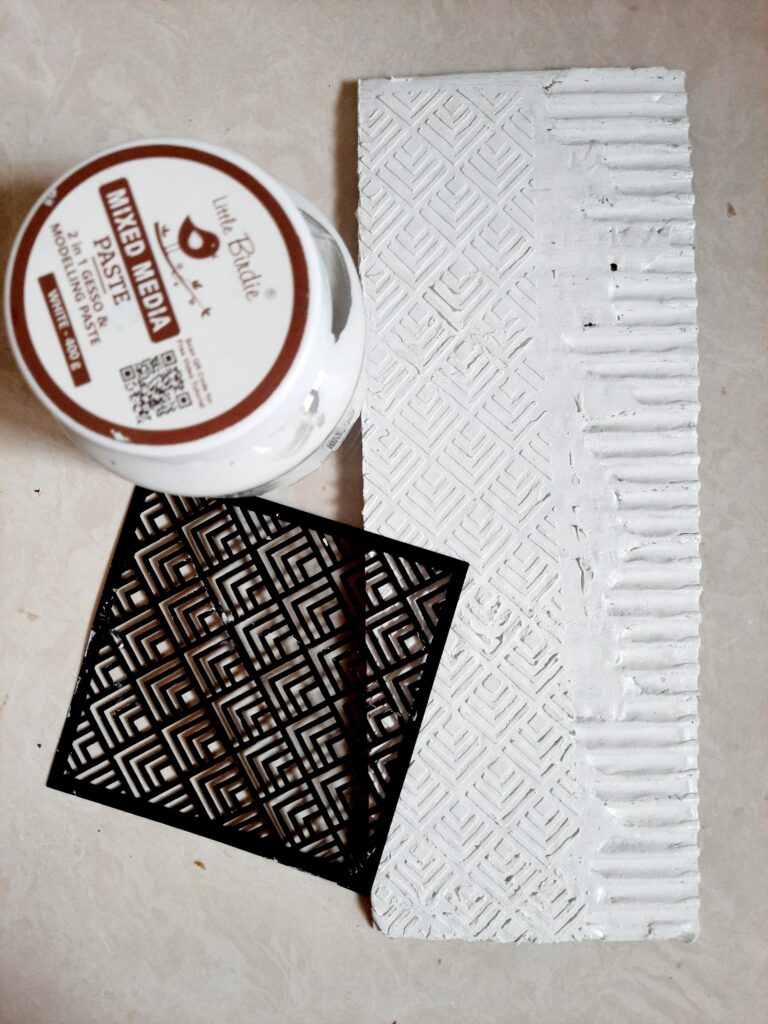
Step 4: After it dries, apply Little Birdie’s Mixed Media paste using Little Birdie’s Mountain Peak stencil 4 x 4.
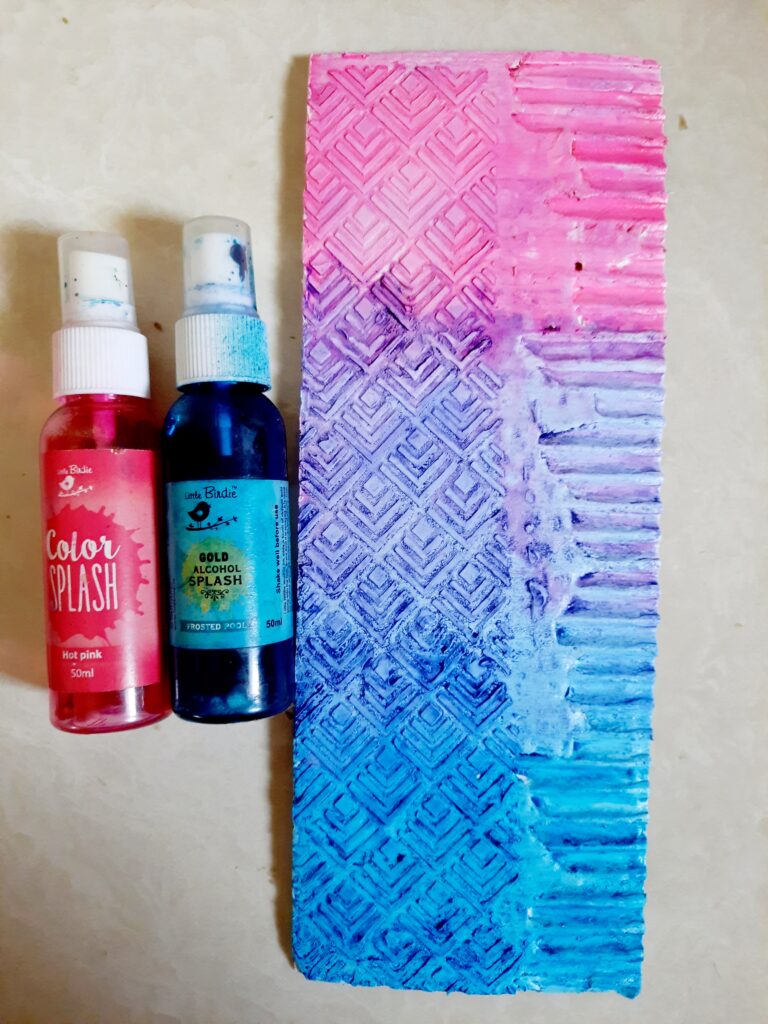
Step 5: Now, it’s time to play with the colors….I have selected Little Birdie’s Hot Pink Color Splash and Frosted Pool Alcohol Splash.
Step 6: After assembling all the elements, its looking like this…
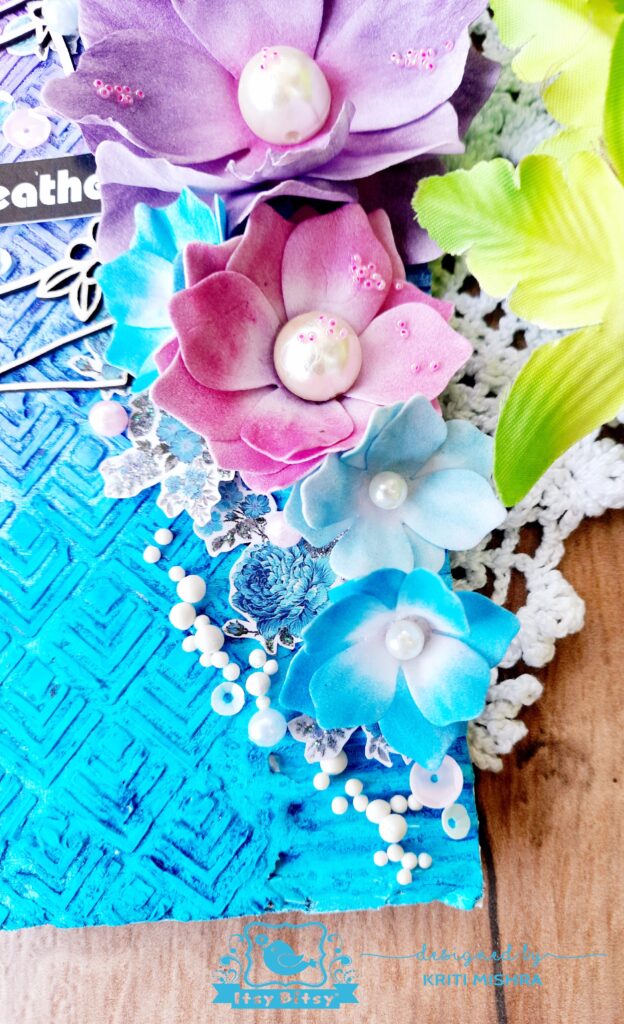
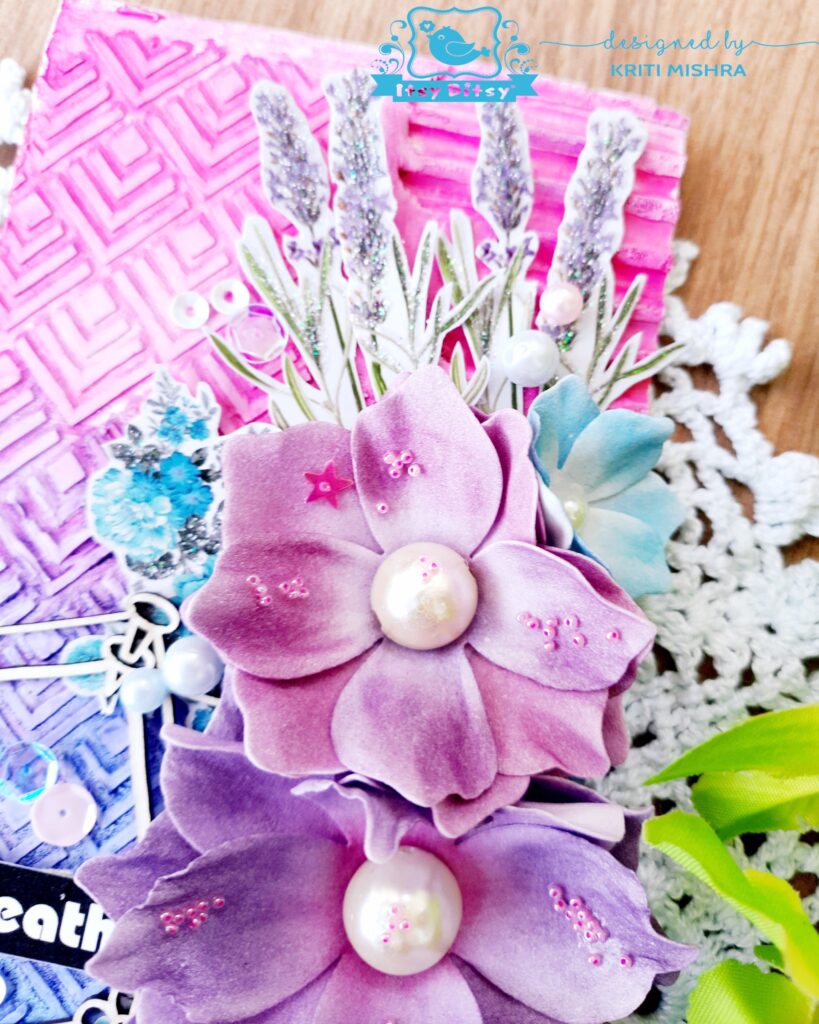
Some close- up pics…
I hope you all will try this newly launched Bloom foam to make some gorgeous flowers…
Kriti Mishra


No comments:
Post a Comment